I really enjoy my job as an editor, there's no doubt about that. However, when I was thinking about what other tips and tricks article I could write for you, I couldn't think of anything for a long time. But then I realized that the best tricks are the ones you can use every day, not just occasionally. I use a few of them every day when writing articles, guides, and reviews. ProSo, in today's article, I decided to show you all the tricks I use on a daily basis, not only when creating content for loyal readers. Letem svetem Applem.
You might be interested in

1. Taking screenshots in different ways
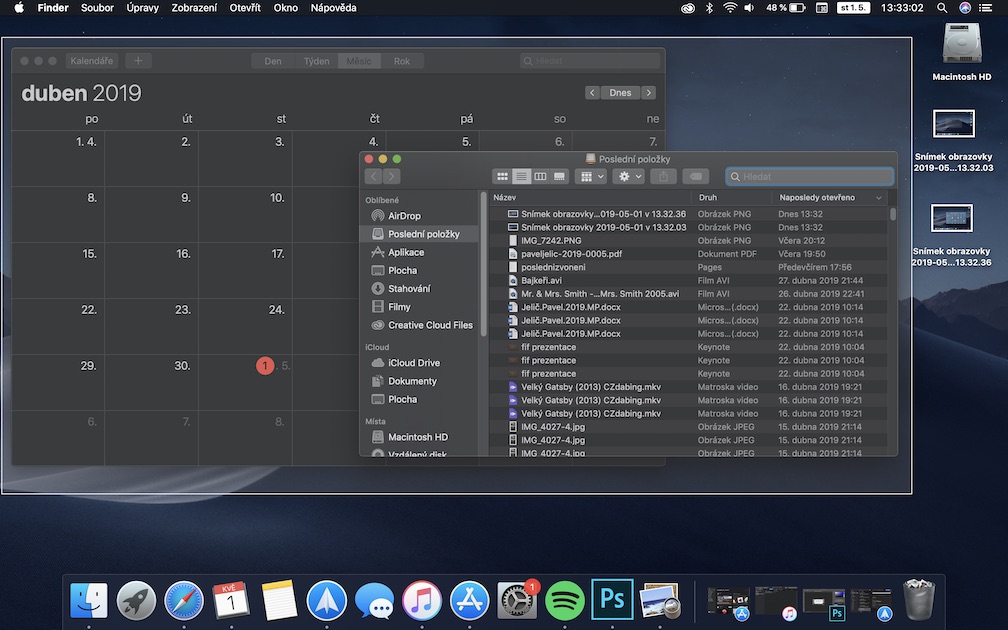
All of you on Mac are probably familiar with the keyboard shortcut for taking a full screen screenshot – Command + Shift + 3In this case, the system does not ask you anything and immediately creates screenshot the entire screen. However, if you only want to take a screenshot of certain applications, or certain parts of the screen, so you can use keyboard shortcuts Command + Shift + 4.
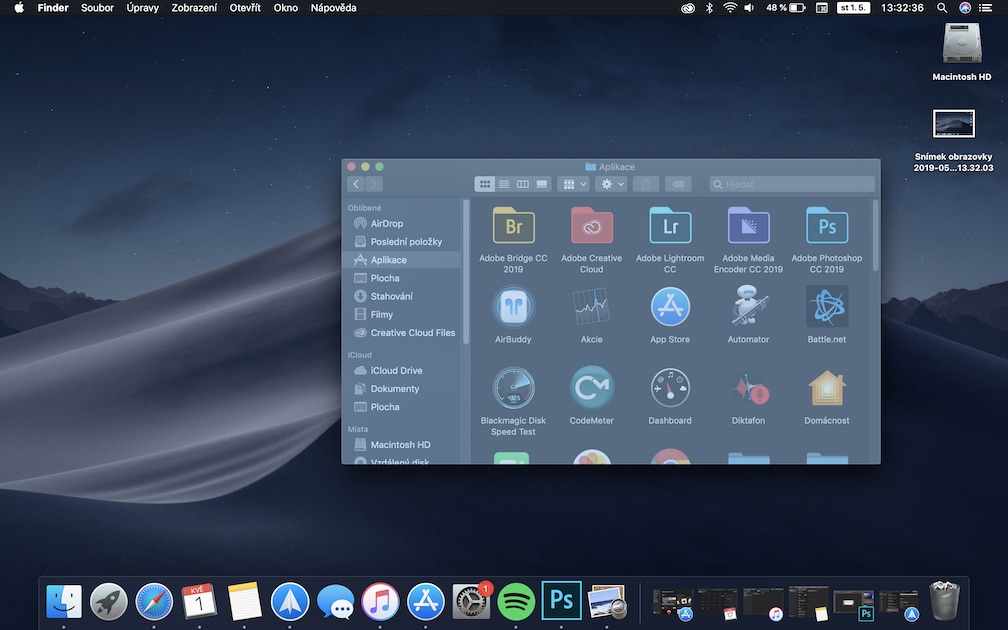
If you want to take a screenshot of a specific application, press Command + Shift + 4 and move to the active window of that application. Then press the spacebar . The application window will turn blue and you can then just click the mouse. This will confirm that you want to take a screenshot of only that application.
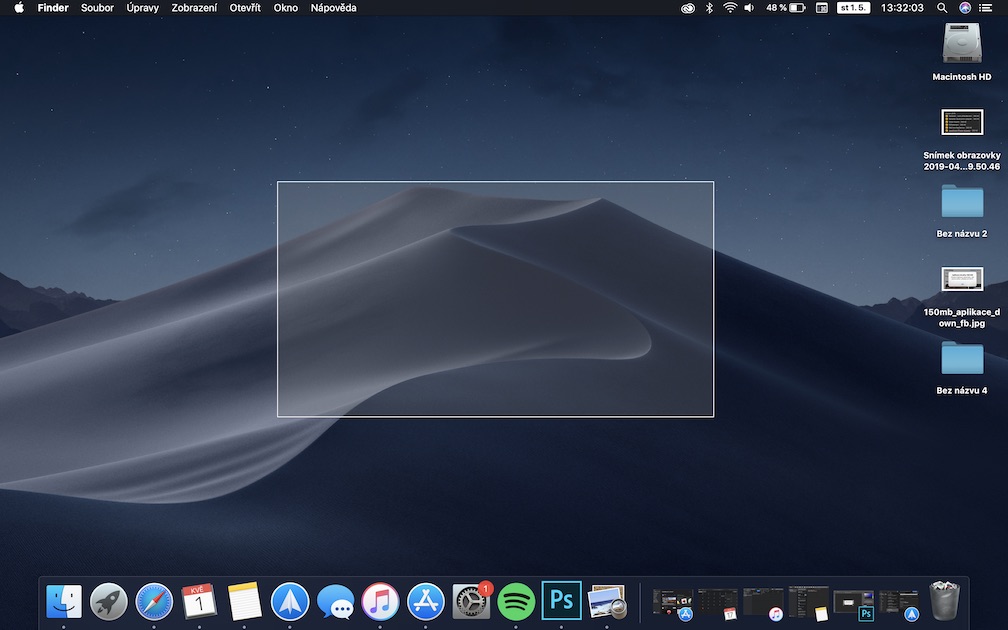
If you want to take a screenshot of only part of the screen, press the keyboard shortcut Command + Shift + 4 again . Then just drag the mouse across the screen where you want the screenshot to be taken.
2. Image resizing
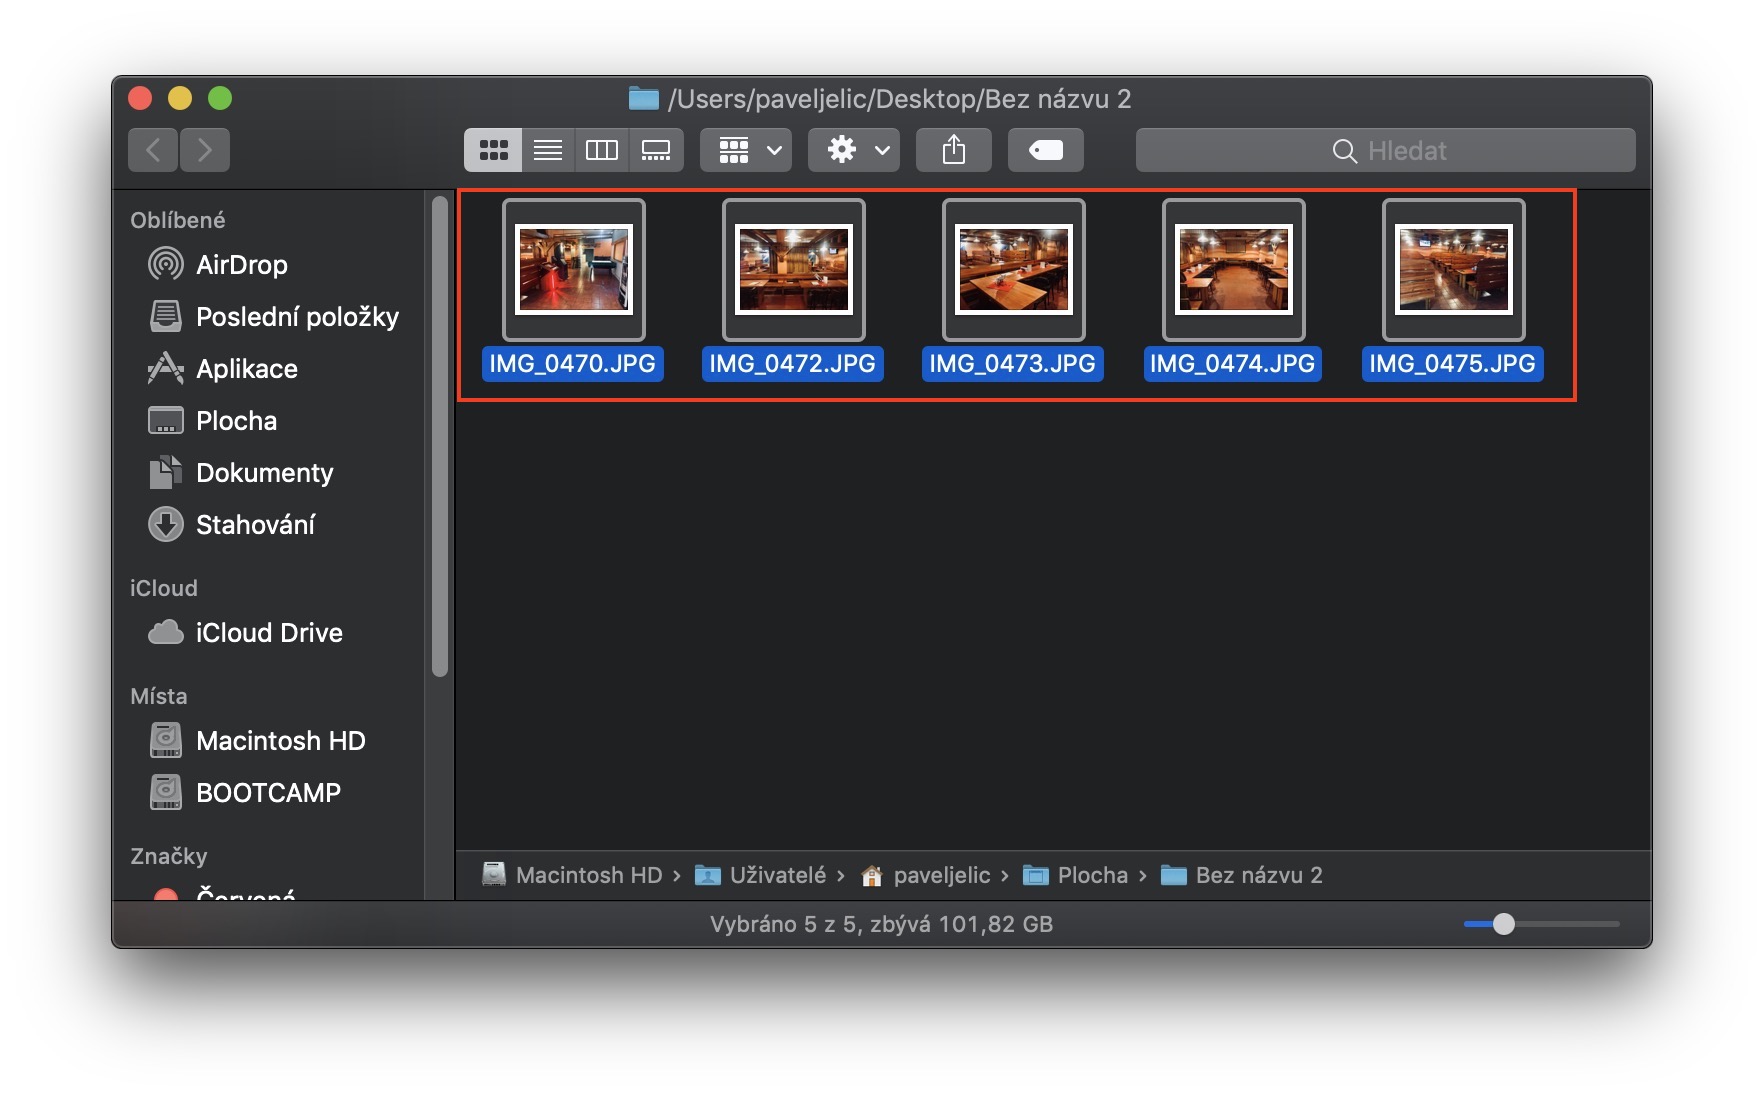
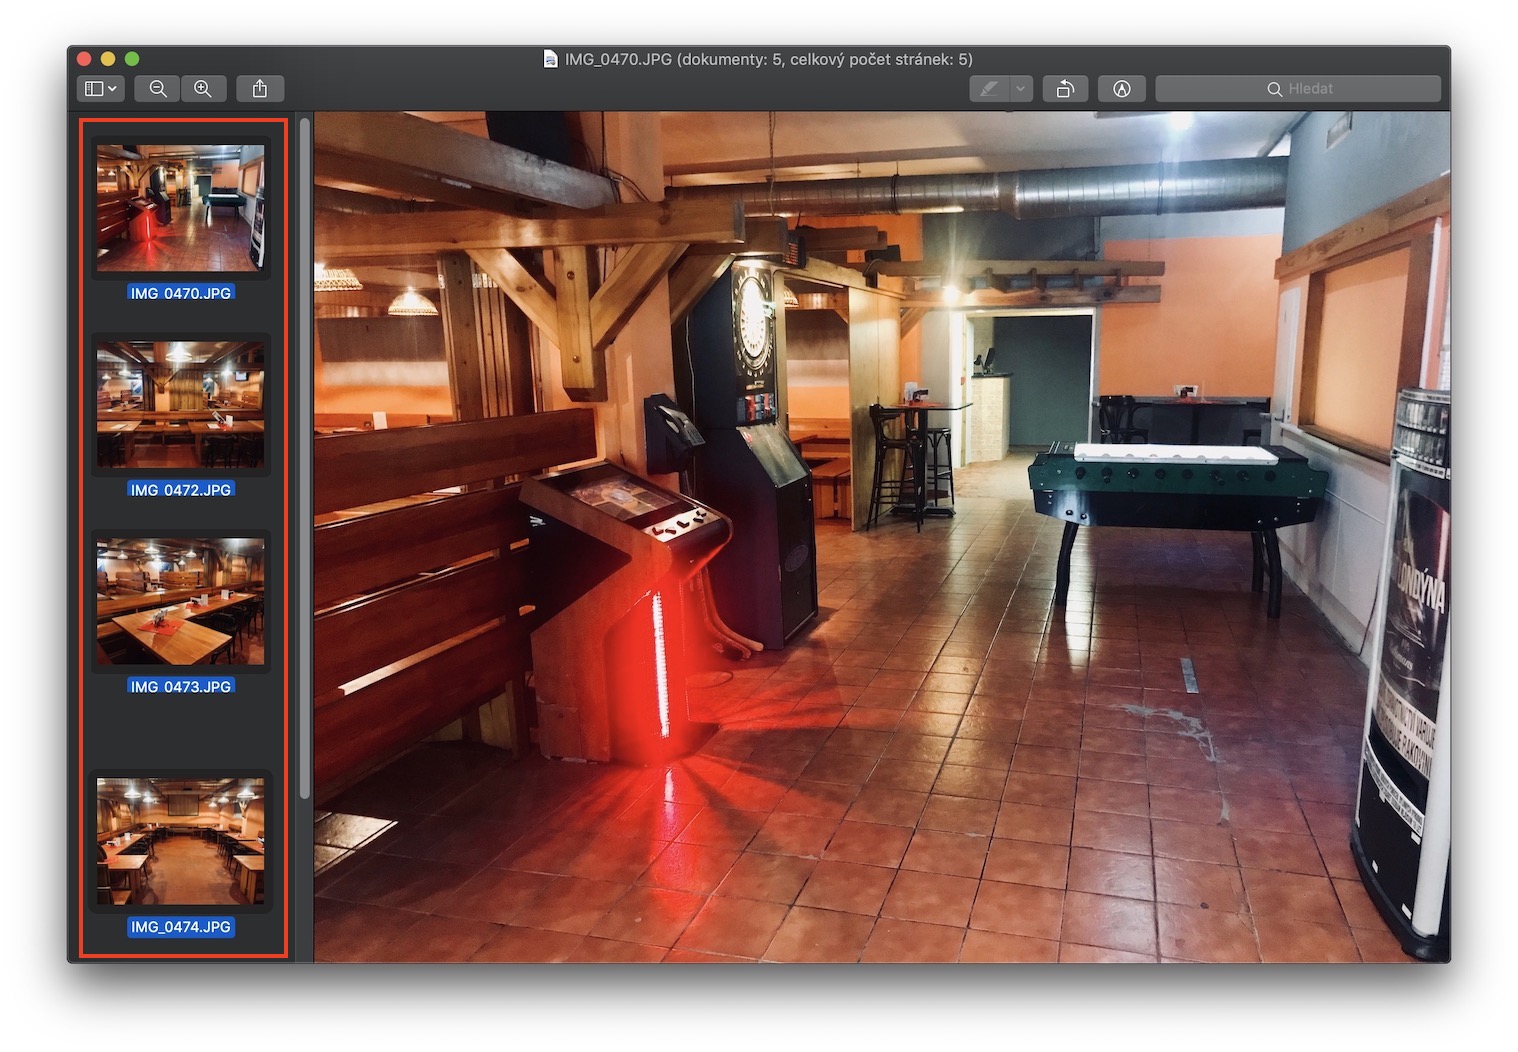
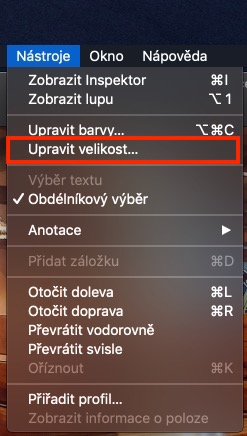
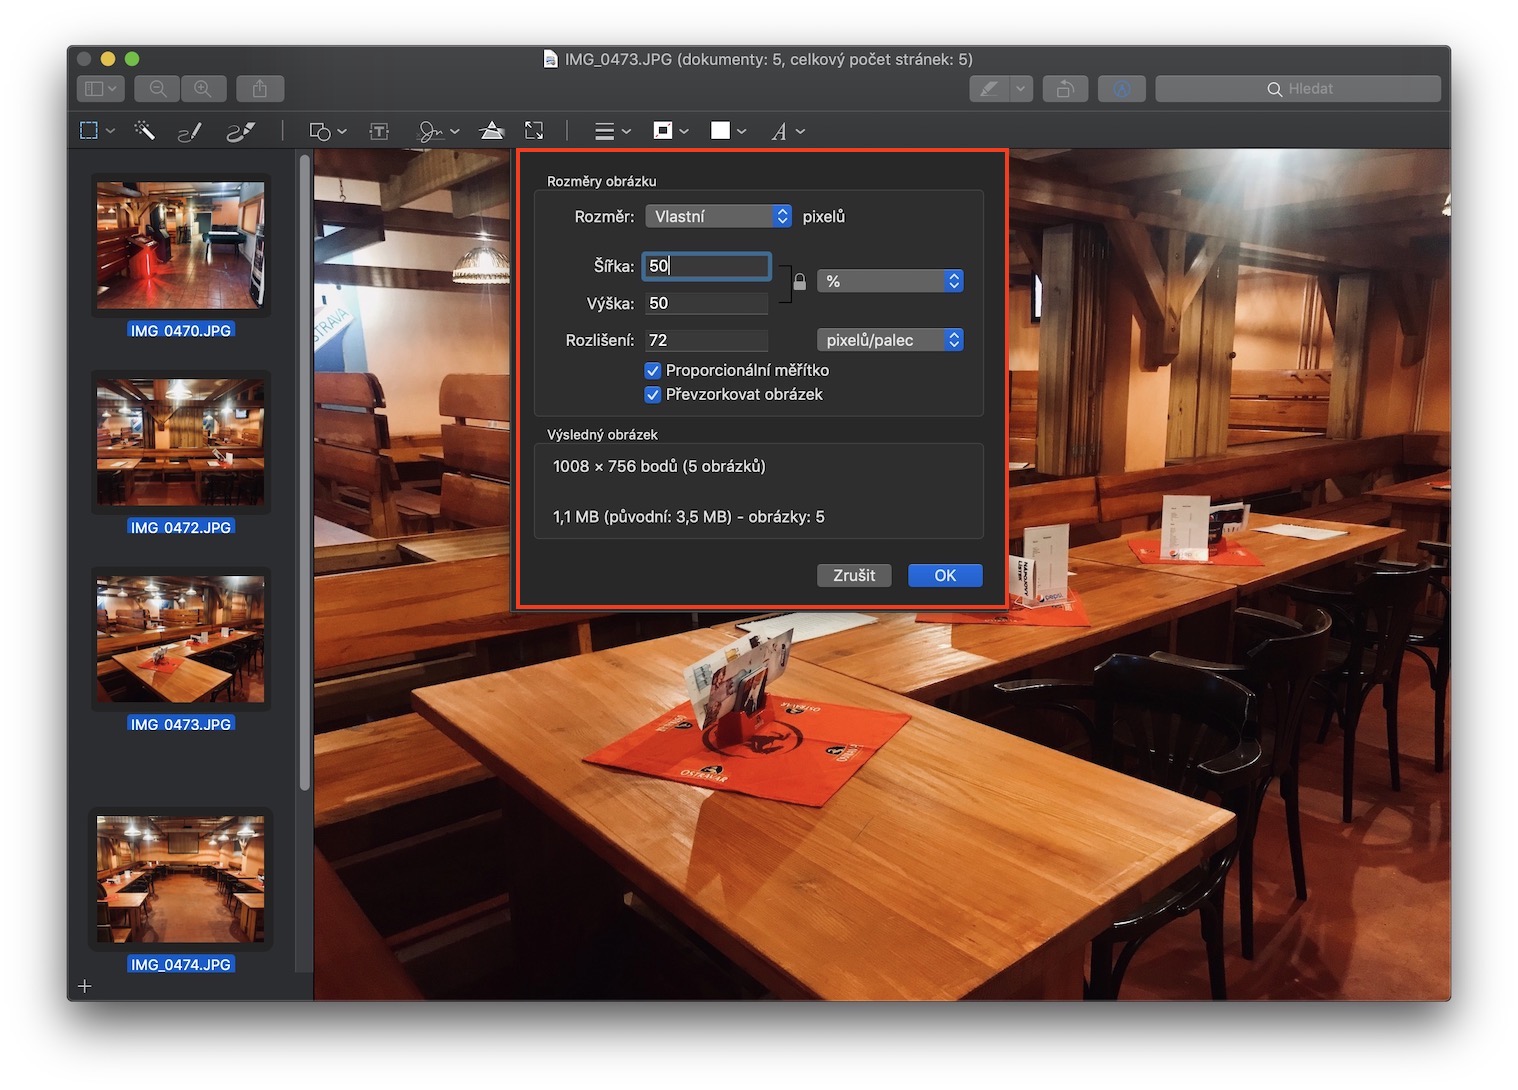
Since the photos are created iPhonem really big, sometimes I need to reduce them to a more acceptable resolution so that I can use them on the web, for example. Did you know that you can resize images using the application itself? preview in macOS? Although it may not seem like it, it is preview is really sophisticated application full of hidden features. Pro resize the image open, and then click the option in the top bar Tools. Then select an option from the drop-down menu Change size… In the new window that appears, you can simply resize the image. It's the same with multiple images at once, it's enough just to see them all in the left menu mark. The resizing is then done by u all of them selected images.
3. Changing the format of images
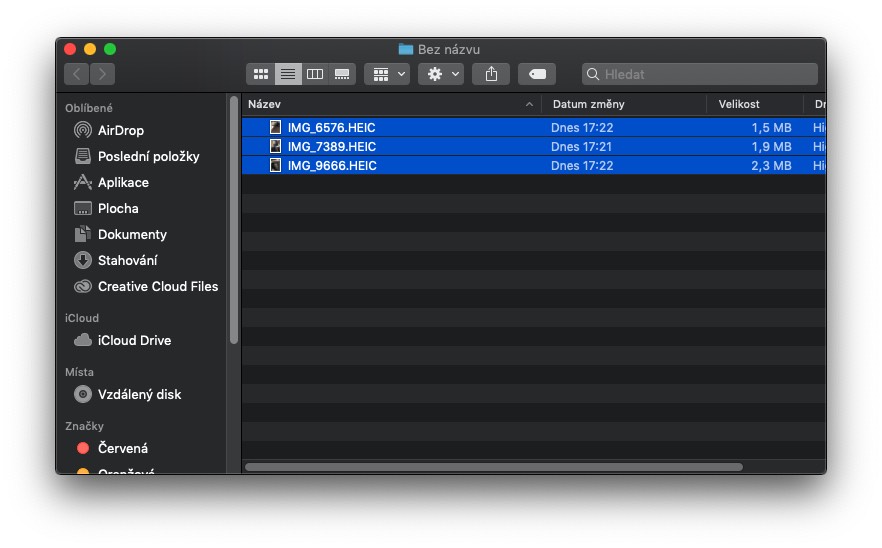
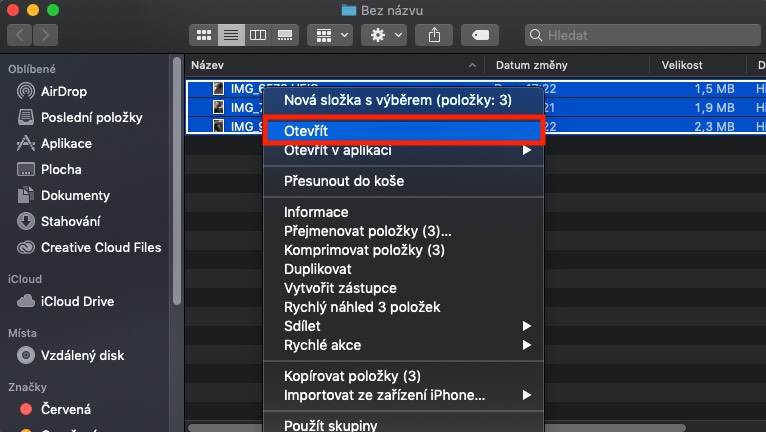
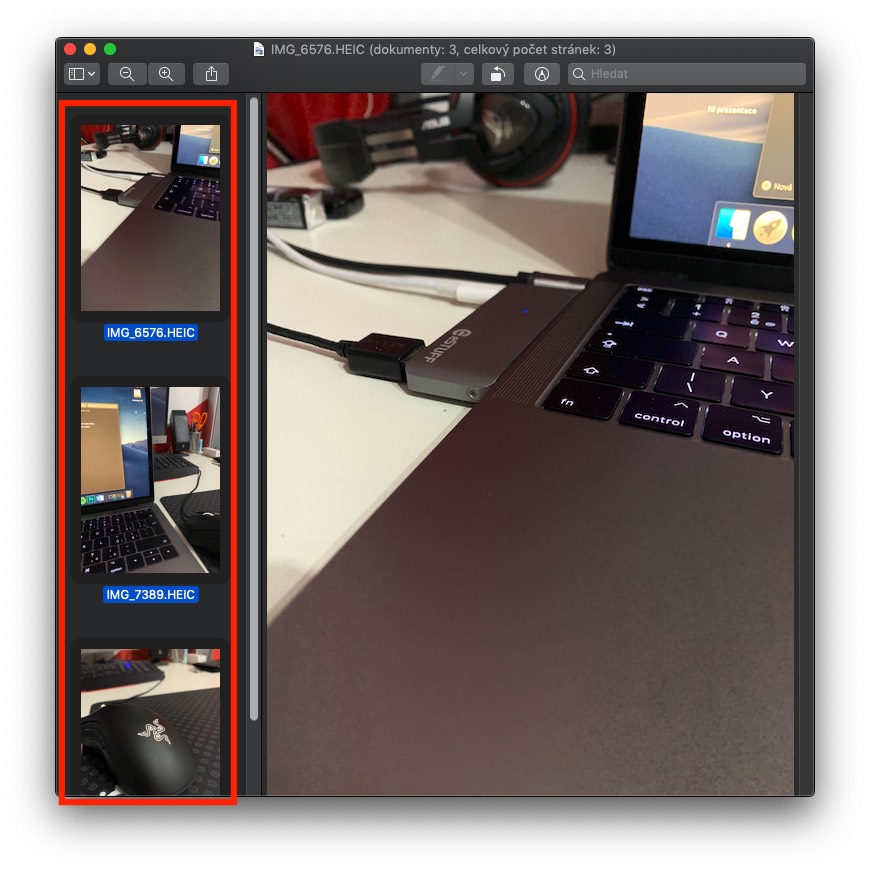
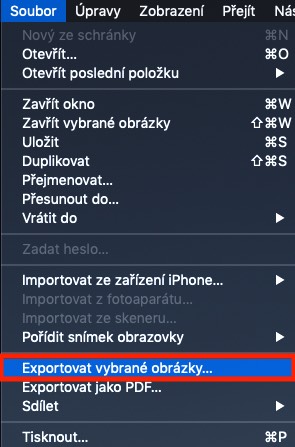
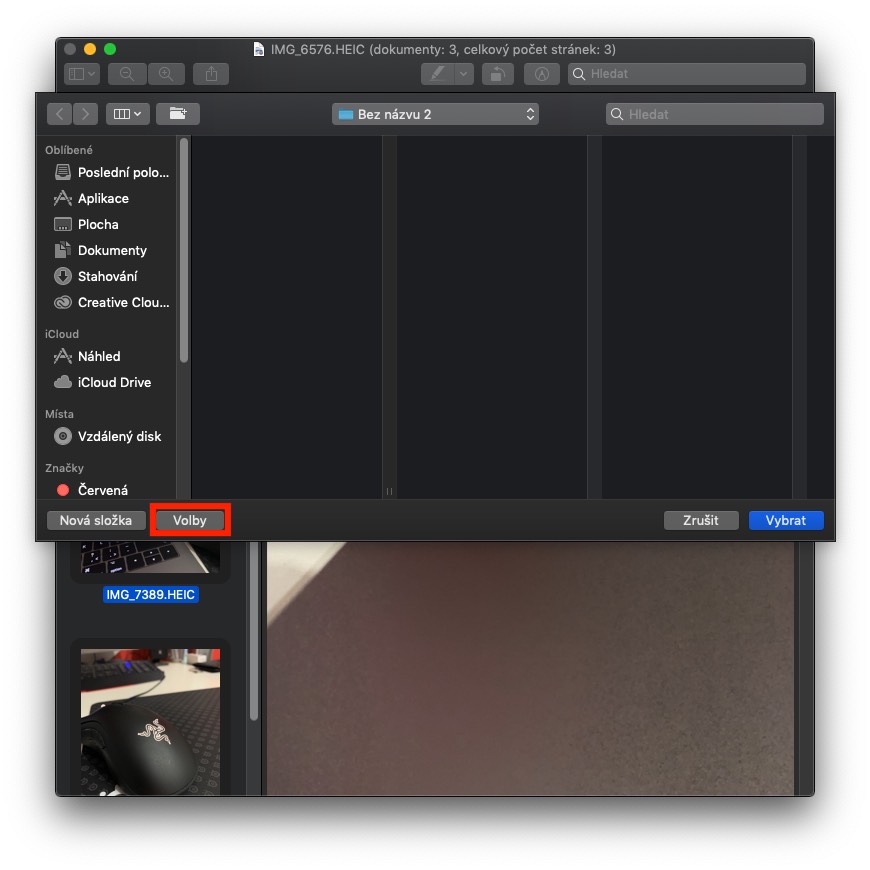
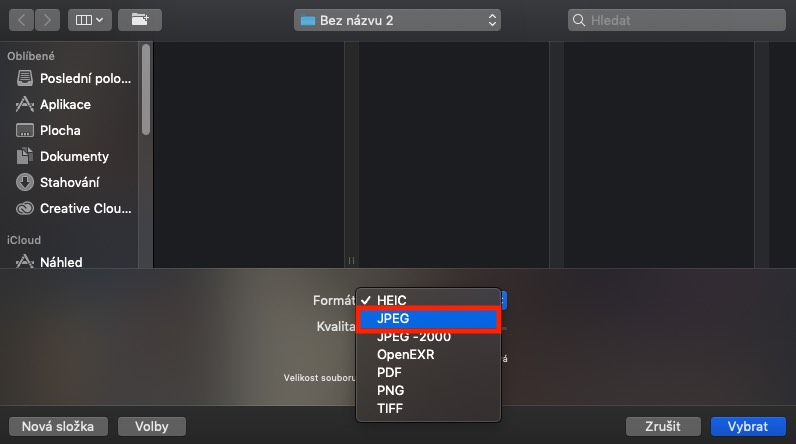
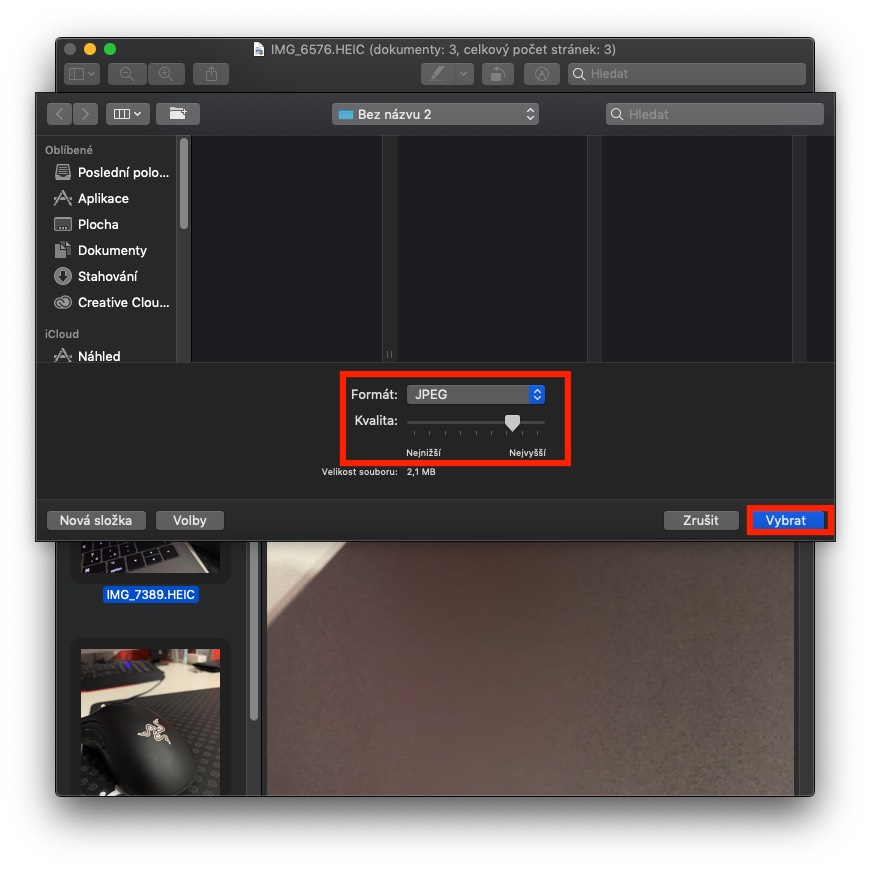
My iPhone is set to take photos in the format HEIC. Of course, you can open this format classically in macOS, but other applications and operating systems usually still have it problem. Prothat is, all HEIC photos need to be converted to an older but more widespread JPEG. Again, native applications will serve you well in this preview. So open it again pictures, whose format you want alter. If you have more, keep them in Preview mark. Then select the option in the top bar File and select a box from the drop-down menu Export… or Export selected images… A new window will open, click on the option Elections. After that, you can simply choose the format, in our case that is JPEG. Once you have everything set up, just click on Choose.
Gallery
4. Mass renaming of files
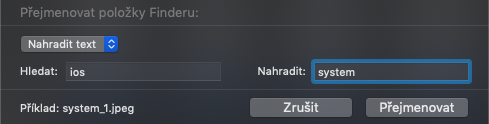
If I have multiple documents that I need to rename in bulk, I use the native function directly in macOS. Simply select all the files that you want to rename. Then right -click on one of them and select Rename items (x) from the menu. A window will then appear in which you can choose how to perform the bulk renaming . We will discuss this function in more detail in a separate article , which you can view below:
You might be interested in
5. Writing smileys and special characters
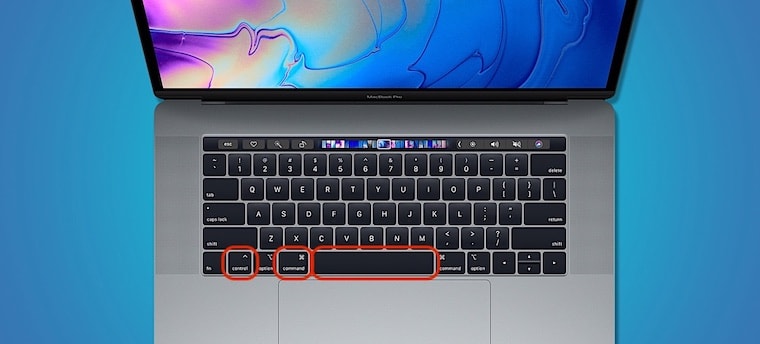
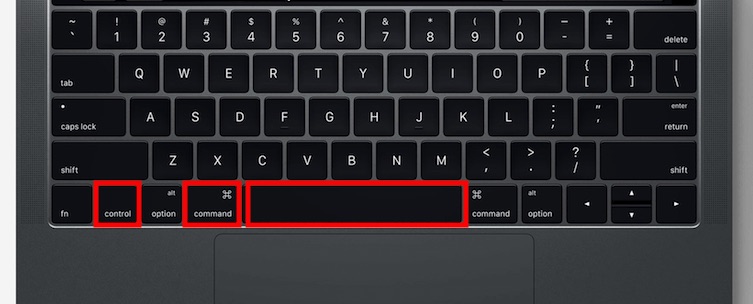
Users owning MacBook with the Touch Bar, they have no problem typing emoticons, as they can insert them directly through it. However, the rest of us have to use special keyboard shortcuts to insert emoticons Command + Control + Spacebar. When you press this hotkey, a new one will appear window, in which you can easily browse among all the available ones emoji. After clicking on an arrow in the lower right corner of the window you can evenchat insert also special characters.
Gallery


6. Converting units in Spotlight
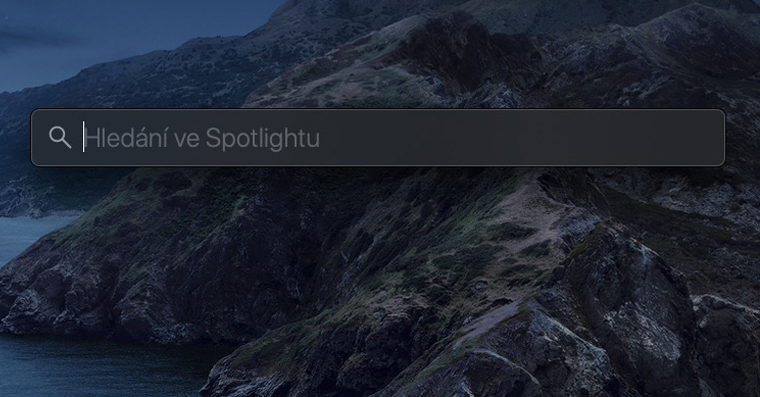
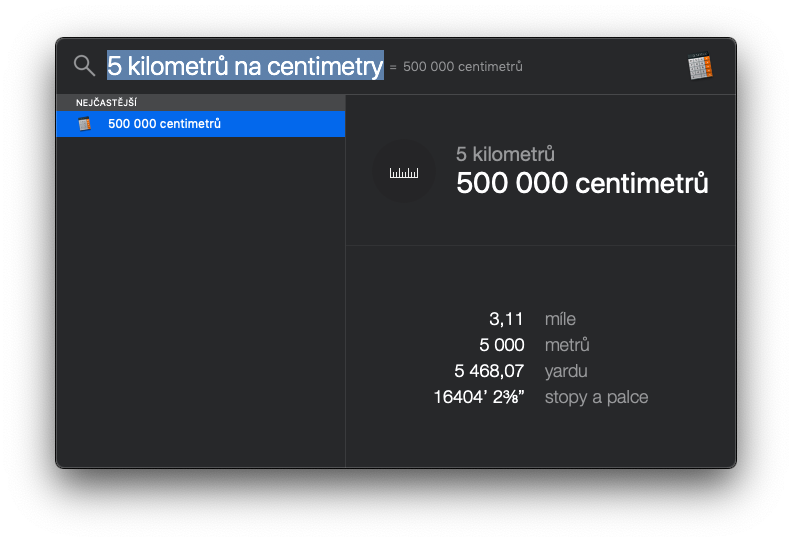
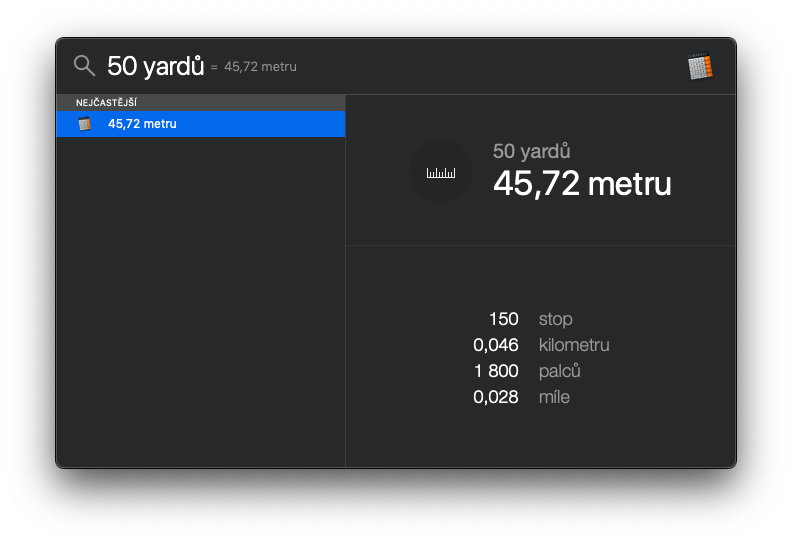
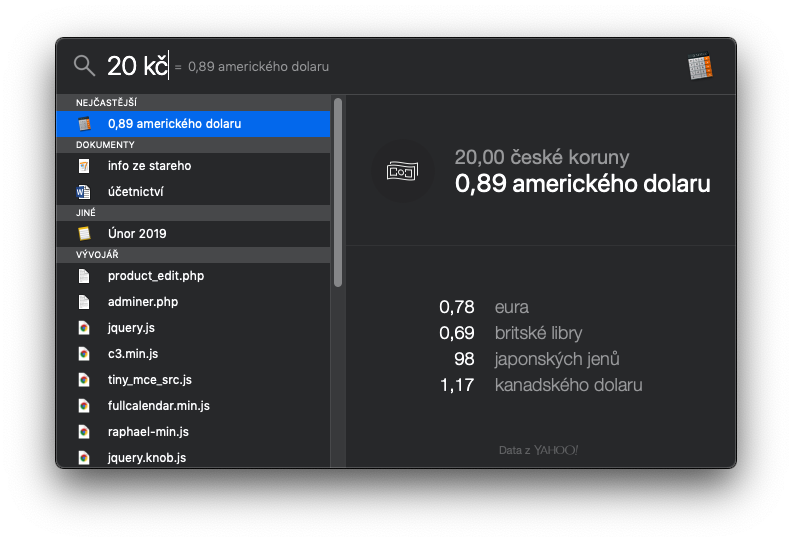
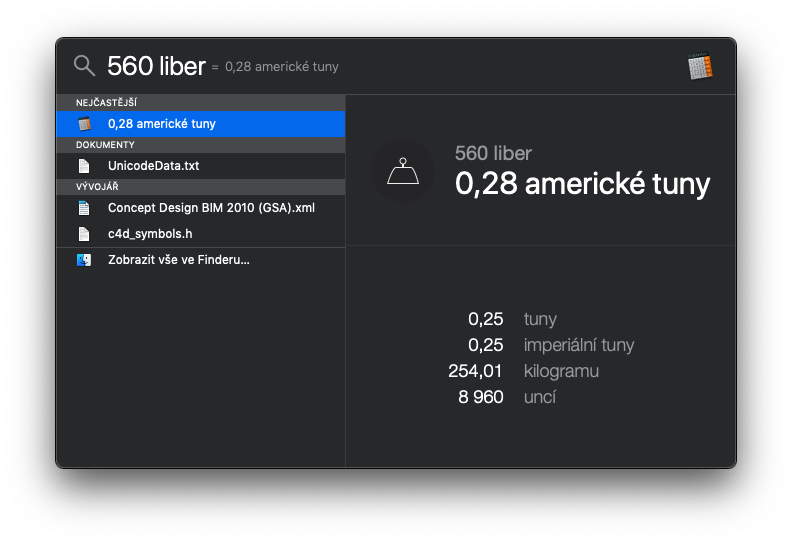
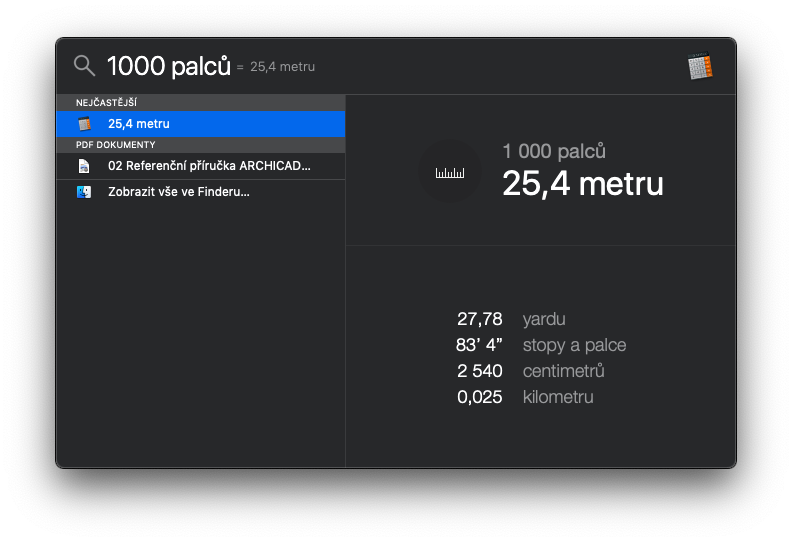
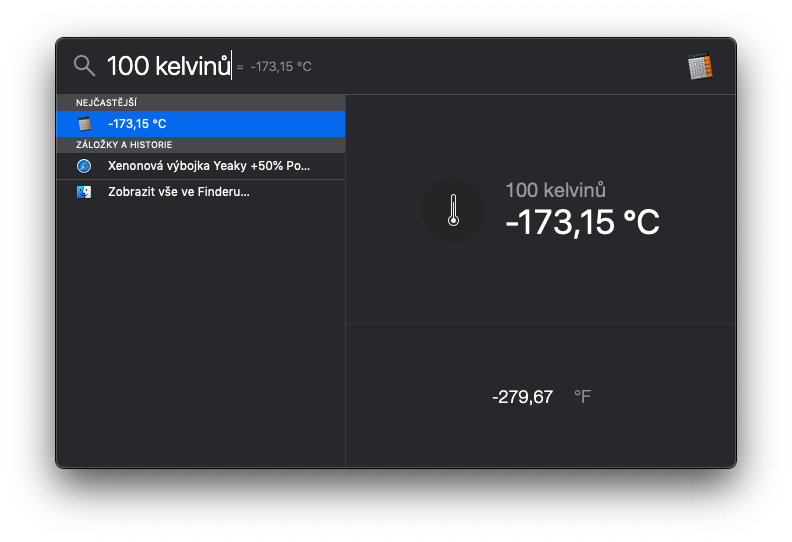
Spotlight is a kind of “Google for Mac” in macOS. It can find everything on your Mac and more. It can even act as a calculator and converter . You can activate it using the keyboard shortcut Command + Spacebar , or by clicking on the magnifying glass in the right part of the top bar. For example, if you want to calculate an example , just type it into Spotlight and it will calculate it for you. The same applies to units and currencies . If you want to convert 5 km to centimeters , type “ 5 km to centimeters ” into Spotlight . The conversion to other units will then be shown. You can see all the examples in the gallery below:
Gallery
7. Merging multiple windows Finderu
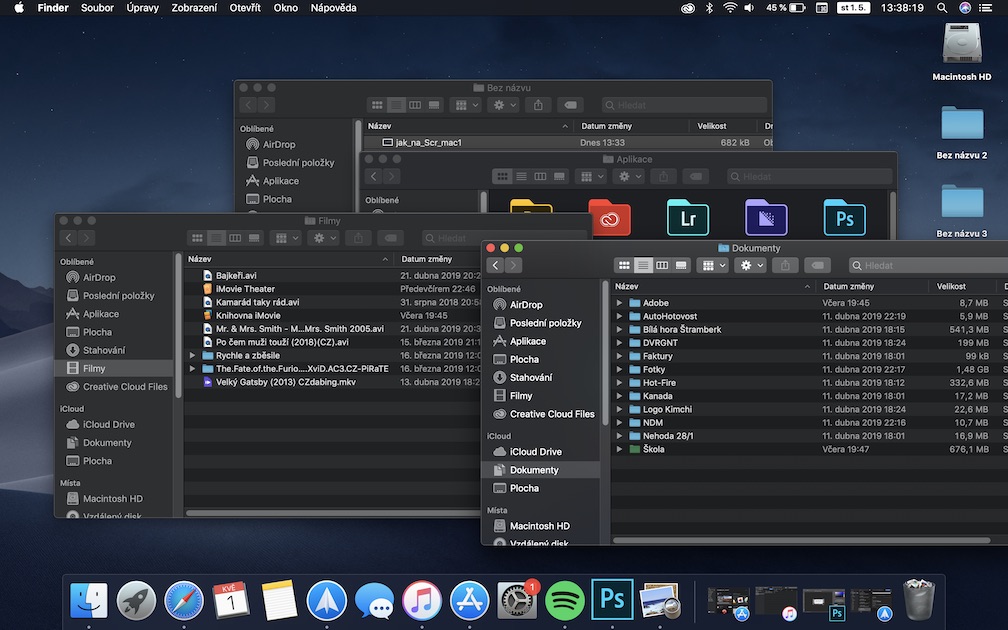
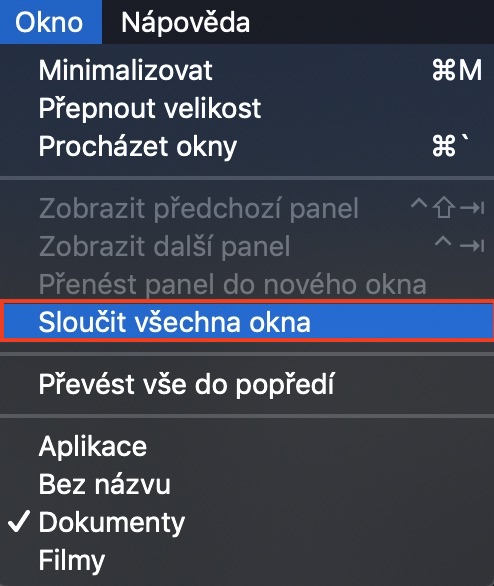
I am able to open dozens of different windows during the day. FinderI lose track of things very quickly and I have several windows scattered all over the screen, which definitely doesn't add to my efficiency. ProI use this function for window service Finderu. You activate this function by switching to active window Finderu, and then click on the tab in the top bar Window. Then just click on the option Merge all windows.

8. When you can't find the cursor
When working on multiple monitors, it often happens that I can't find the cursor. In the macOS operating system, it is enough quickly start to drive over Trackpadu, or in the case of a mouse, start with it to move frantically. After a few quick movements, the cursor on the screen increases and you can locate it faster.

9. Where did the Delete key go?
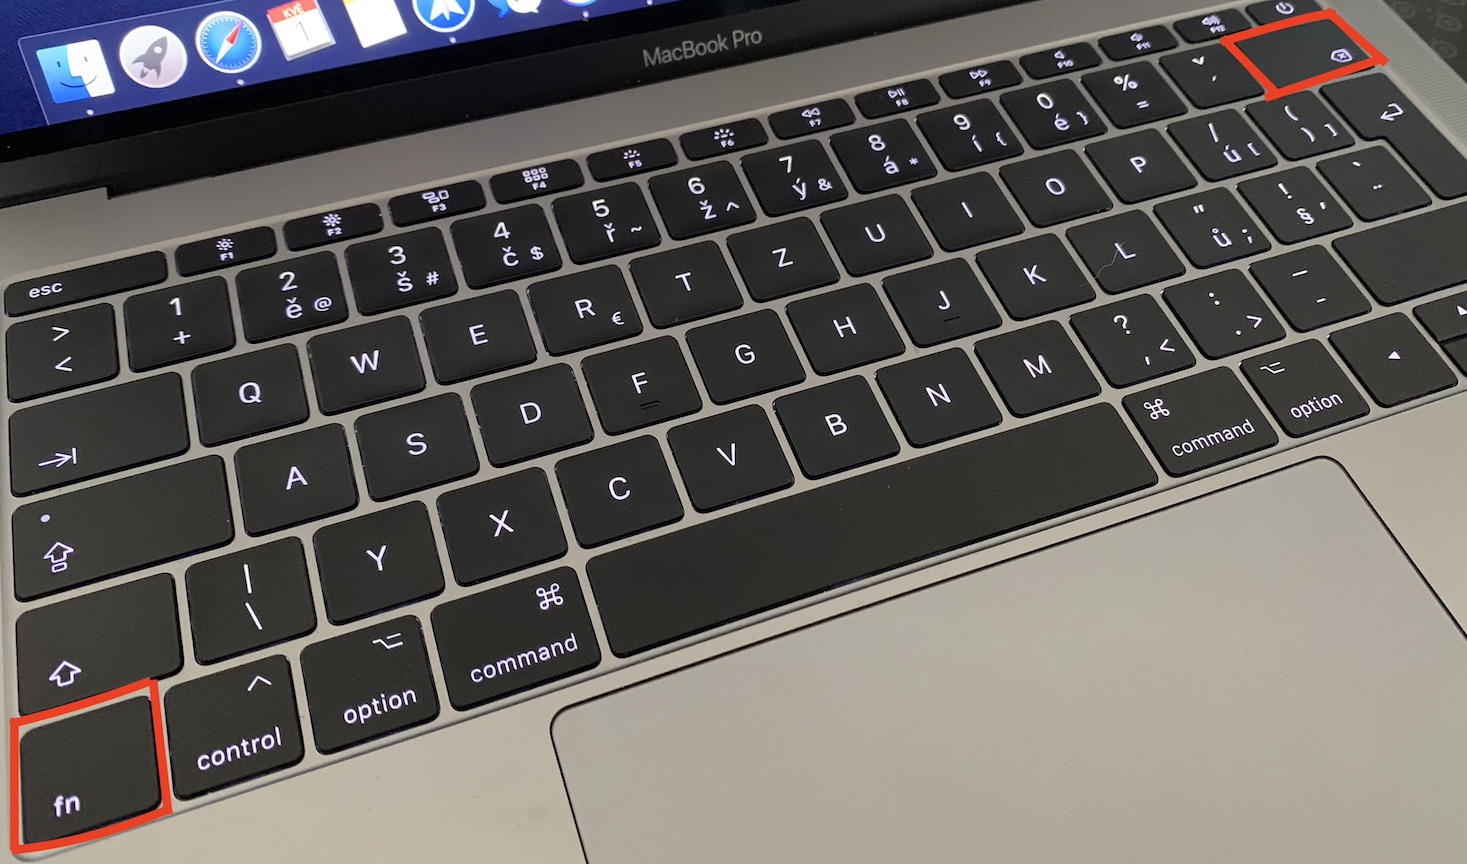
When writing articles, I sometimes need to use the keyboard functions Delete, which deletes characters ahead, not one after another, like Backspace. But I'm sure you noticed that MacBooky key Delete they don't have. But there is a simple trick that can replace the Backspace key. Simply hold down the key in the lower left part of the keyboard Fn a at the same squeeze Backspace. This shortcut actually replaces the key in the macOS operating system Delete.
10. Changing brightness and volume differently
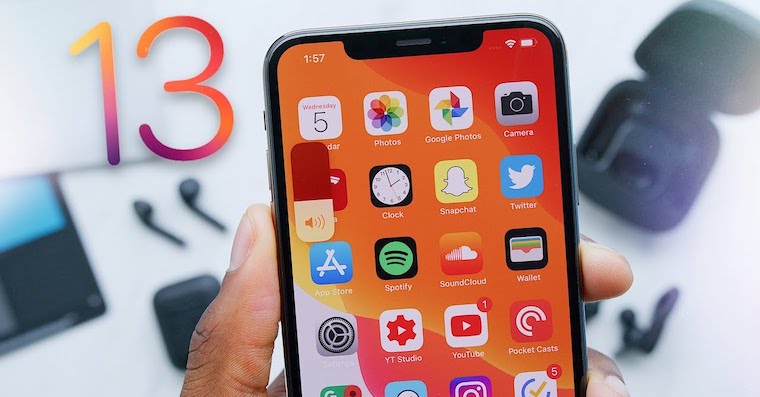
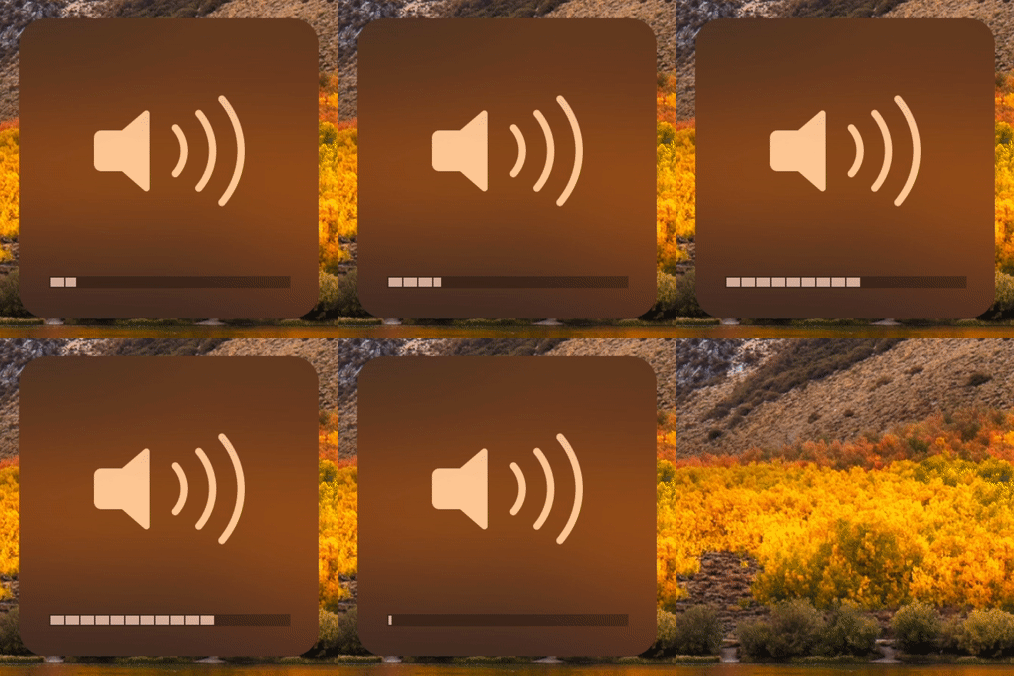
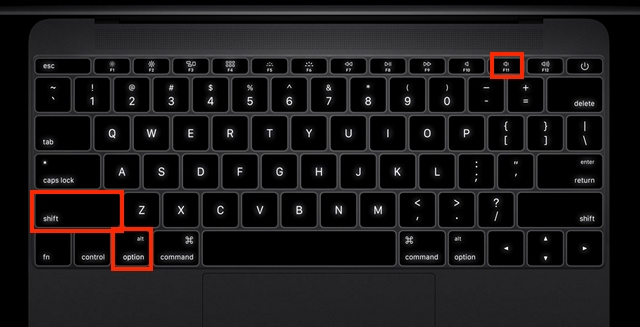
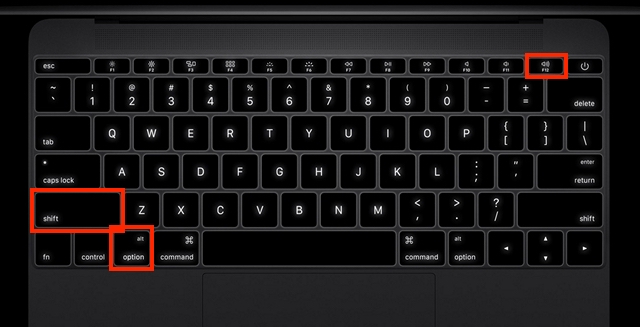
If you want to change the volume or the brightness level on a Mac, you usually use the predetermined key F1, F2, F11, F12 and others. Of course, most of us do. However, did you know that you can change the volume and brightness level a lot on your Mac more sensitive? Enough hold the Option and Shift keys while pressing the keys. Pro For a more sensitive increase in brightness, hold down the keys Option a Shift and you start squeezing F2.
I hope you learned something new with the help of this article. I personally use all of these ten tips that I've shared with you today on a daily basis and I can't imagine functioning without them.