Before you start reading the following lines, we would like to draw your attention to the fact that they are primarily dedicated to users who found their first Apple product. They are the ones who will use the advice from this article the most (and probably the only ones).
You've been good all year and you made a wish for Christmas HomeUnder (mini)? If you are reading this article right now, it means that you probably unwrapped it under the Christmas tree a short while ago. What are we going to lie to ourselves, HomePod is not as widespread among users as, for example, iPhone – most of you probably own the first one. If you want to find out what you actually have with it now, HomeIf you can do it, then definitely continue reading this article. On the other hand, if you have already done at least one HomeIf you own it, you probably won't learn anything new here.
You might be interested in
Wiring and connection
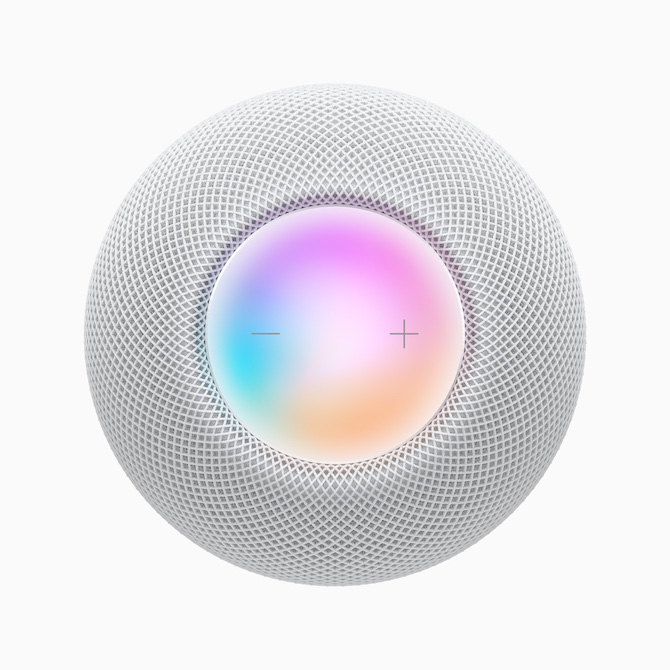
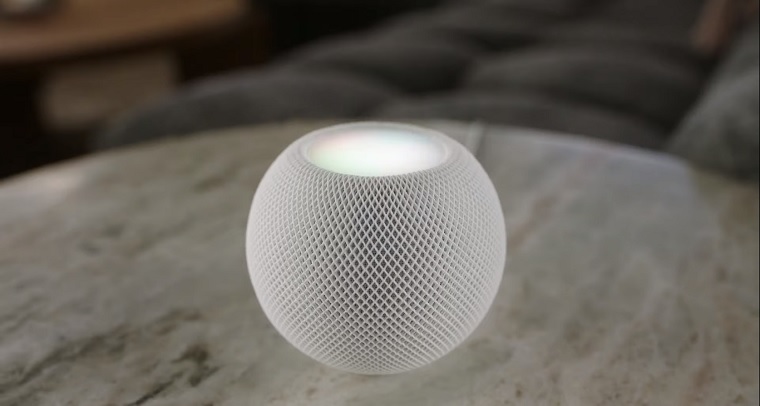
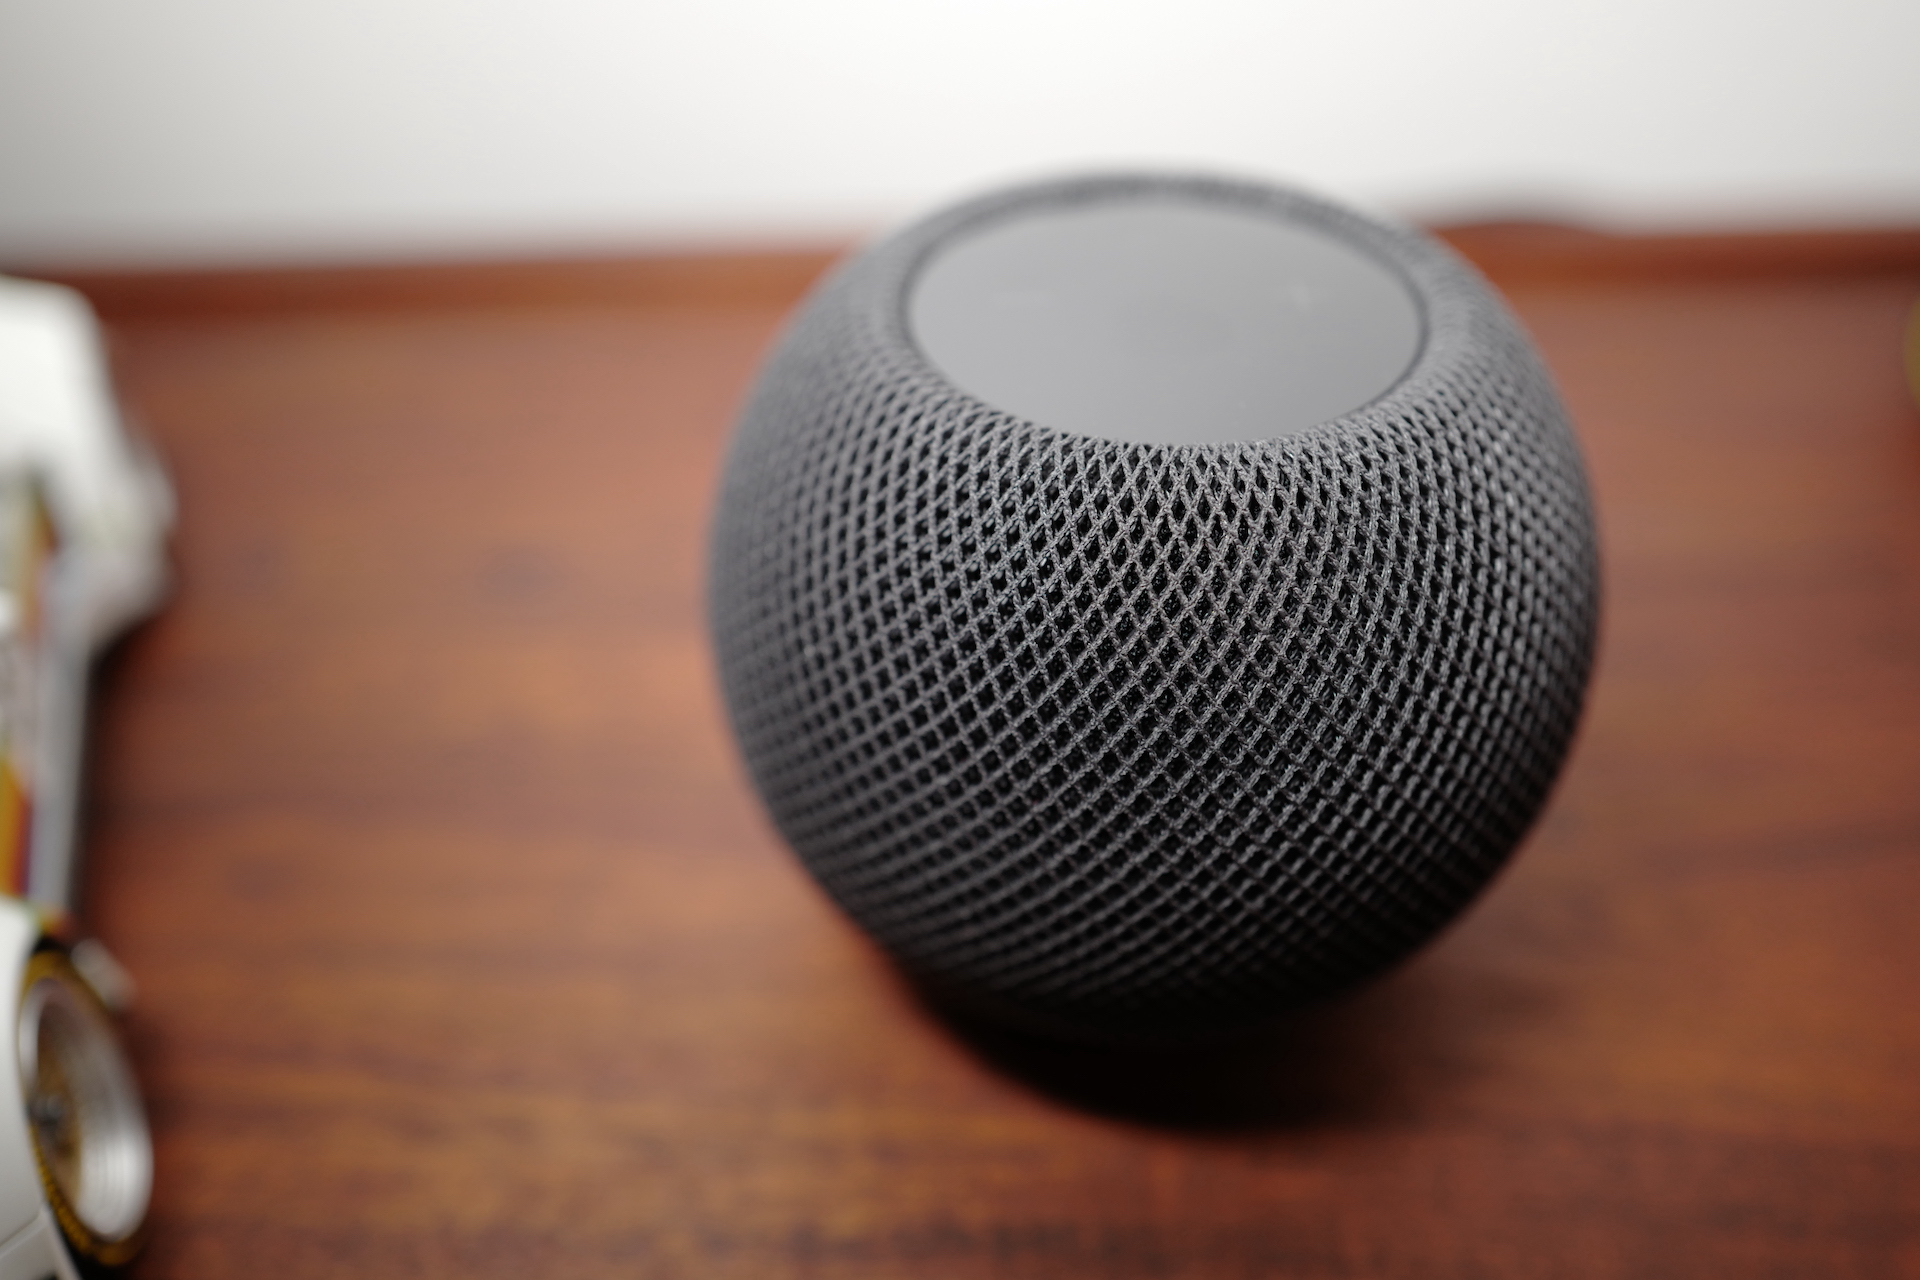
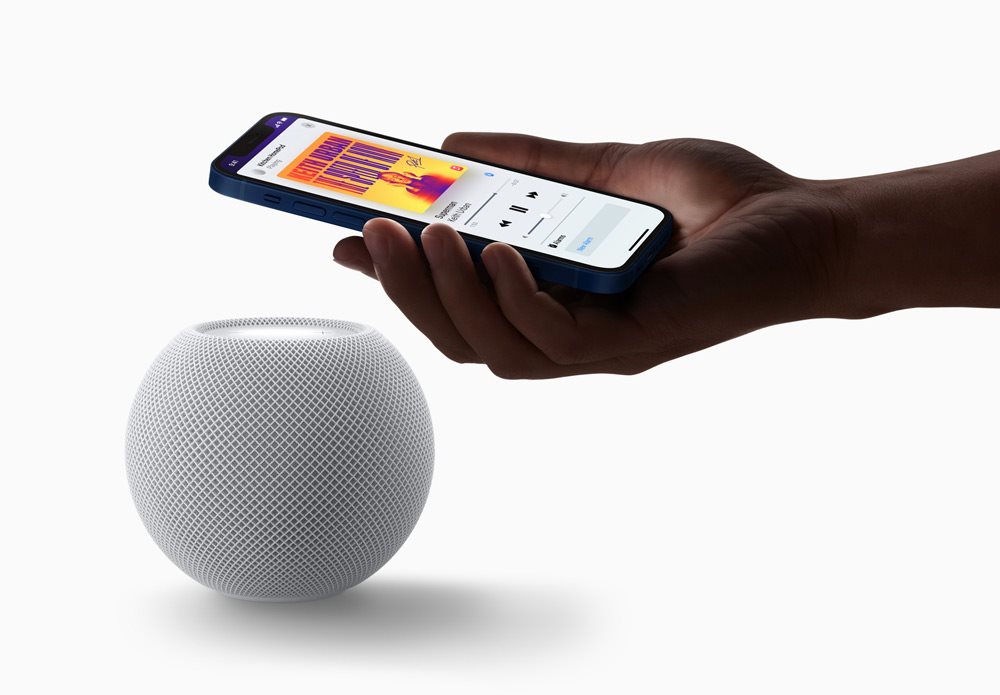
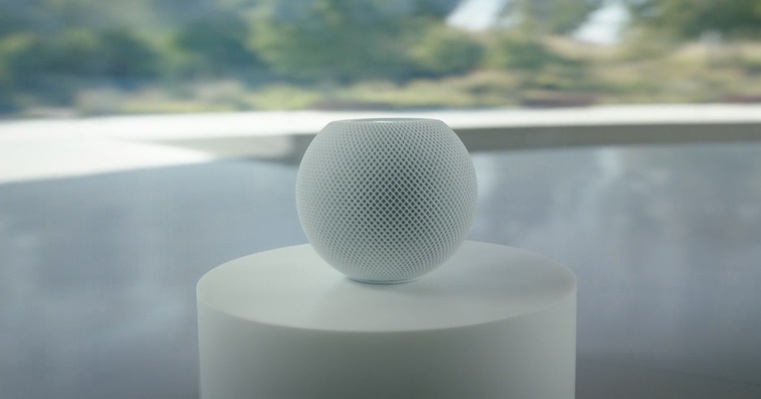
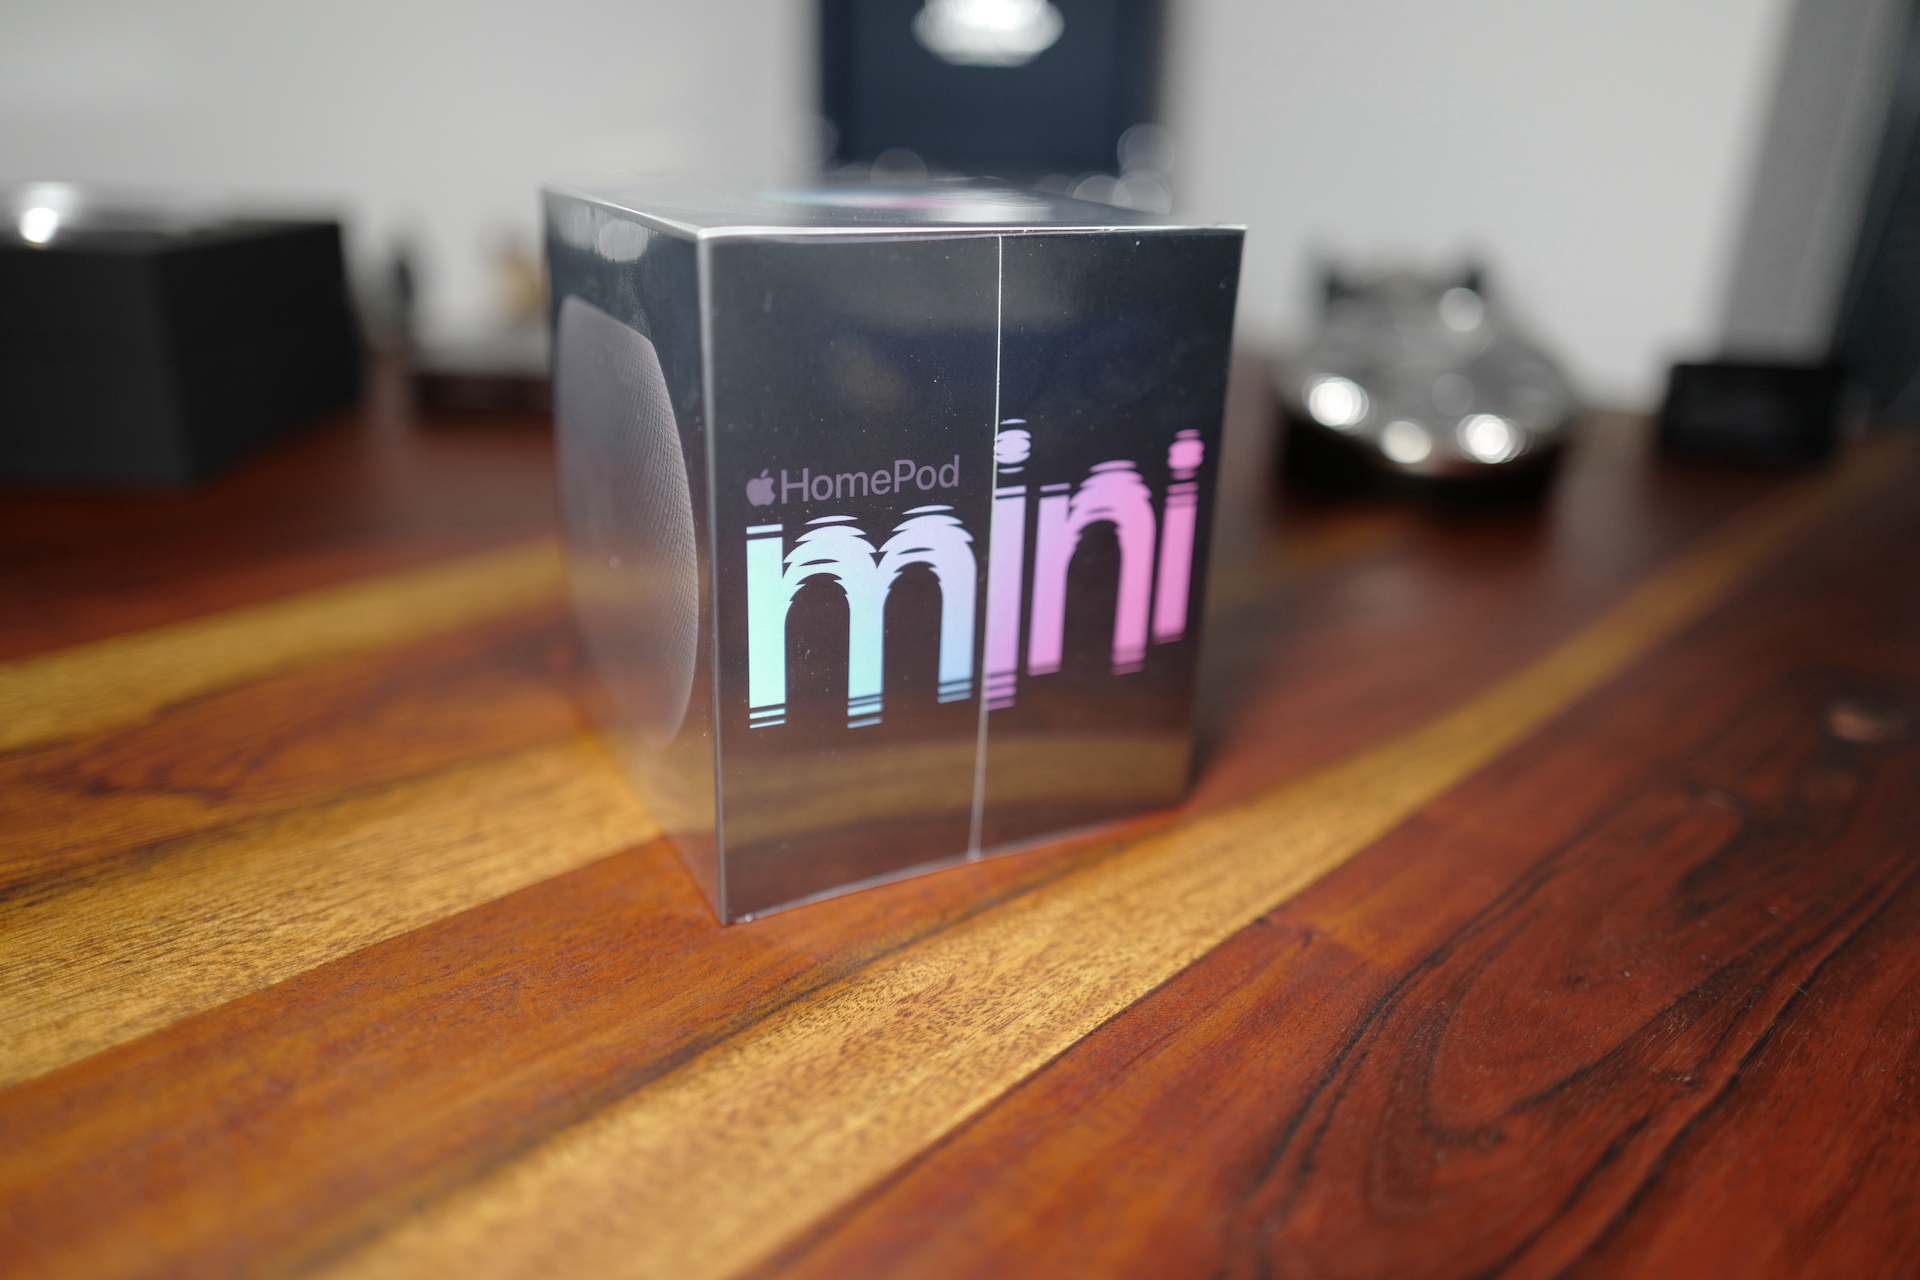
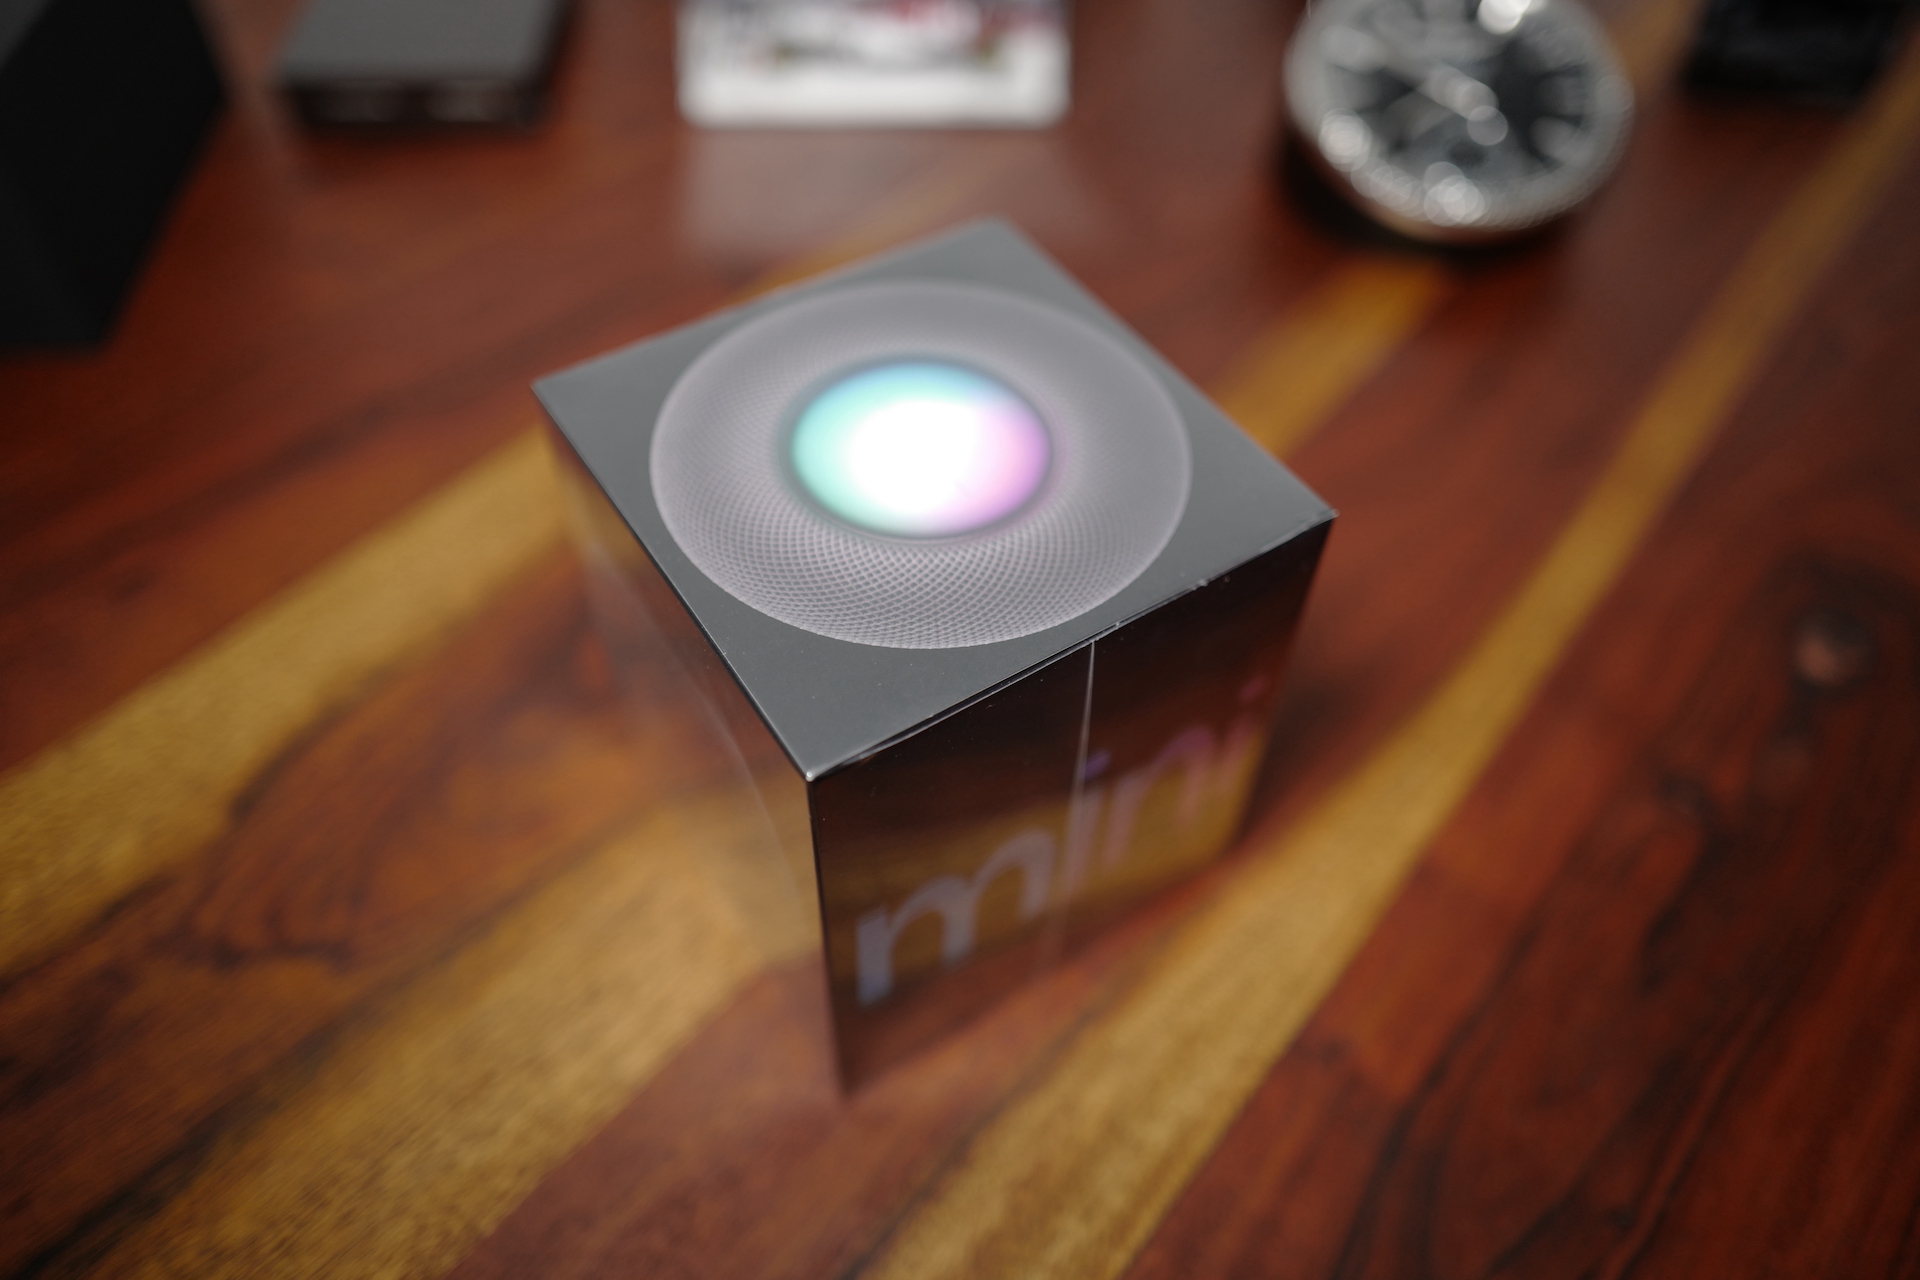
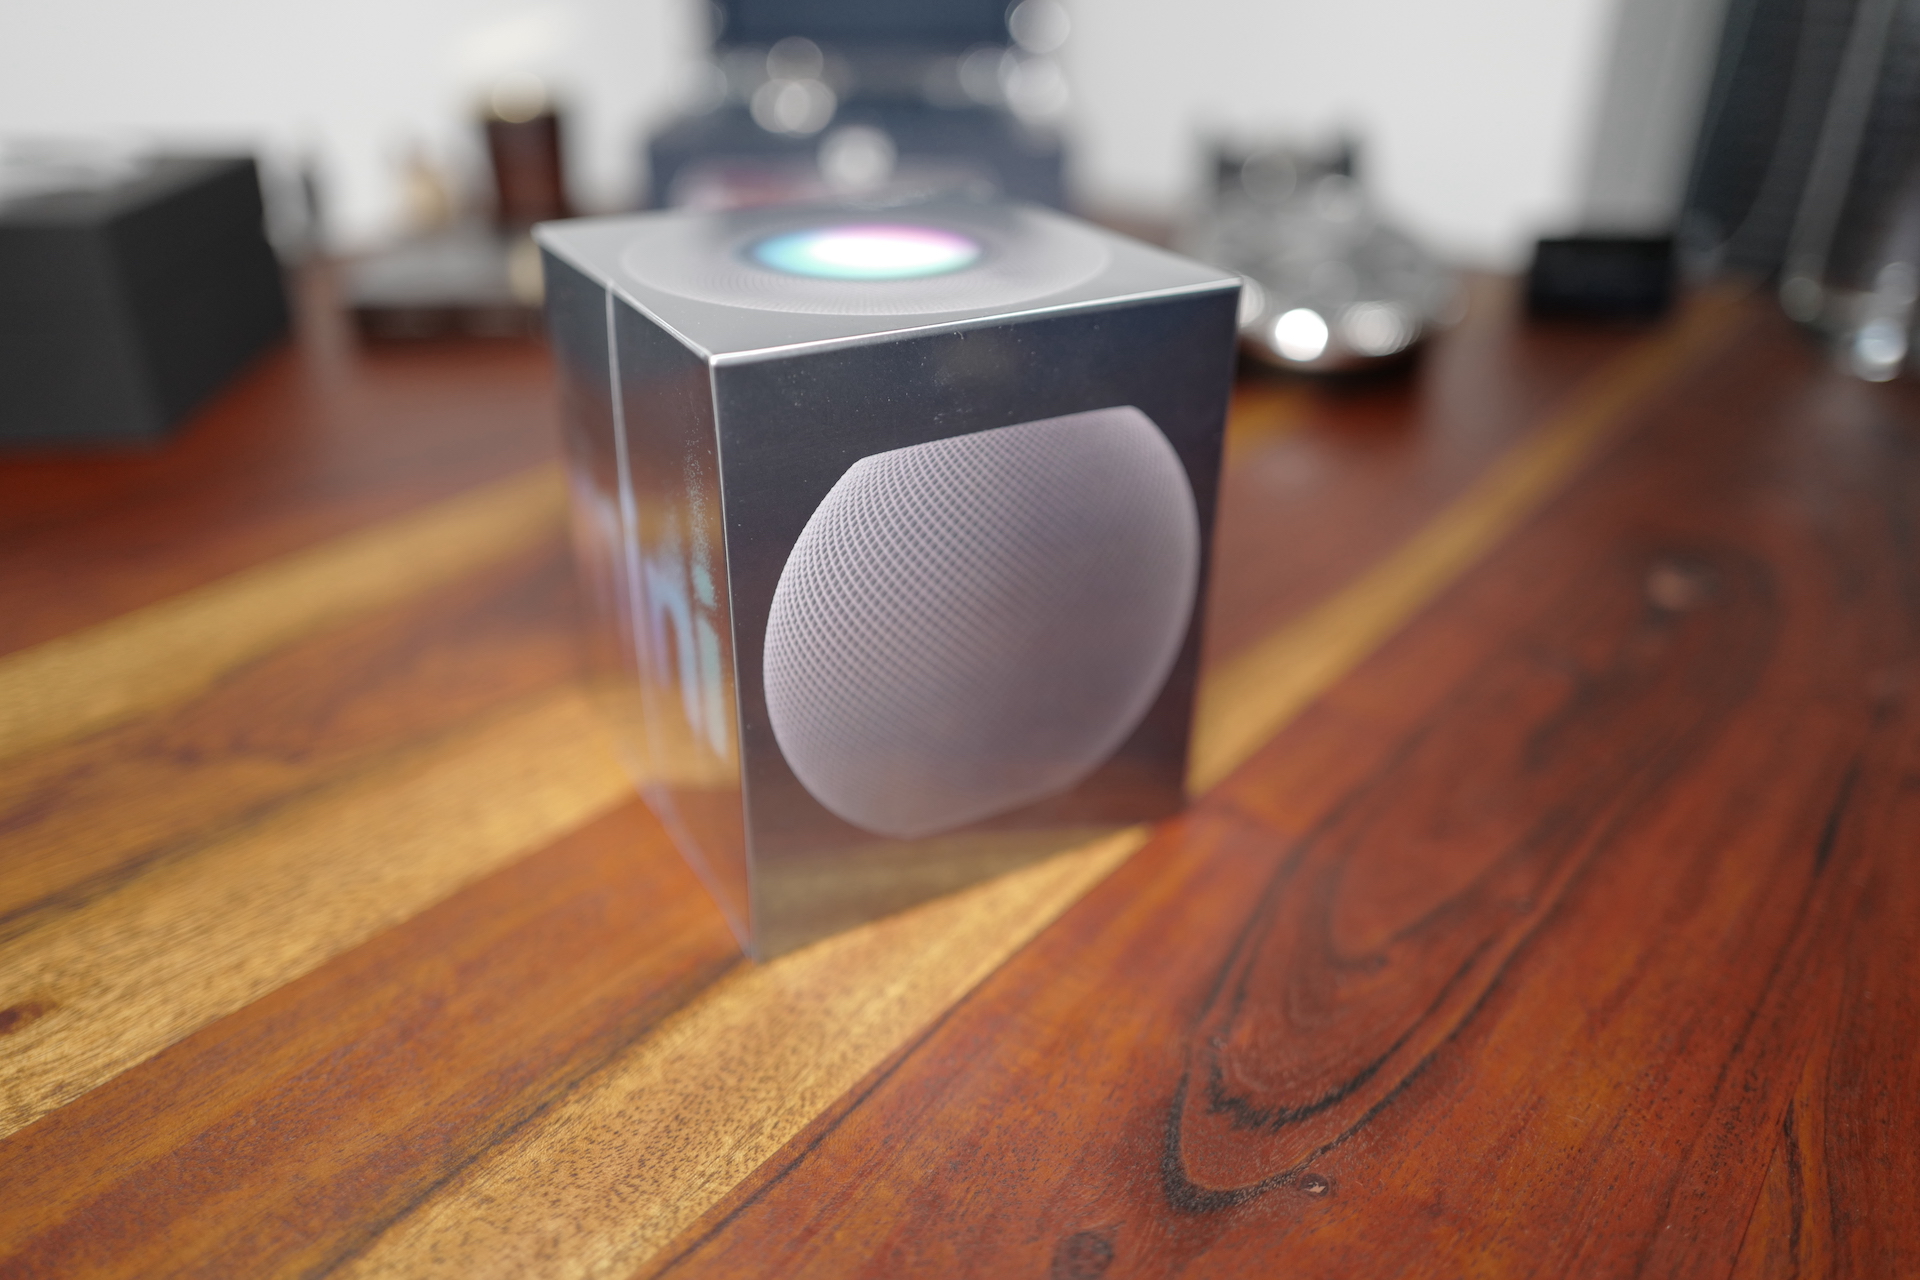
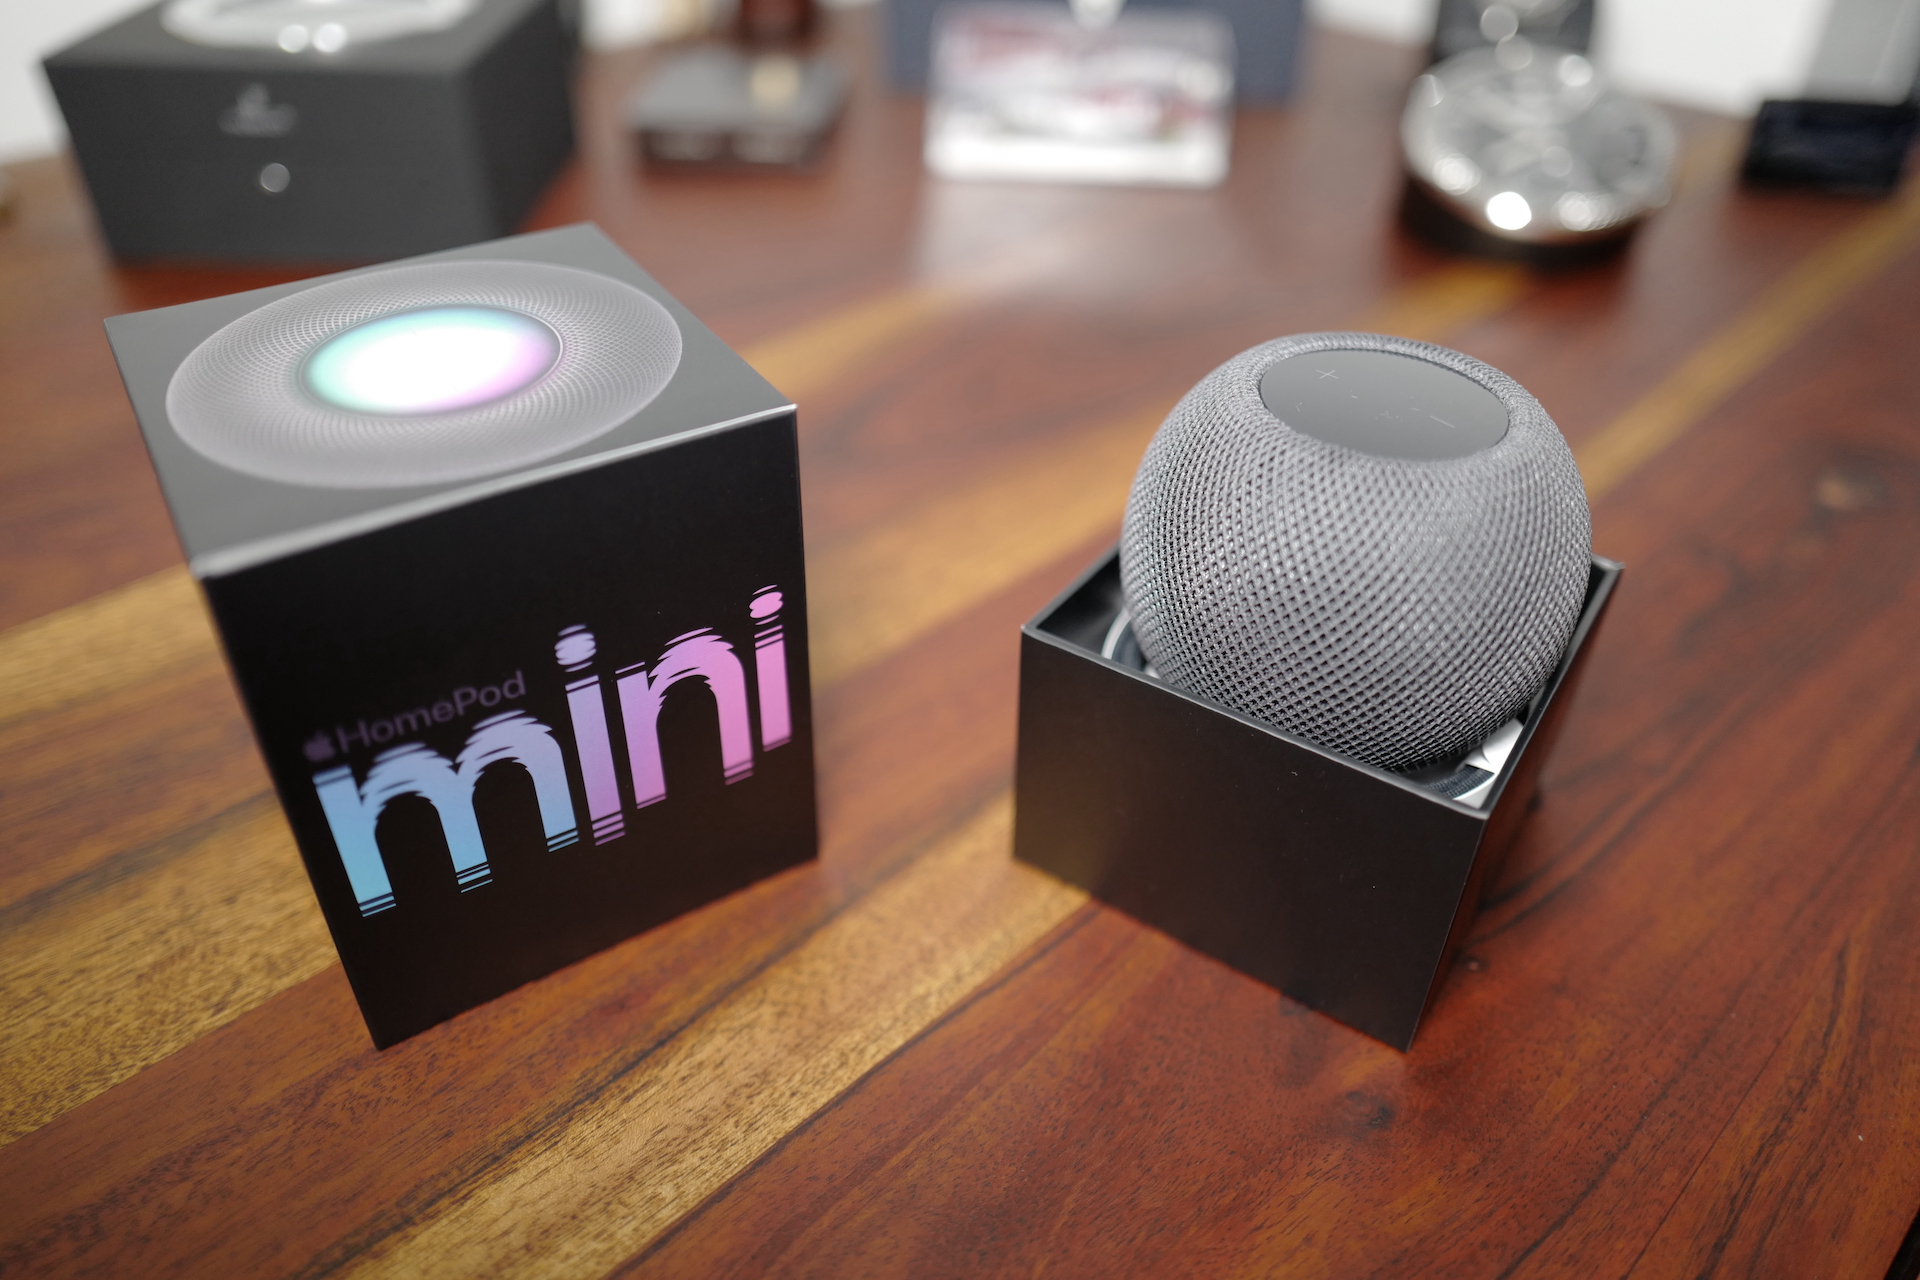
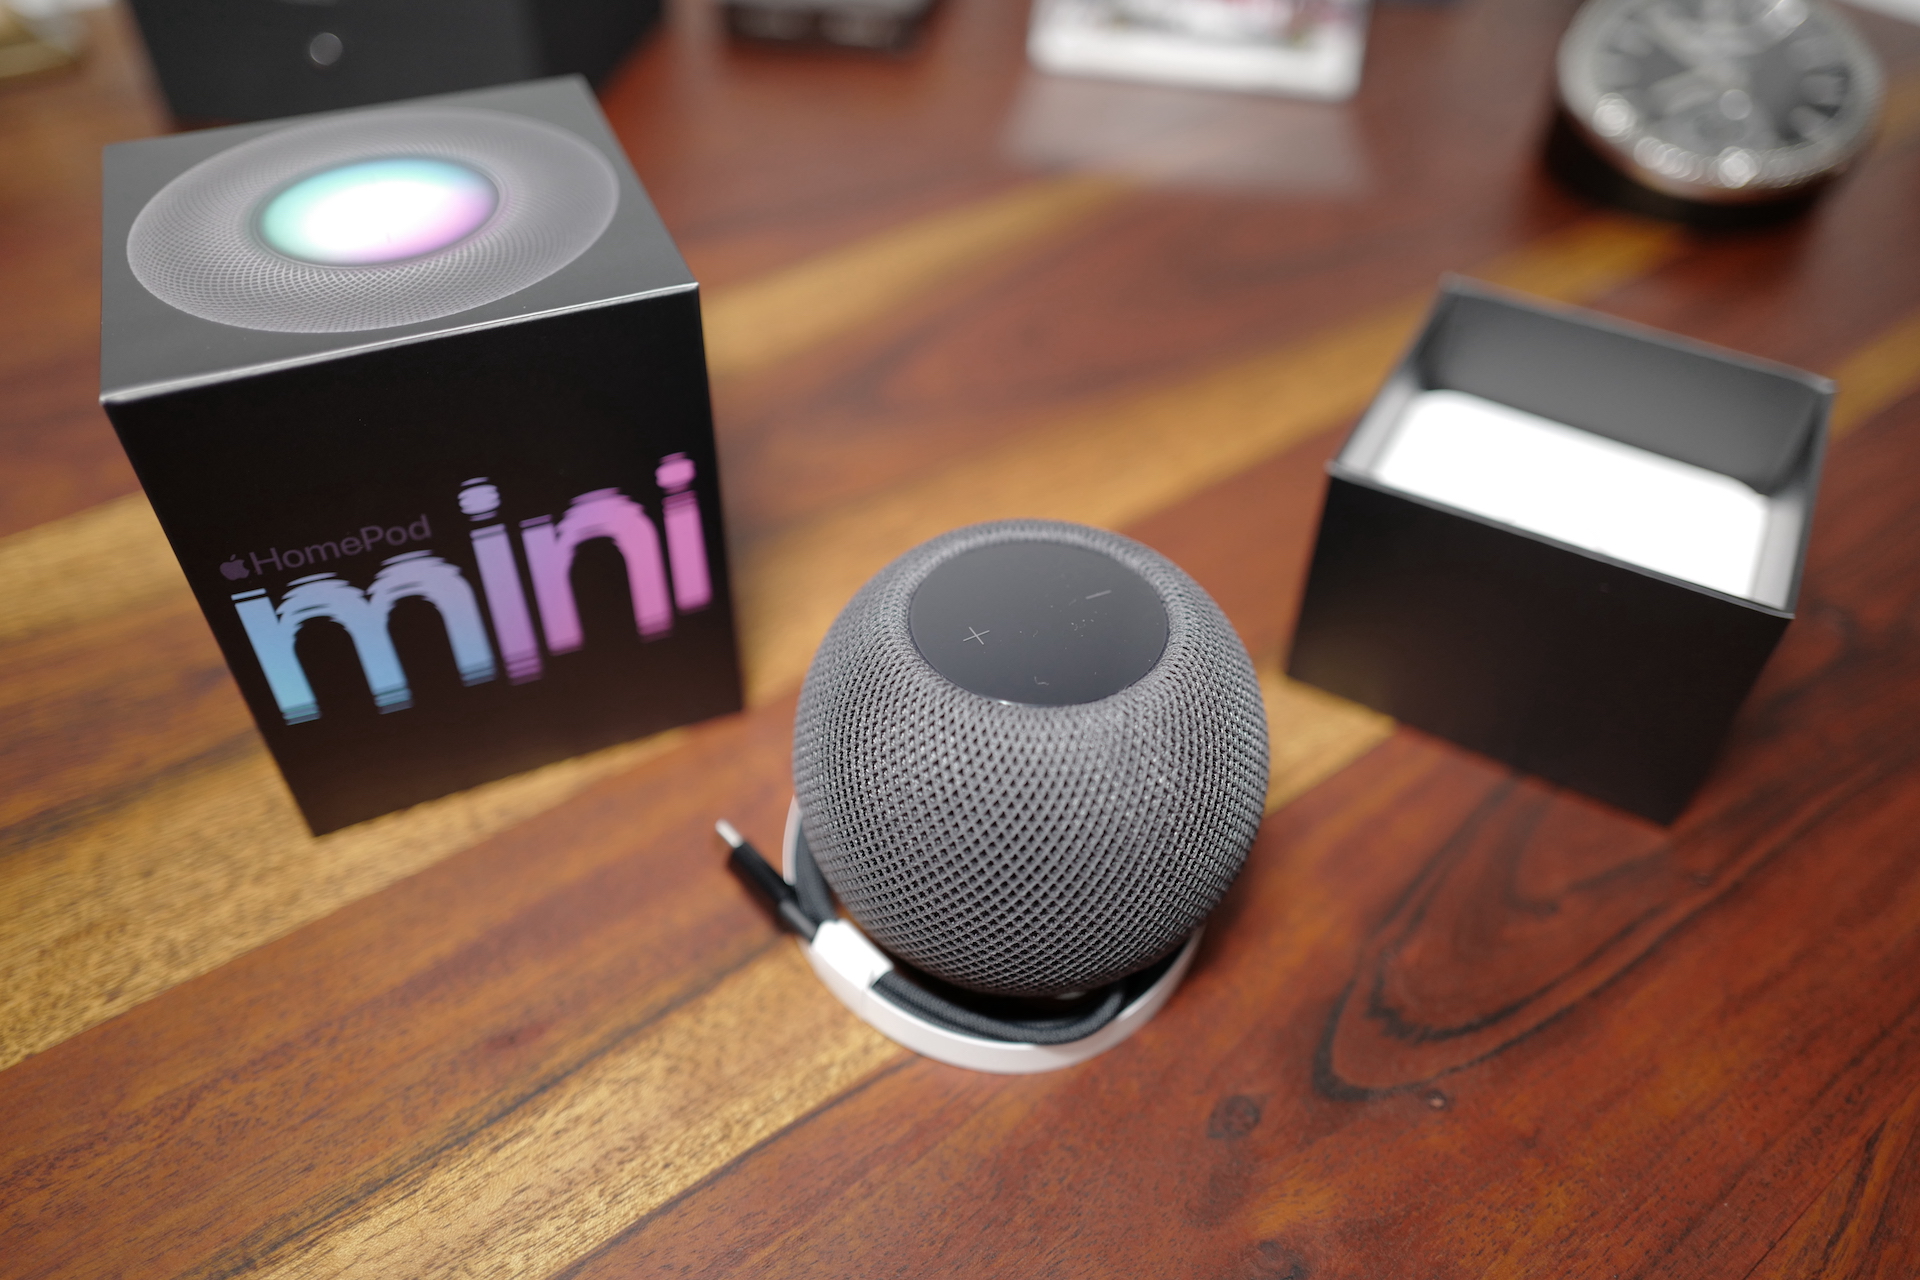
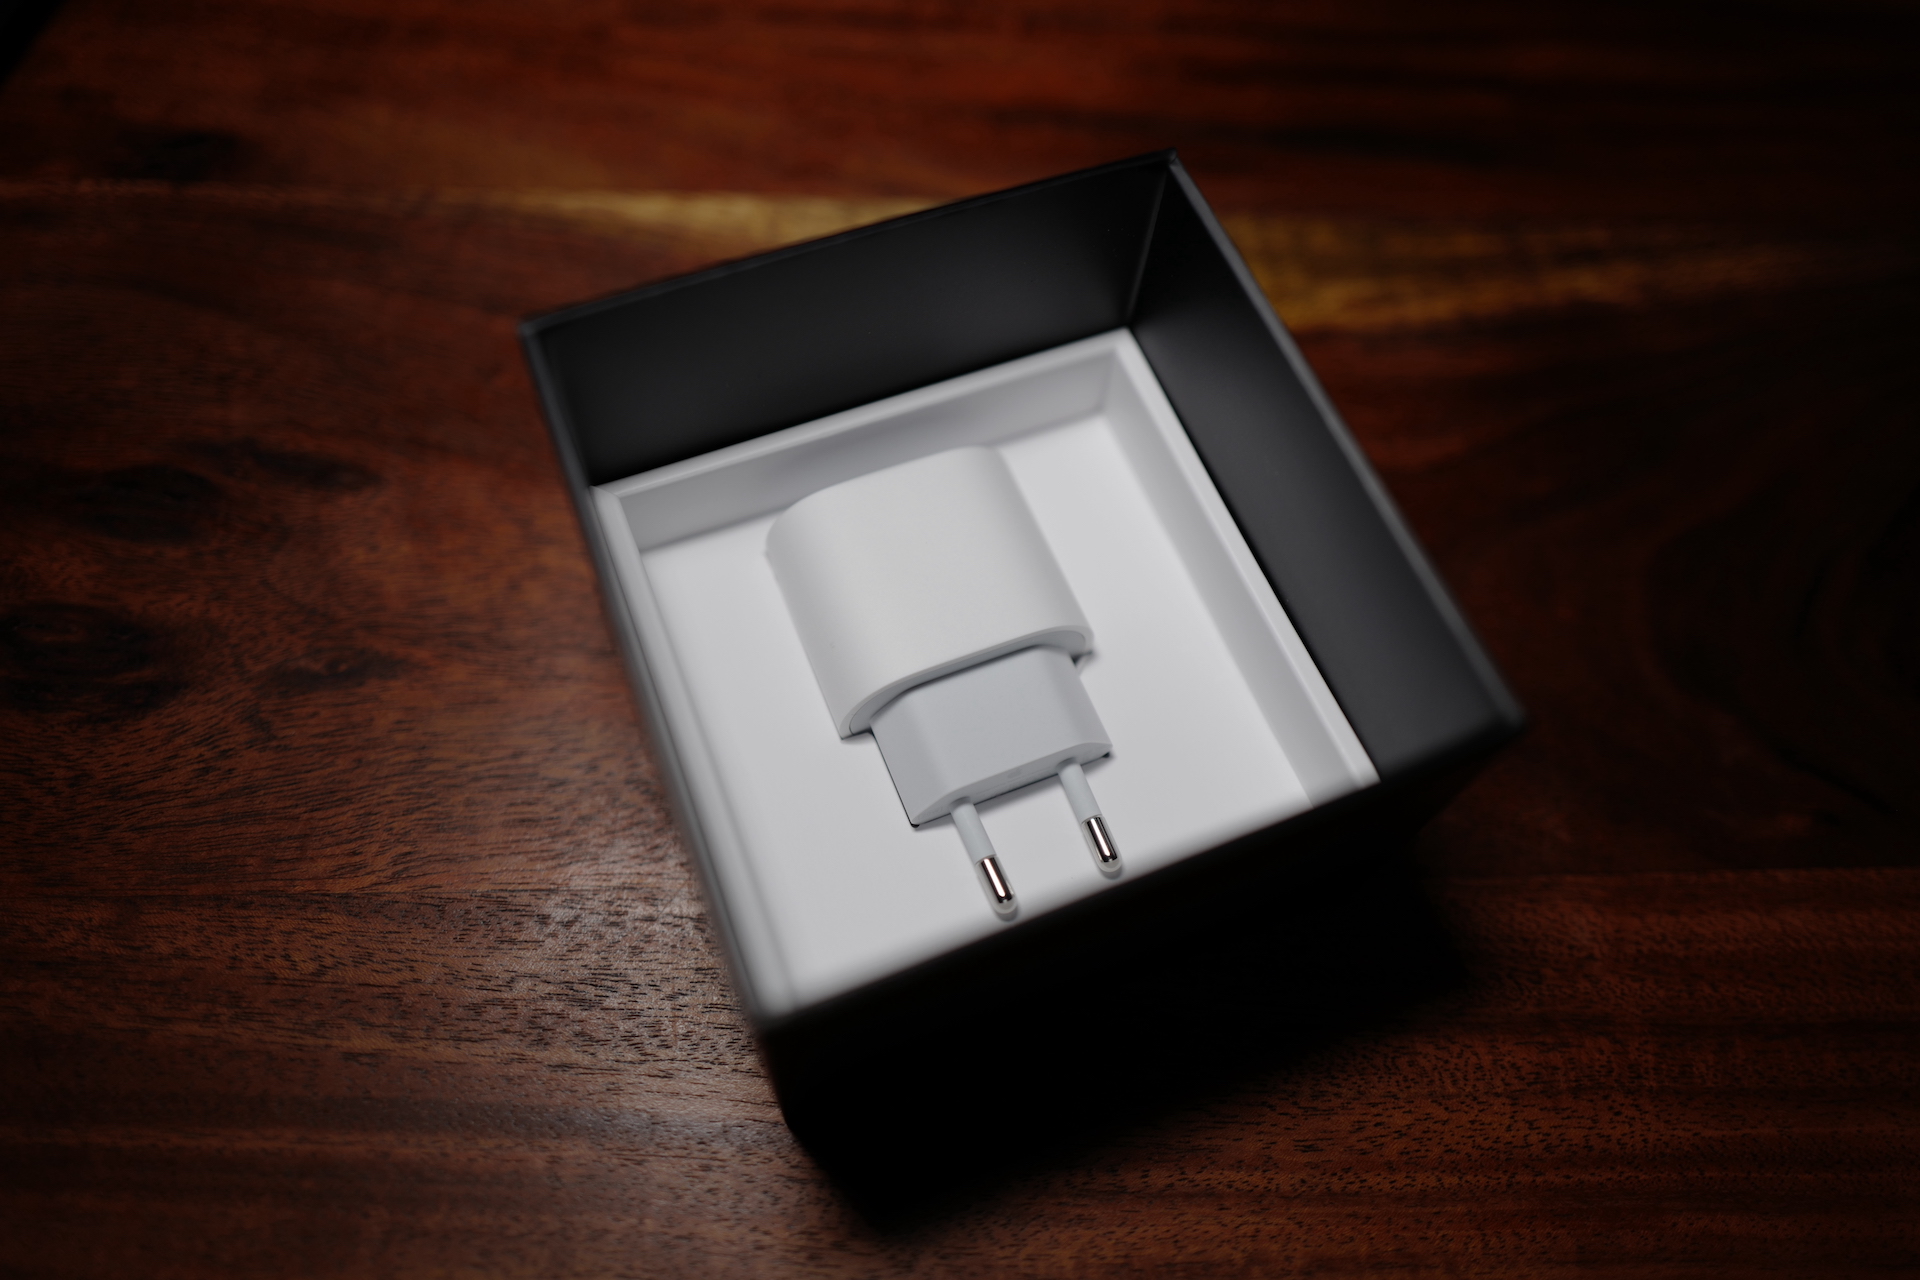
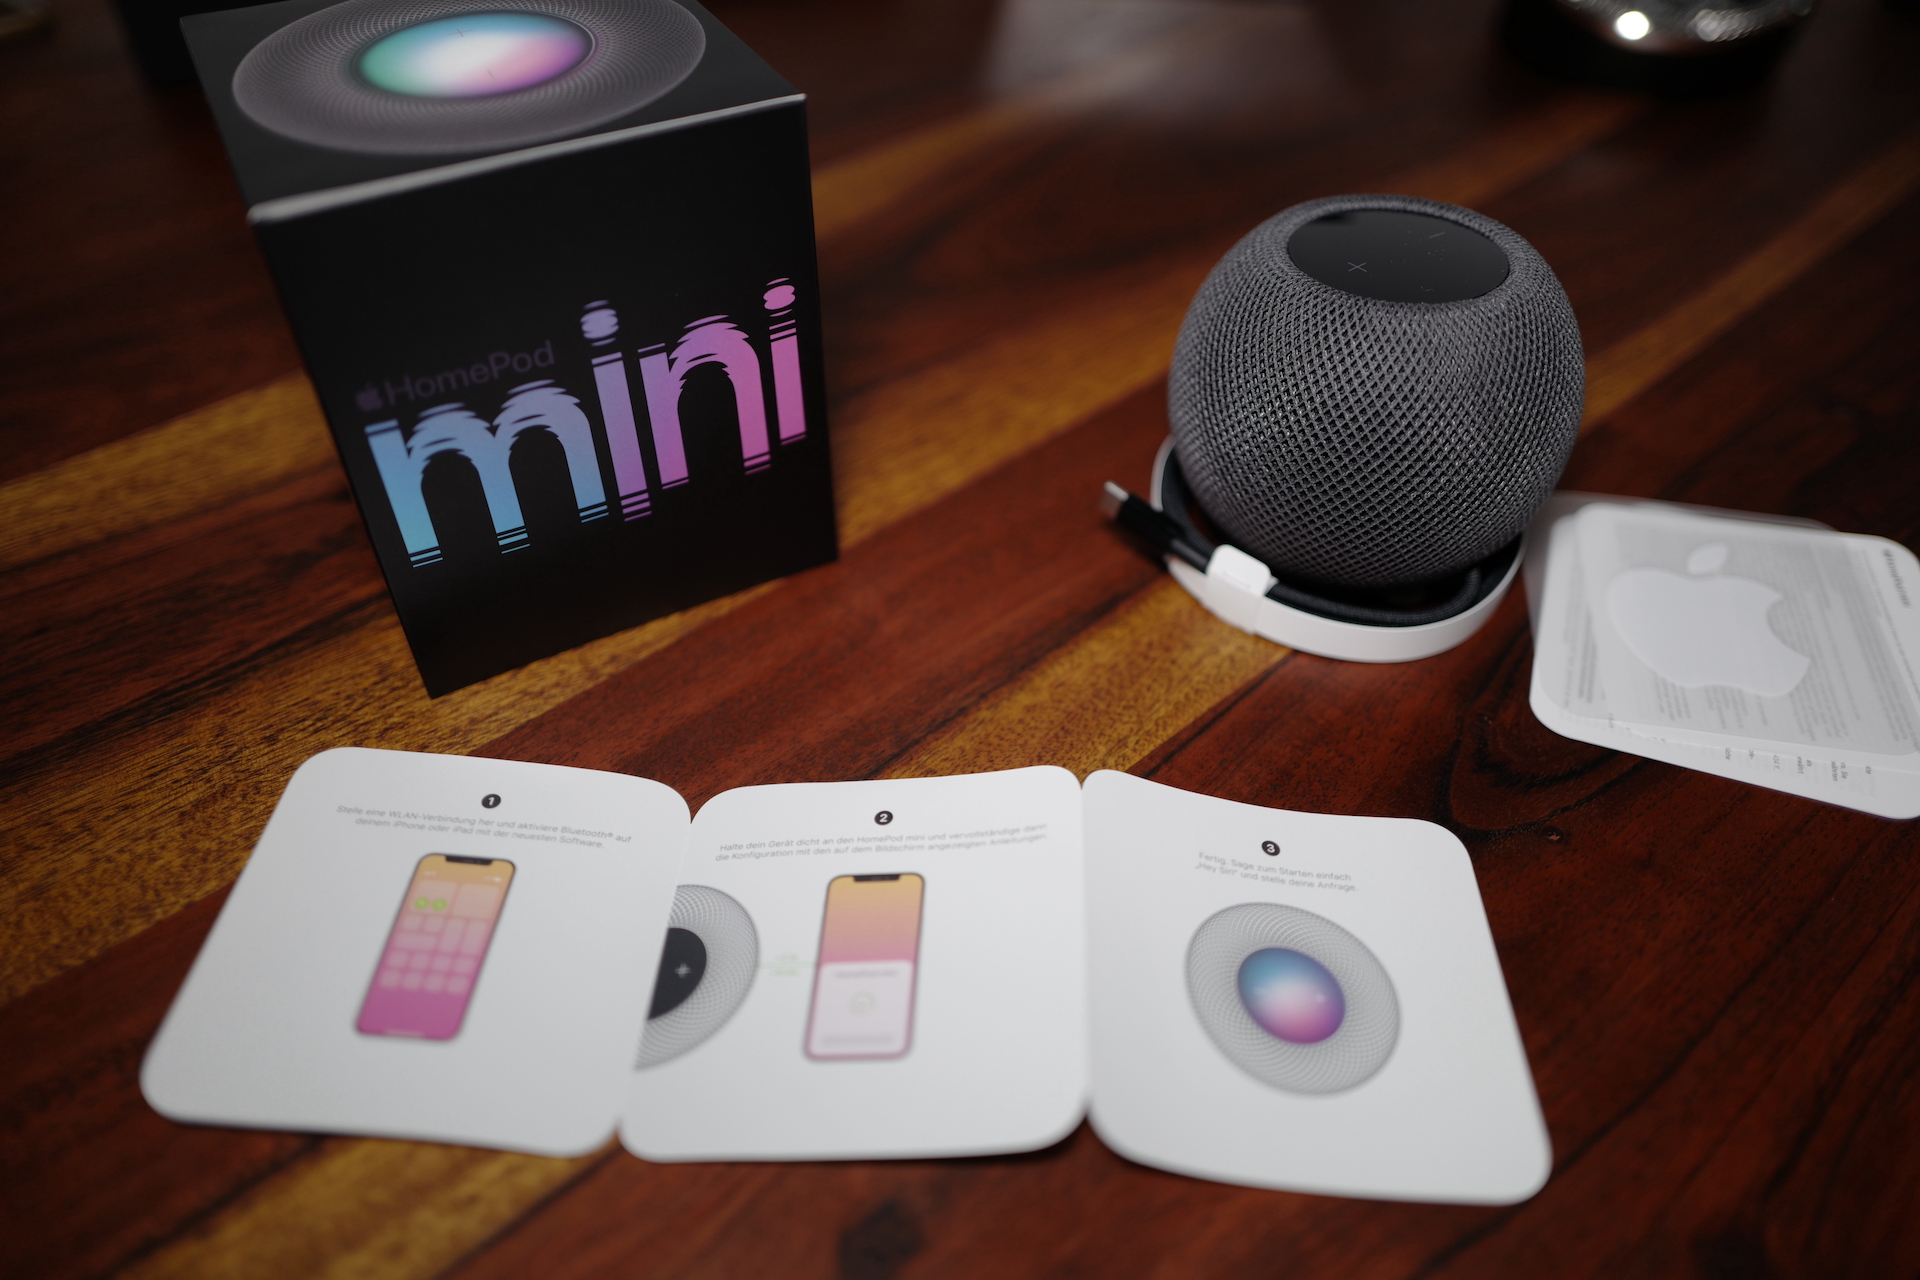
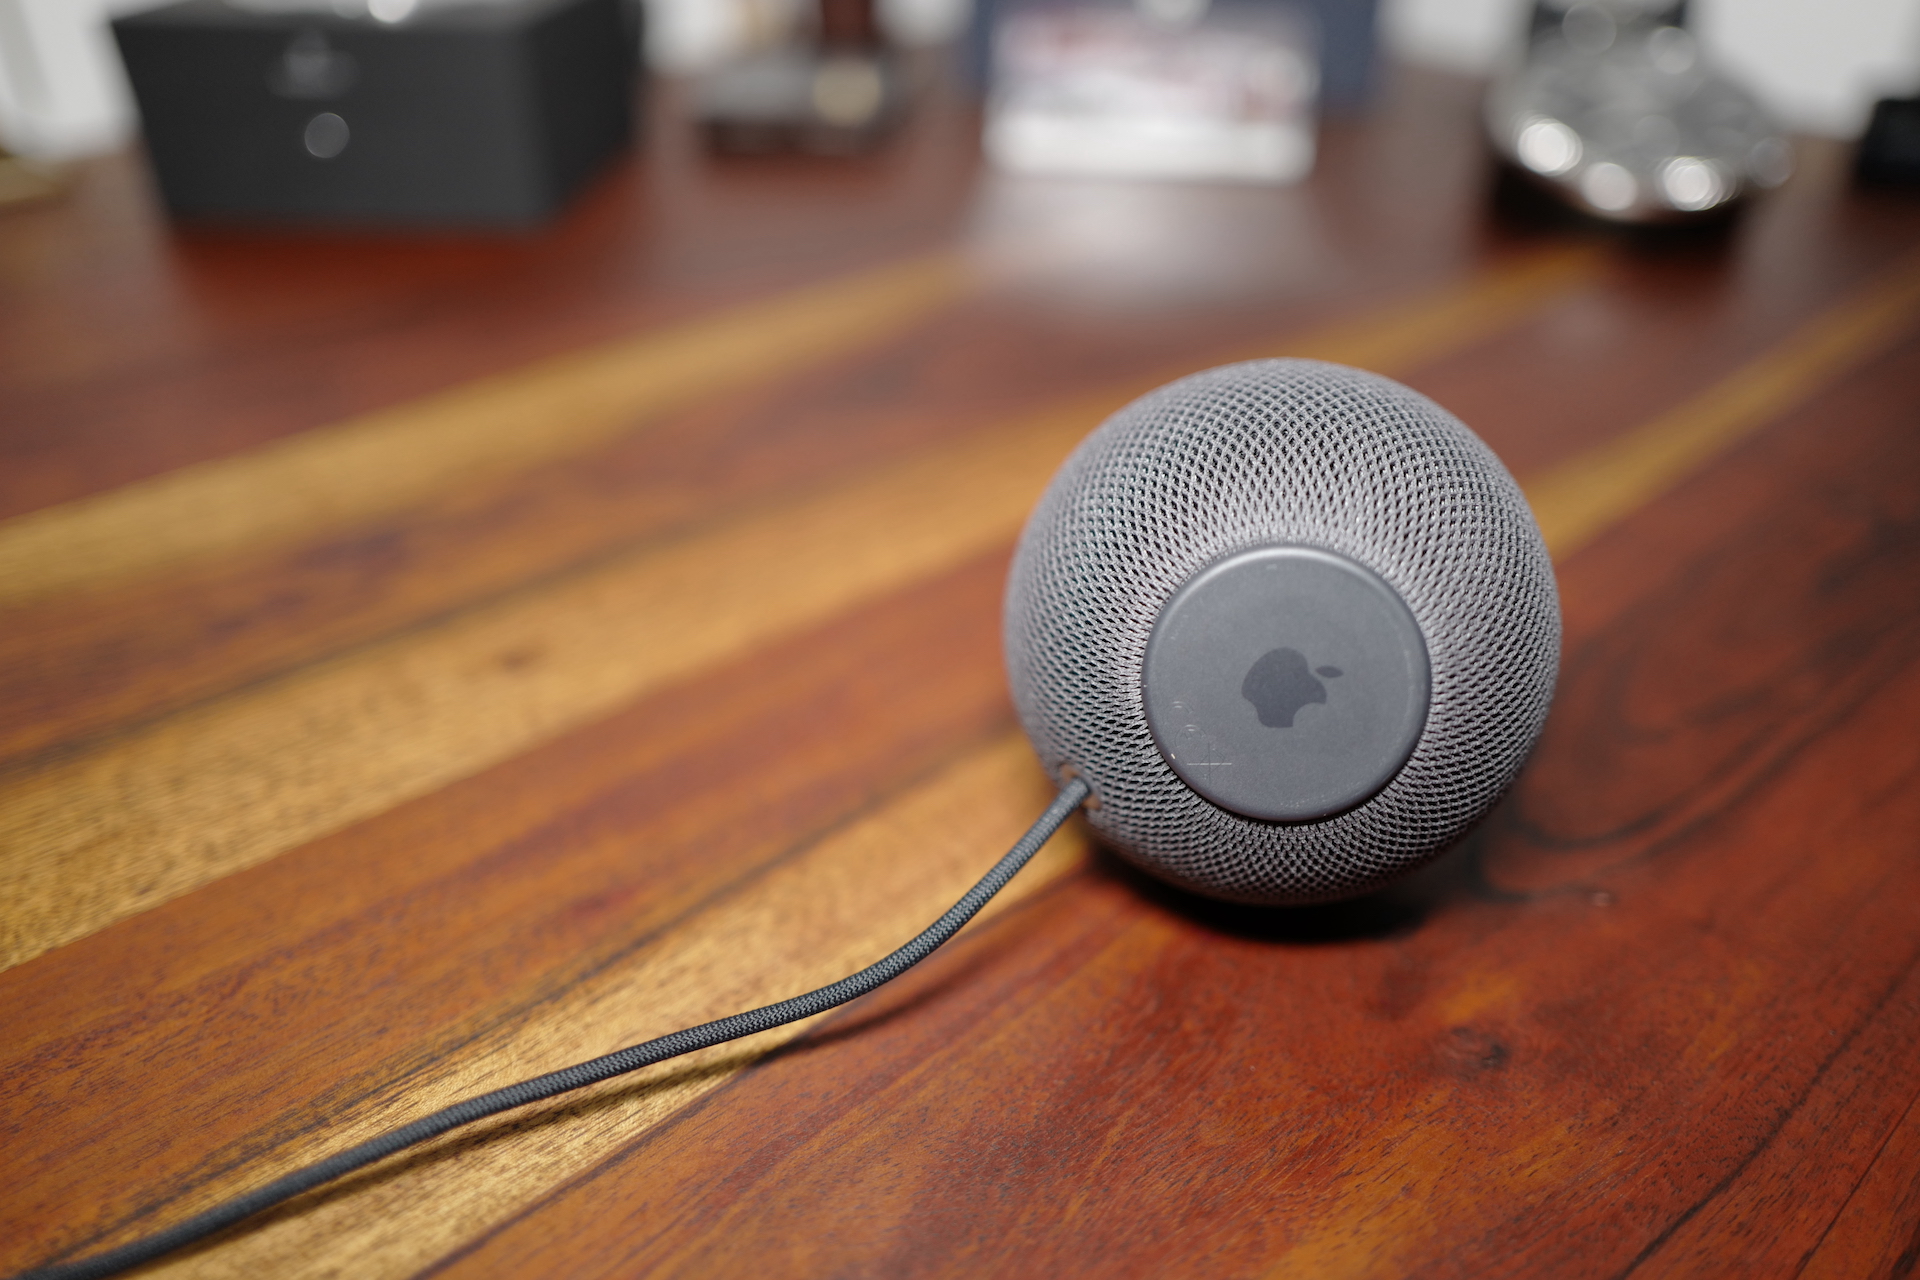
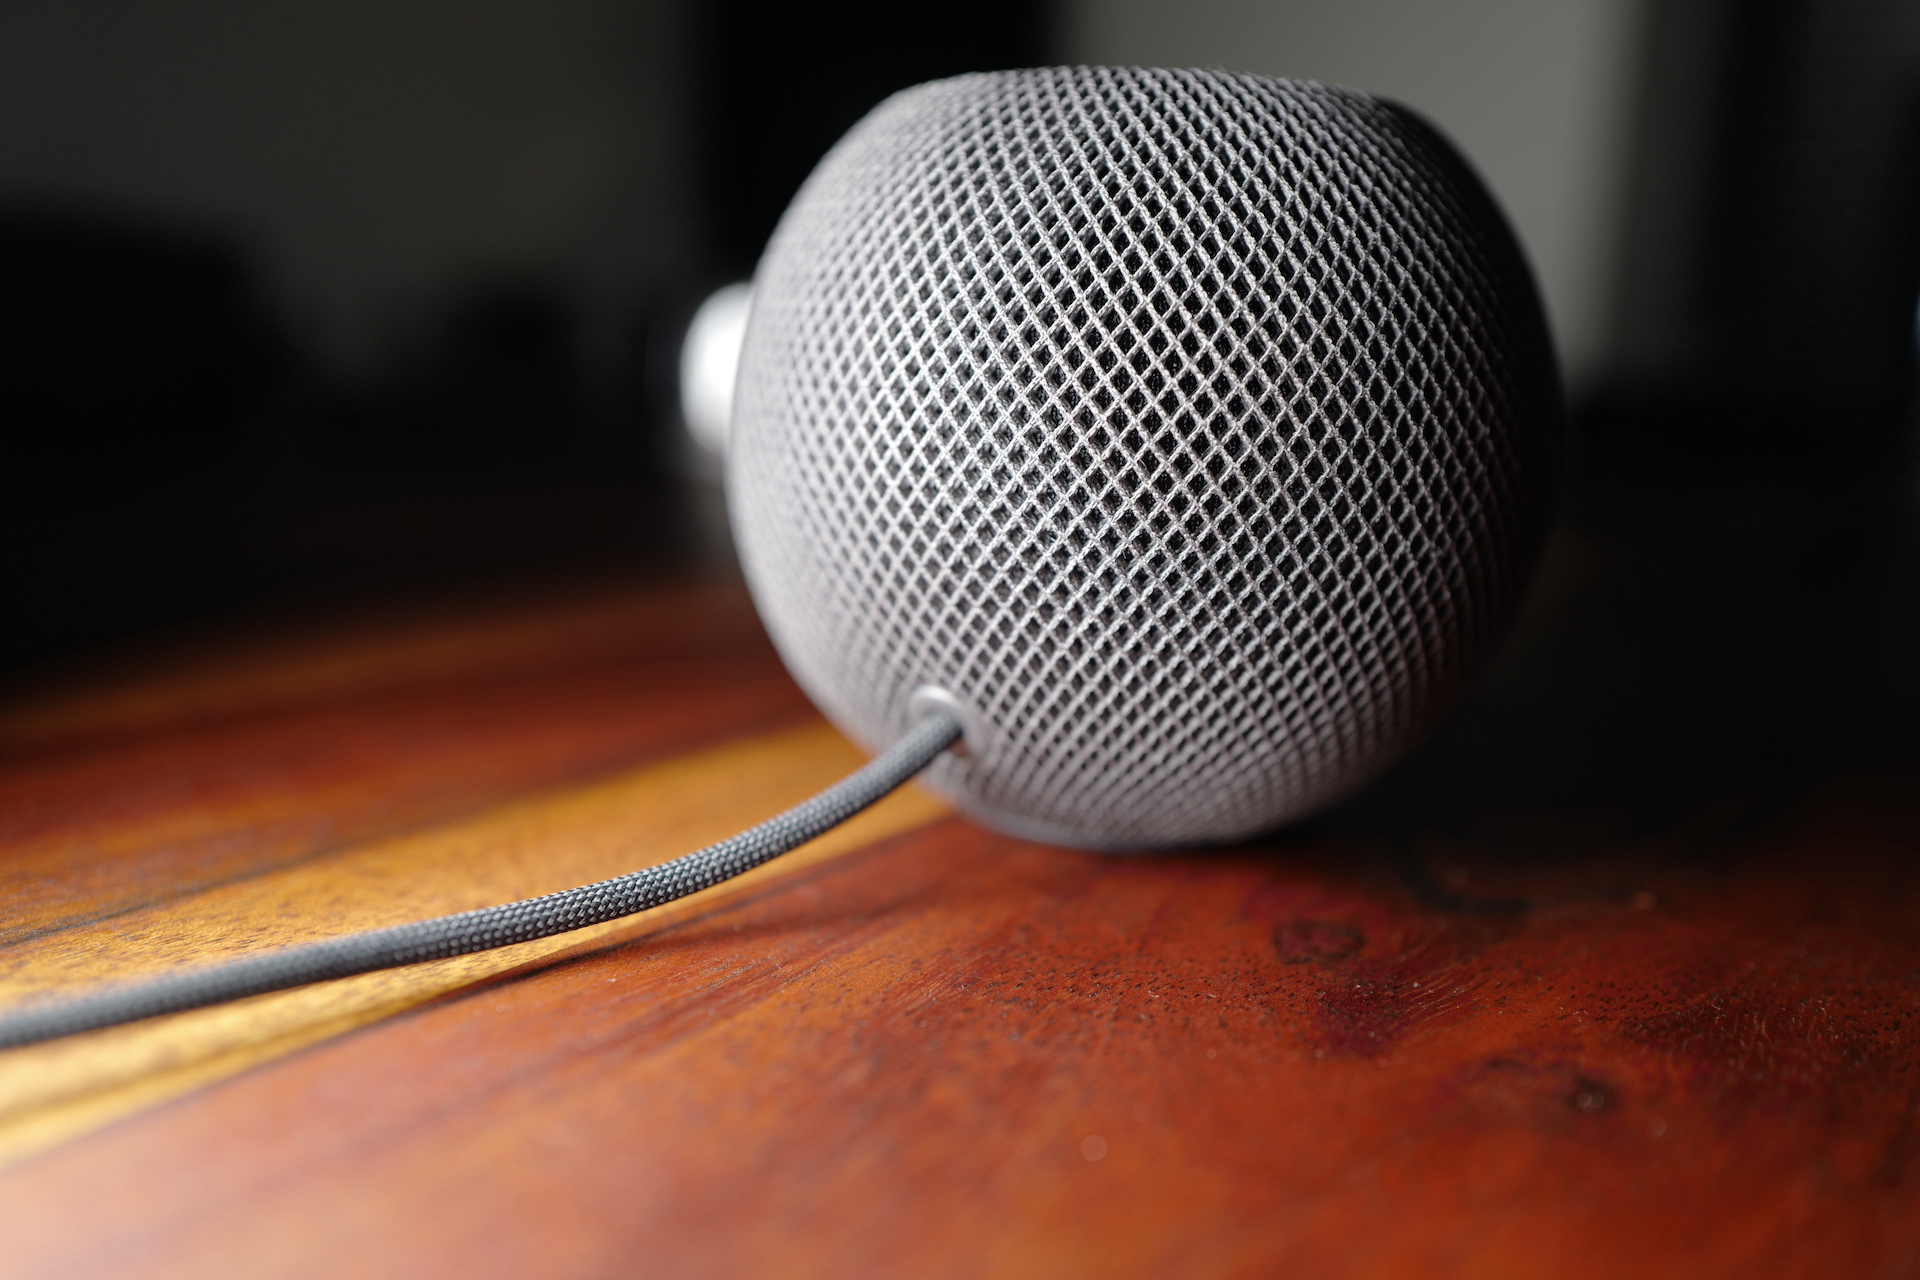
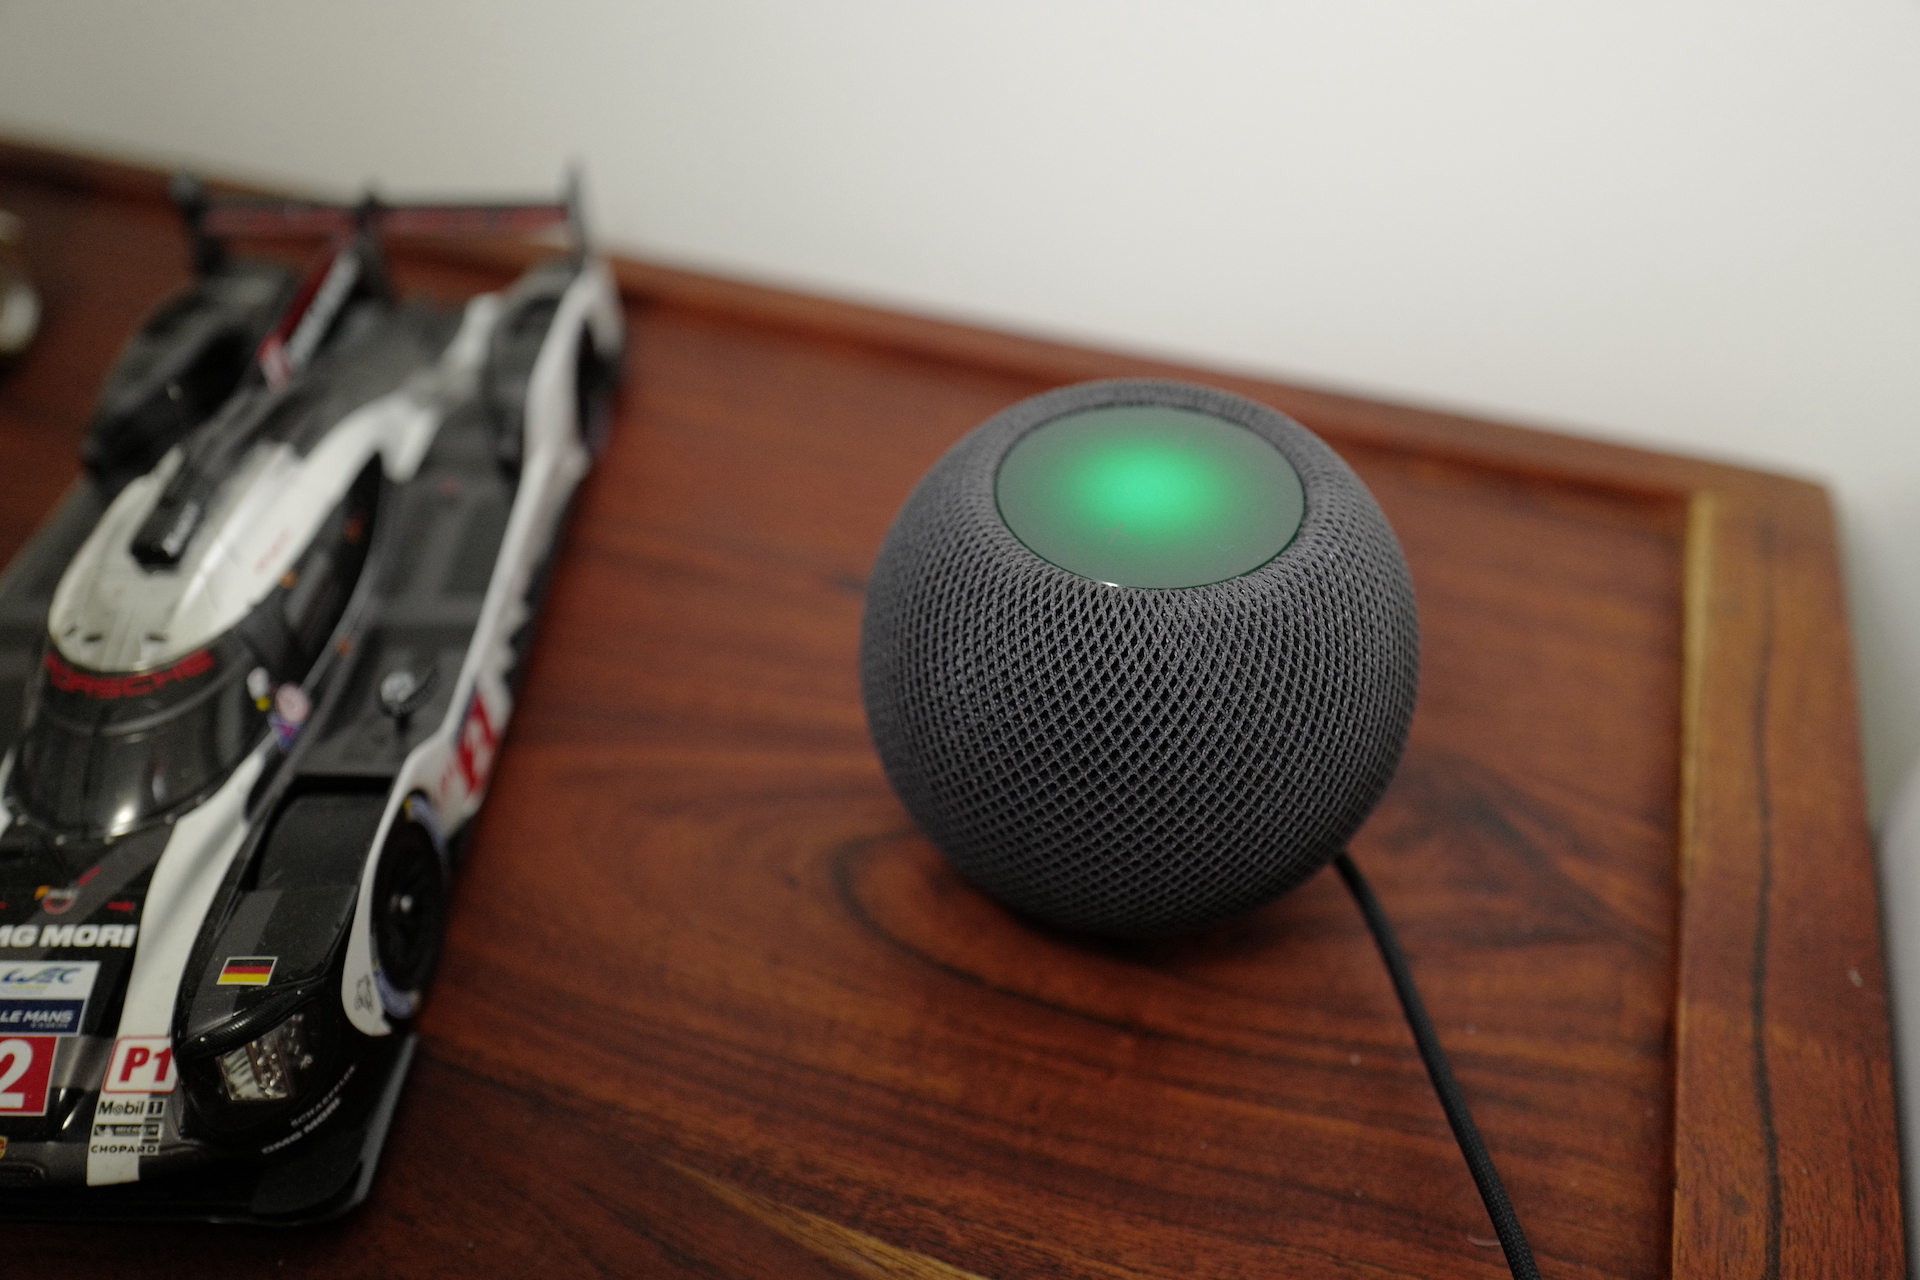
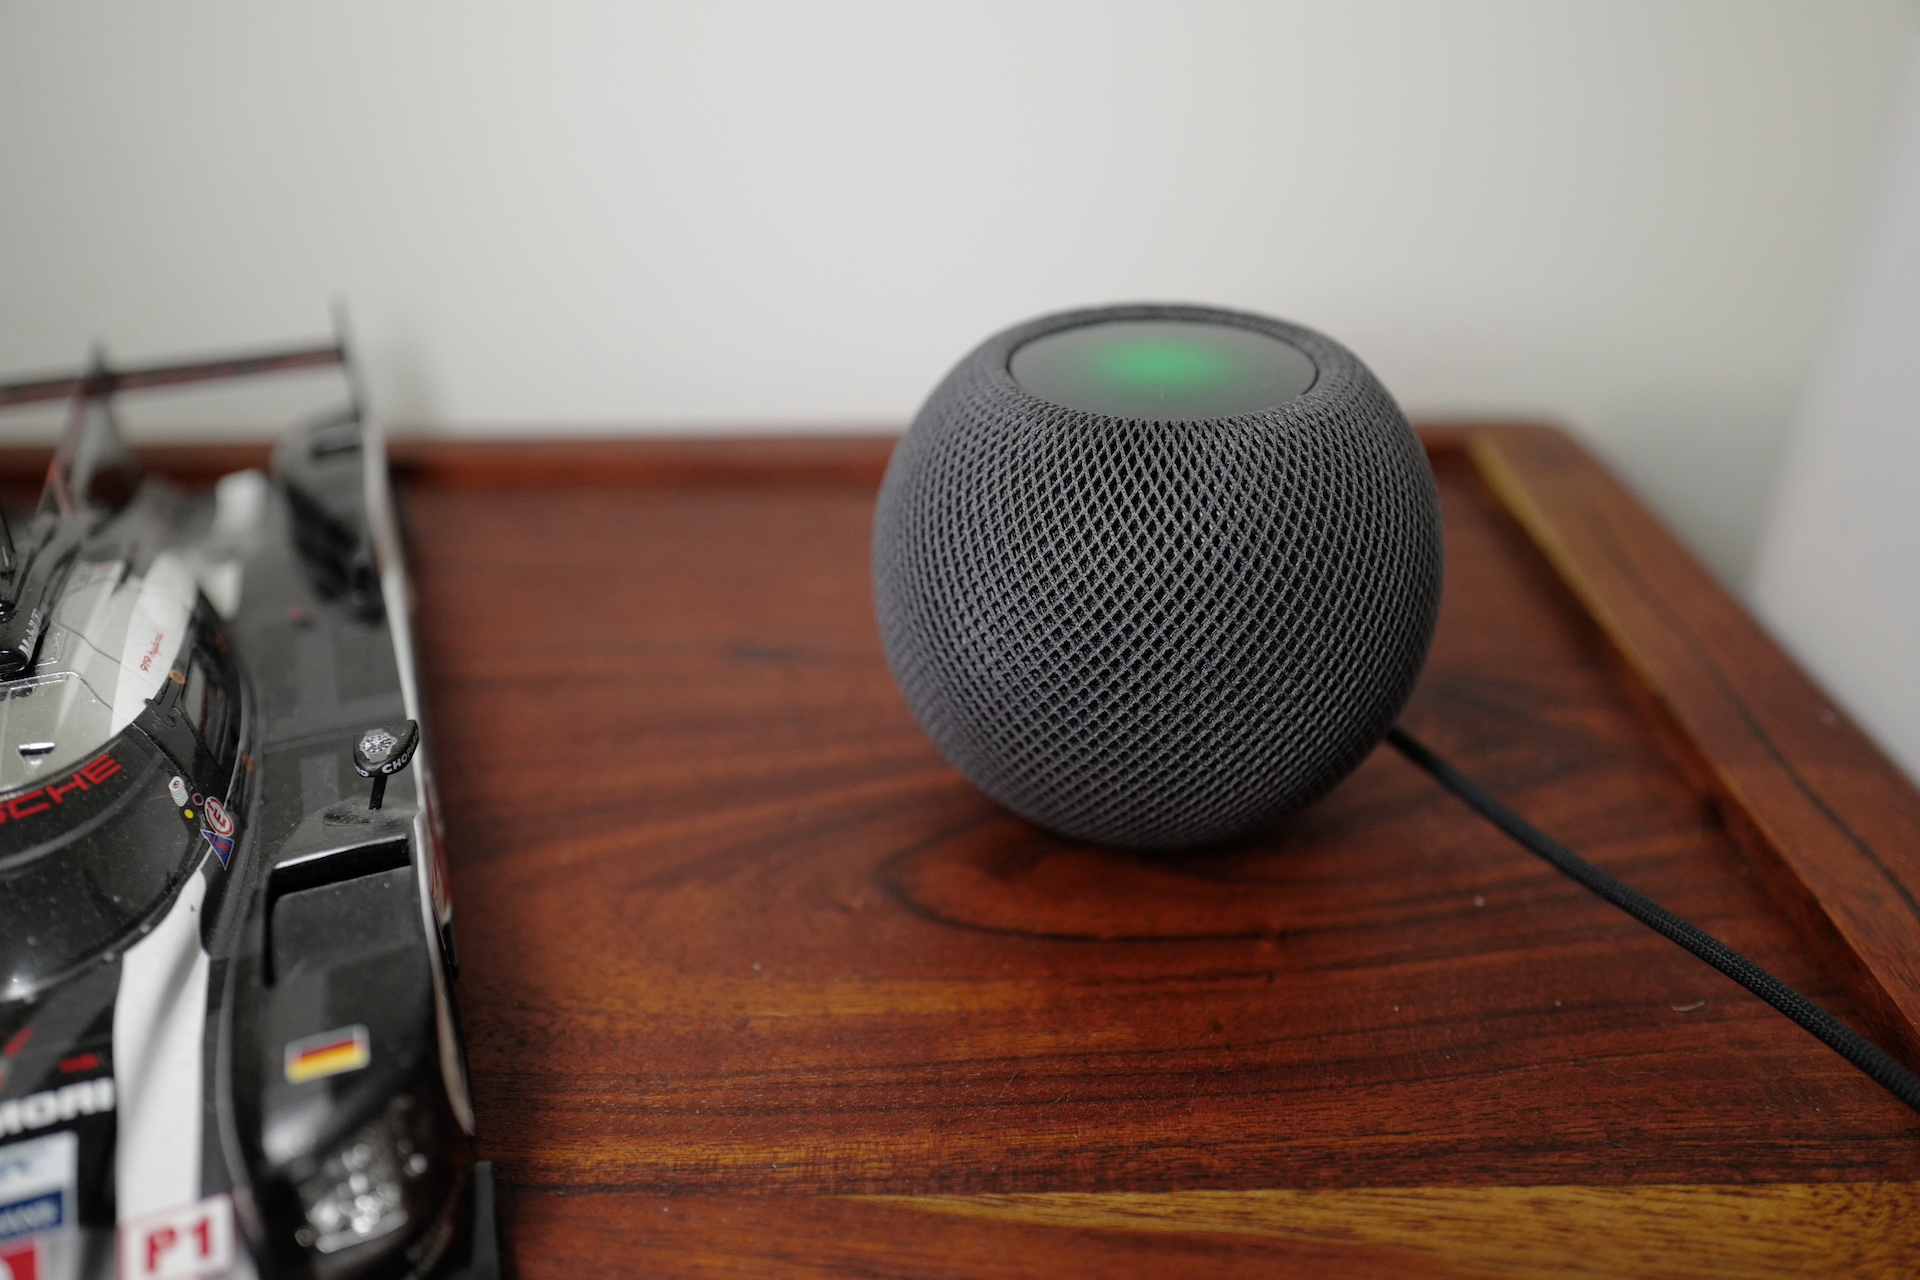
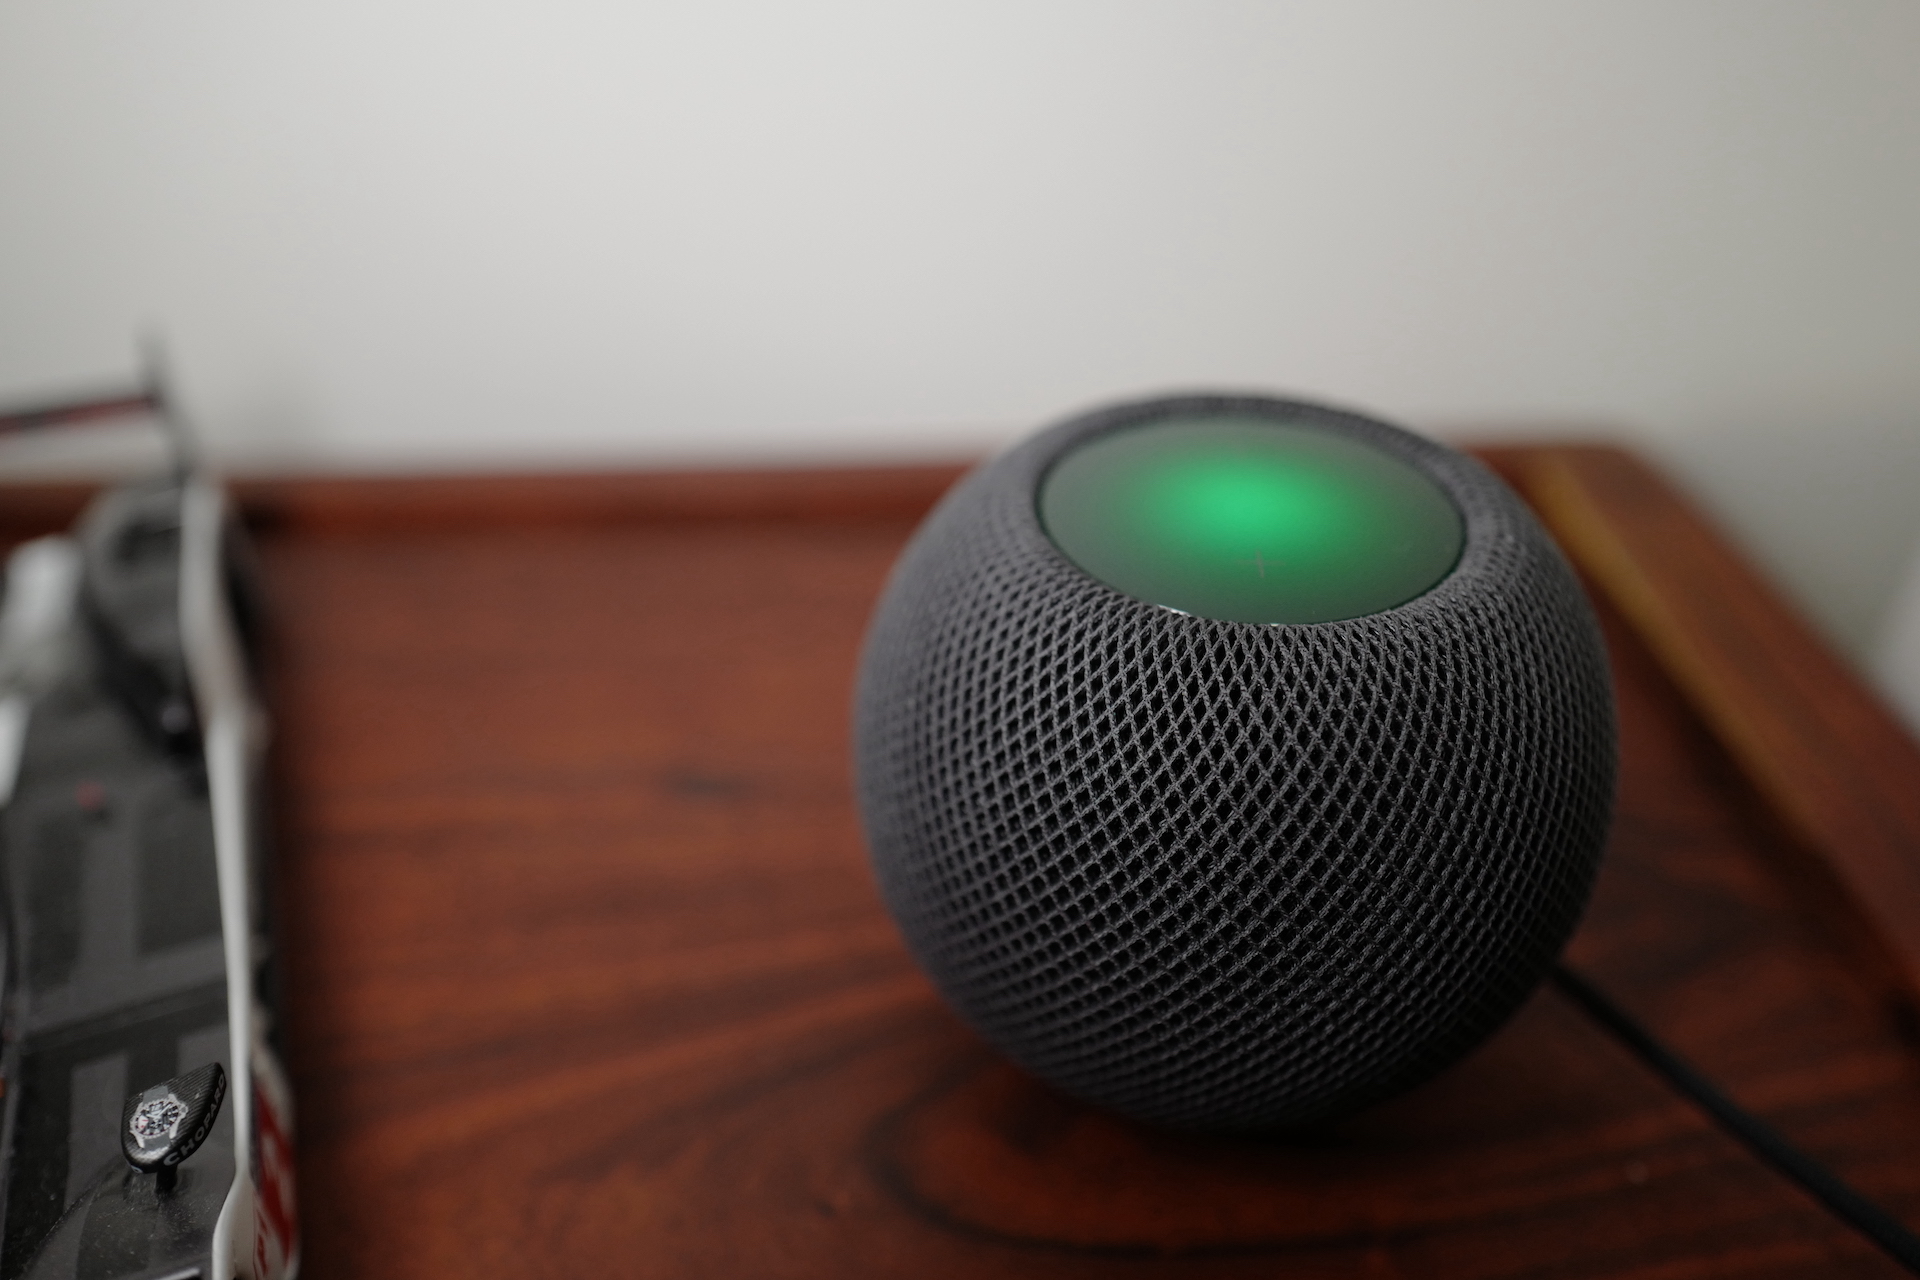
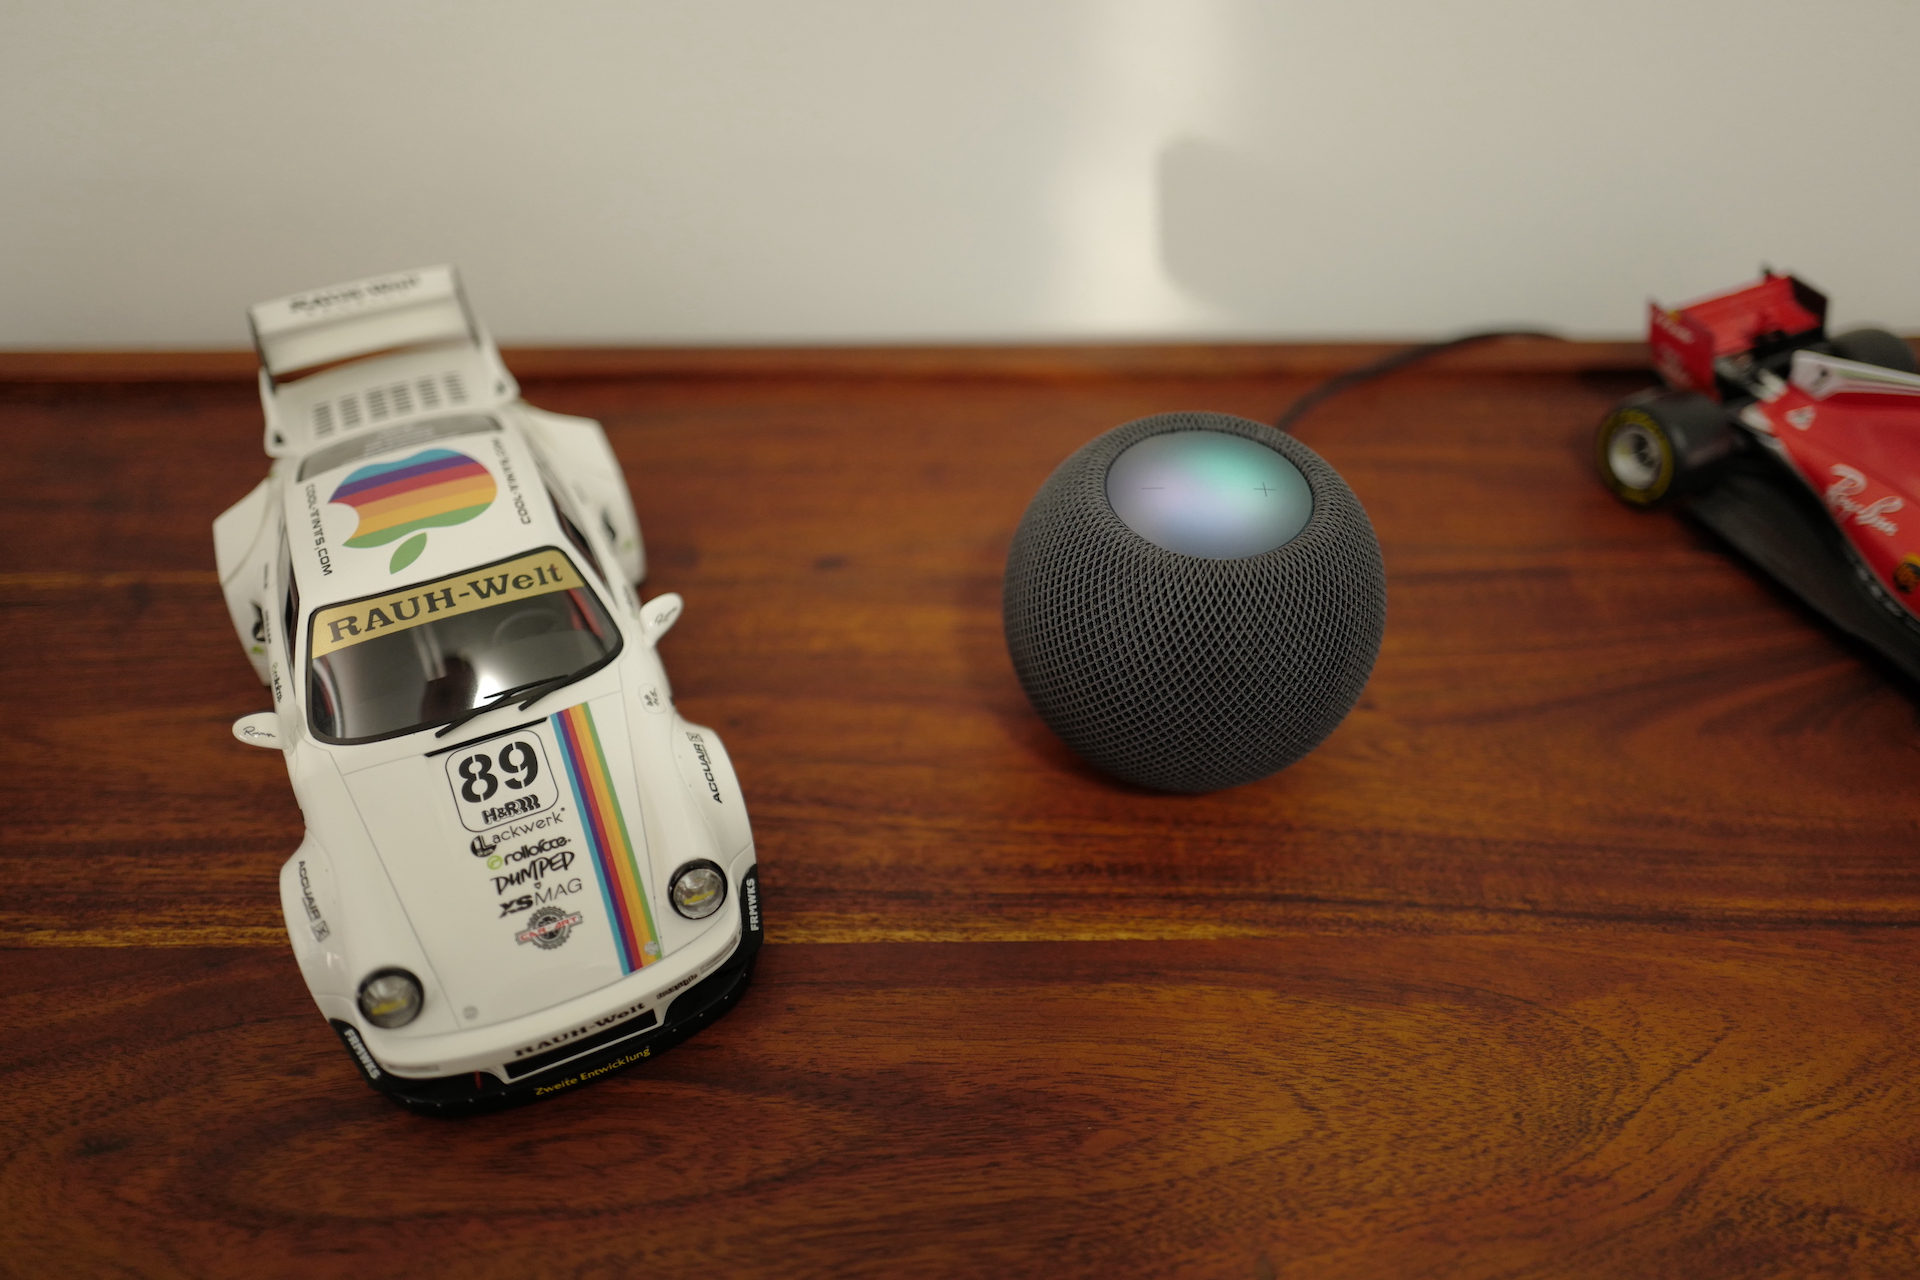
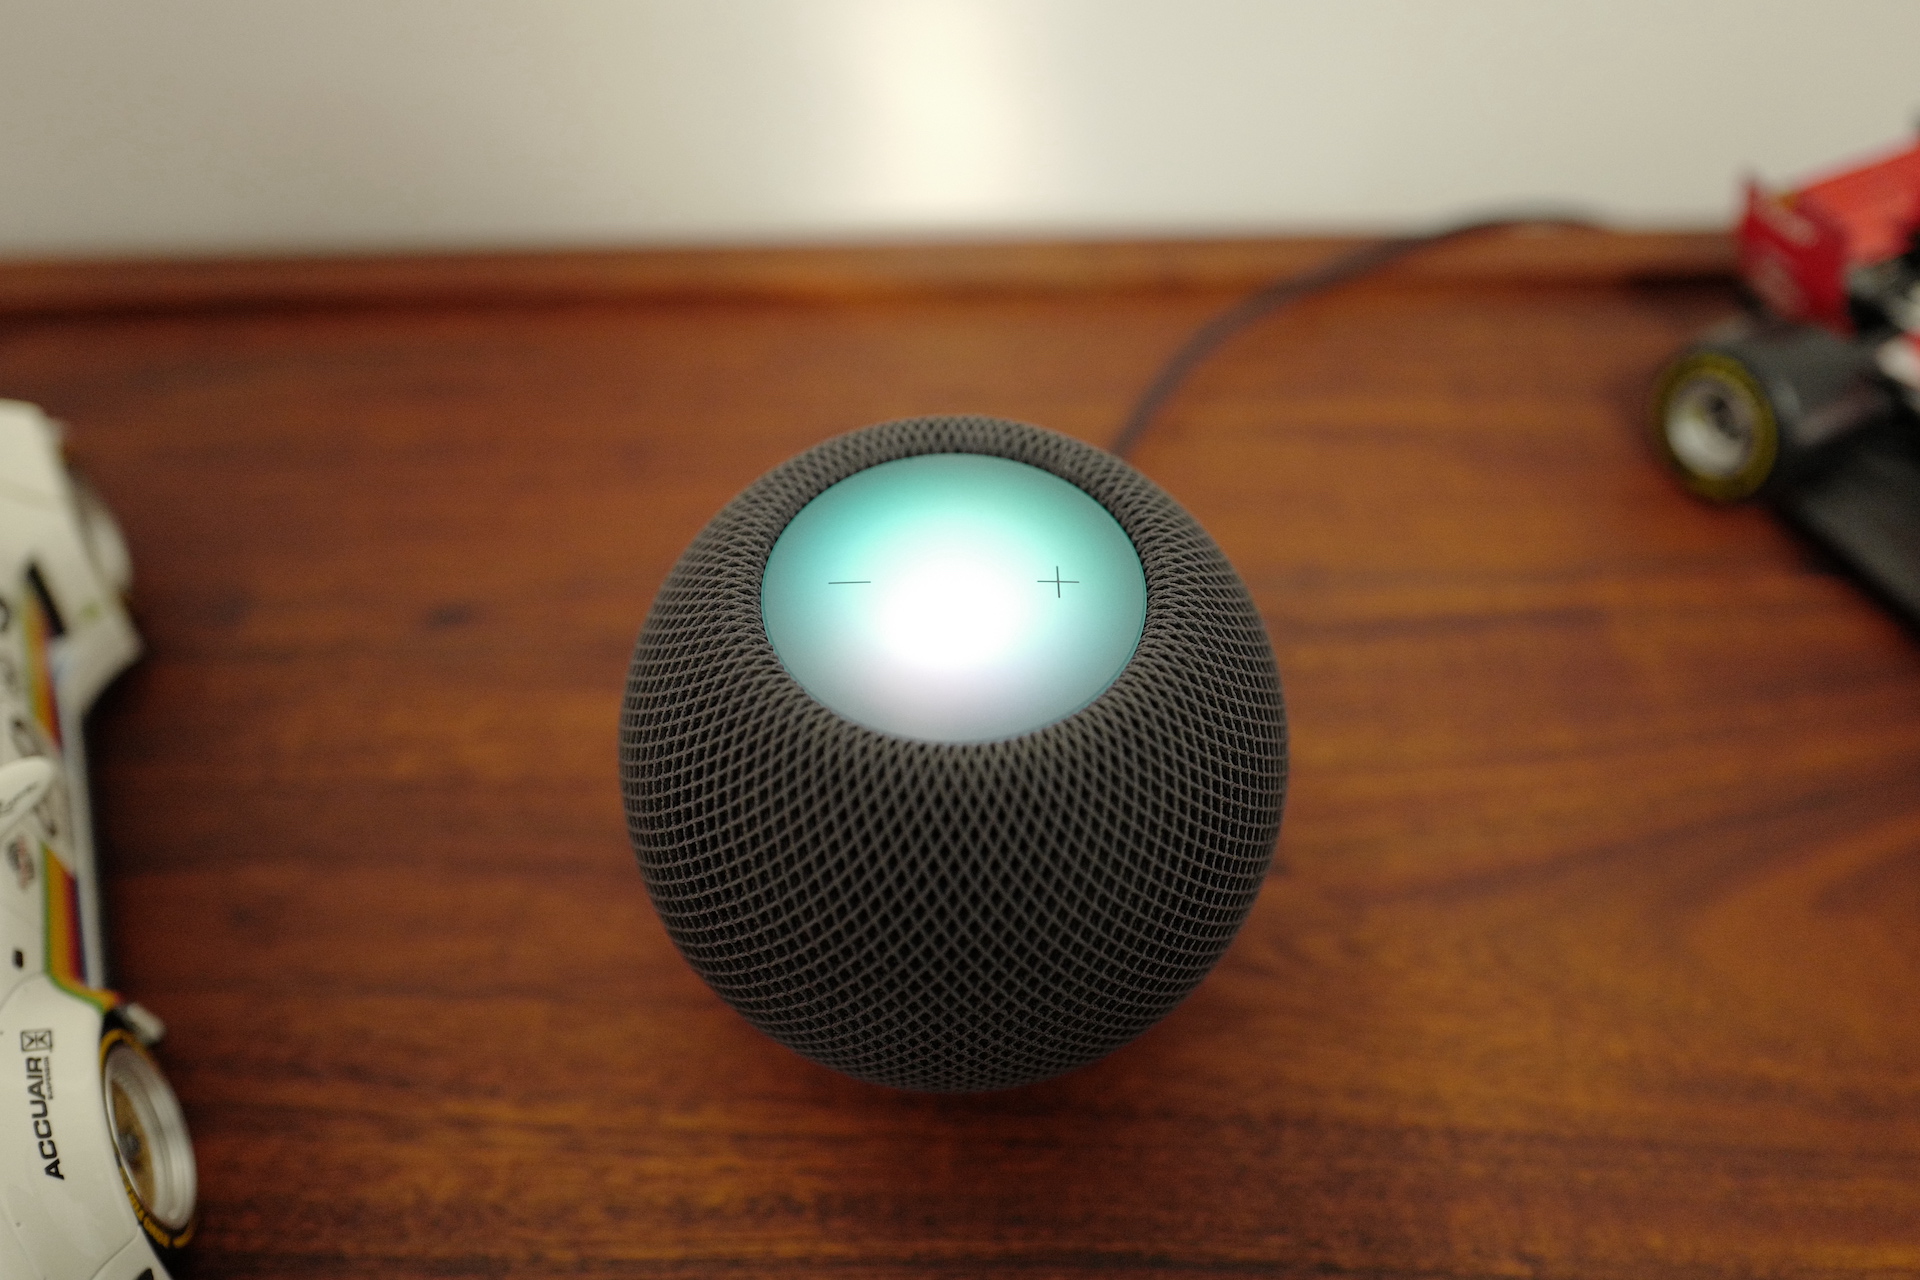
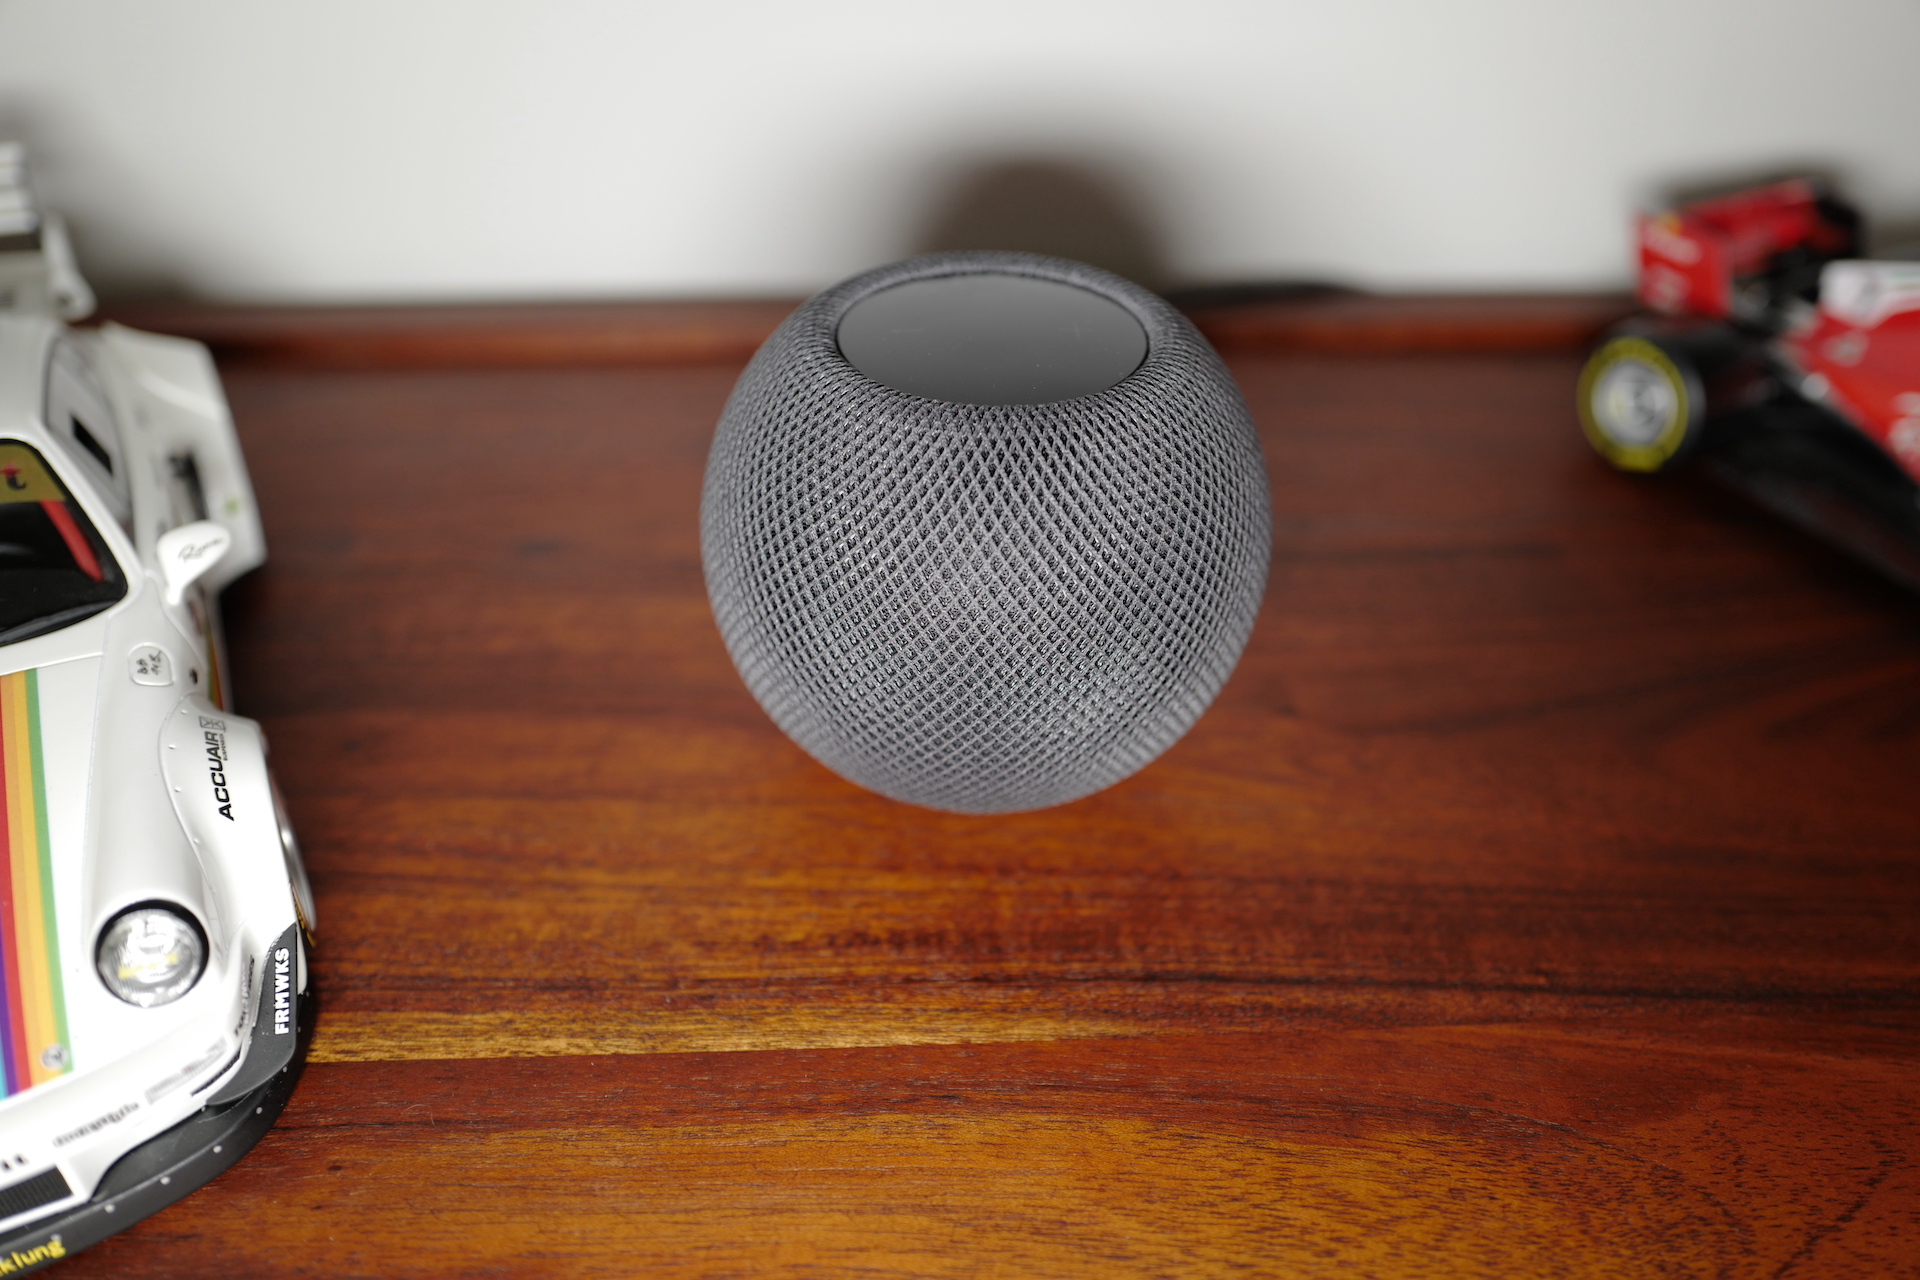
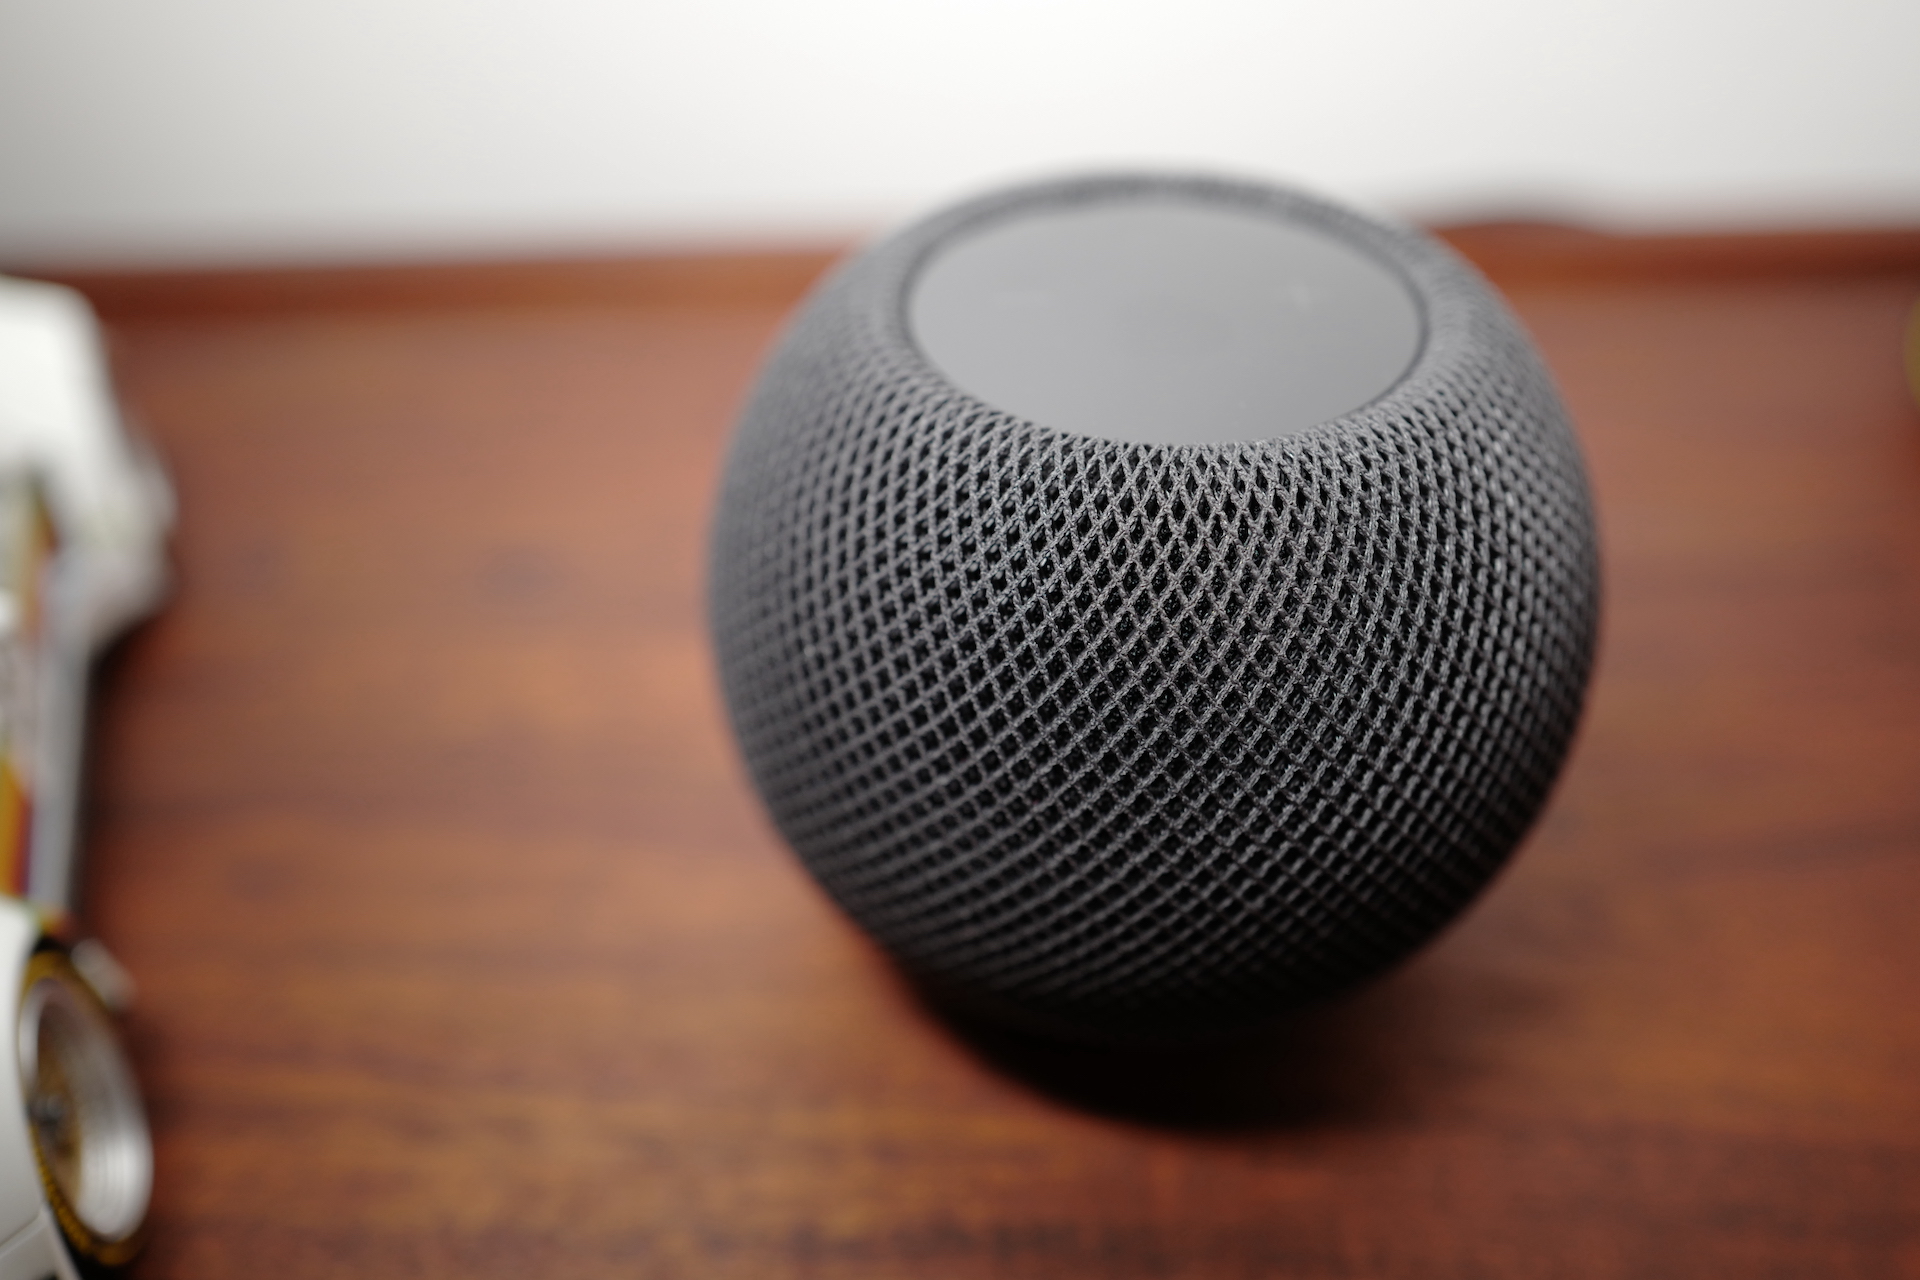
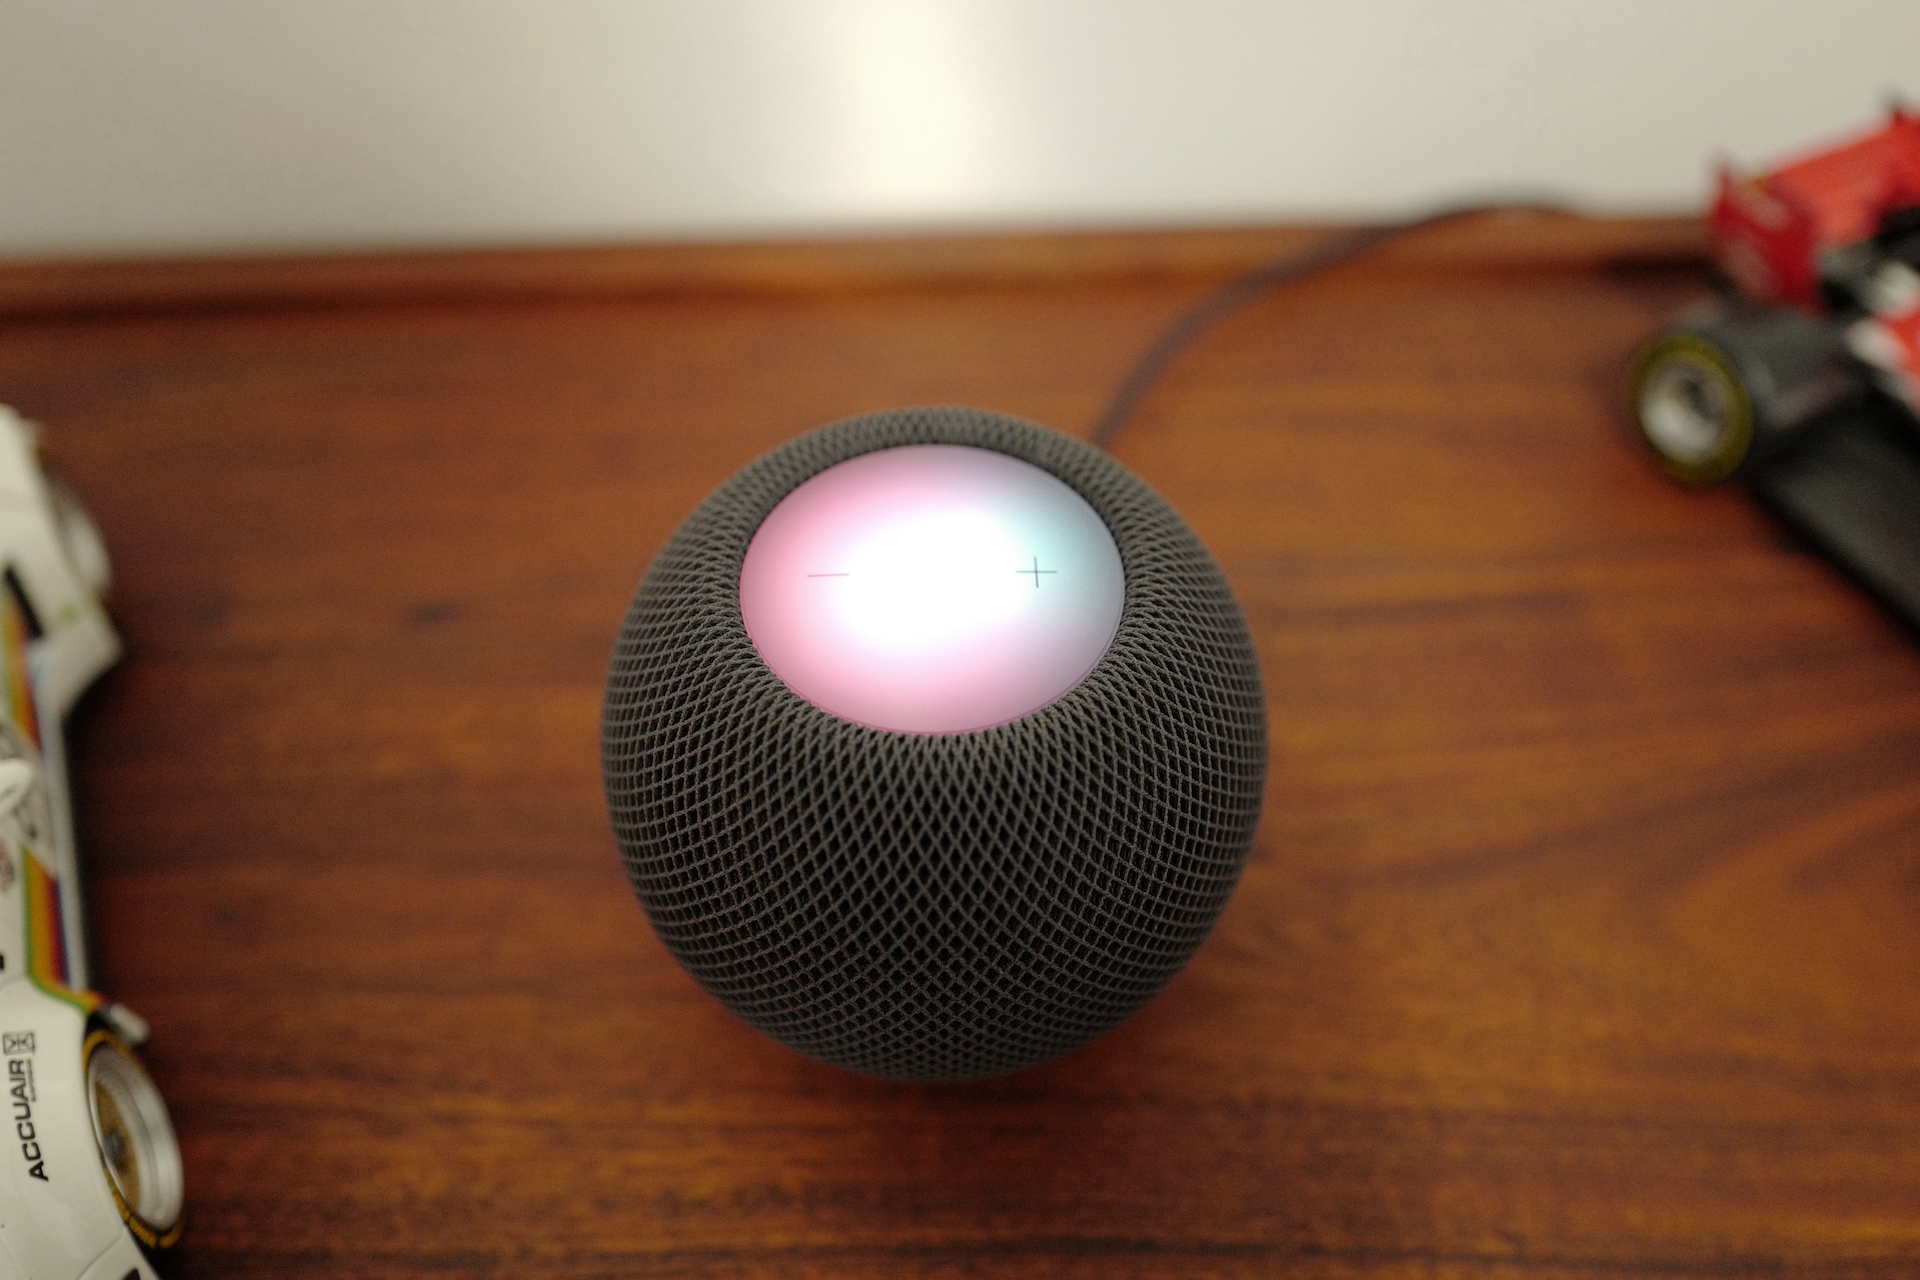
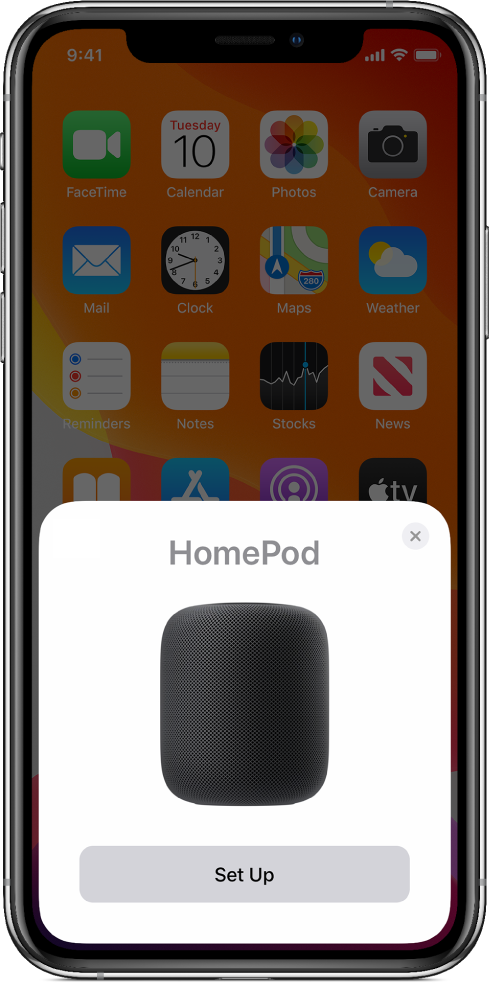
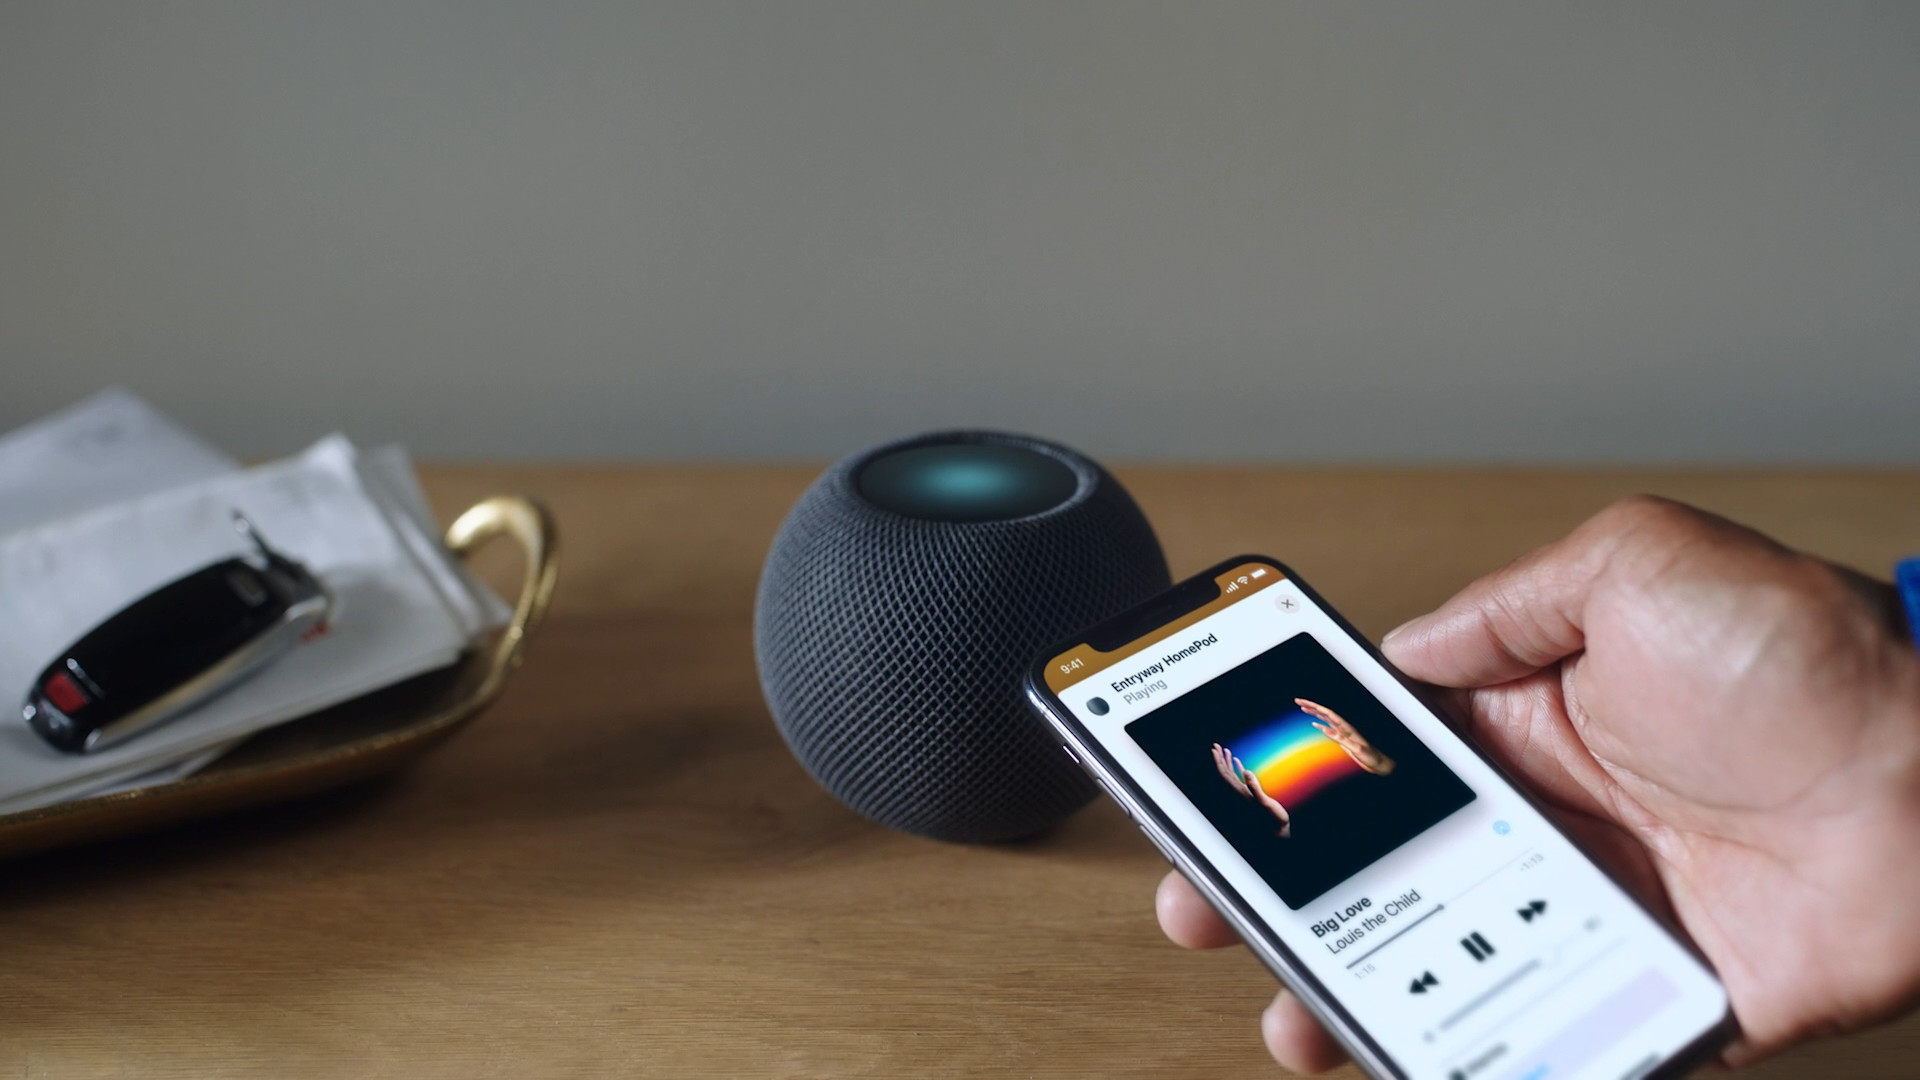
Regarding the box HomePodu, it is very similar in style to the iPhone. The biggest difference is that HomeBelow you will still find the classic power adapter, which is the latest iPhonech 12 cannot be claimed. So after unpacking HomePlace the pod in the chosen location and connect it to the electrical network in the usual way. When it comes to placement, keep in mind that both HomeUnder, so HomeUnder mini they have 360° sound – ideally you should place it somewhere in the room, which of course is not always possible. With a larger HomeYou should consider using a mat underneath – various vibrations can scratch the furniture on which the smart Apple speaker is placed. After connecting, just wait a few seconds for the top touch surface to HomeThe pod will light up. Then just take your iPhone and k HomeZoom in below. This will bring up a small interface at the bottom of the screen where you can set everything you need.
Gallery
Initial settings
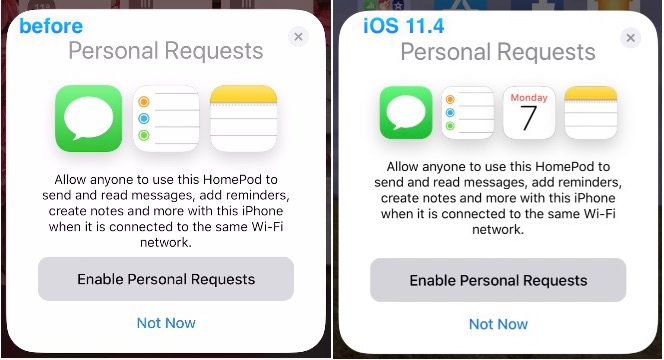
Since it is HomeUnder primarily part of a smart home and supports HomeKit, so in the wizard it is first necessary to set which household and room it is in. After this setting, all you need to do is activate the various functions that concern Siri and control HomePodu. Everything is perfectly explained in the guide and you have to decide for yourself whether you want to use certain features or not. Once you click through to the end, your new HomePod is ready to use. But before that, you should visit the application Household, where you can find other presets that HomeThey are related.
Gallery
Settings in the Home application
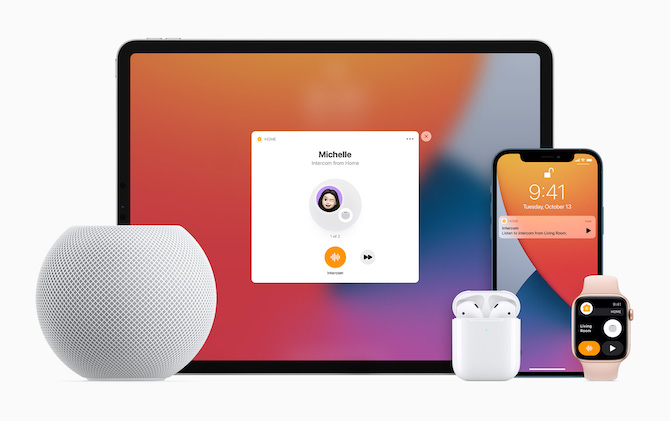
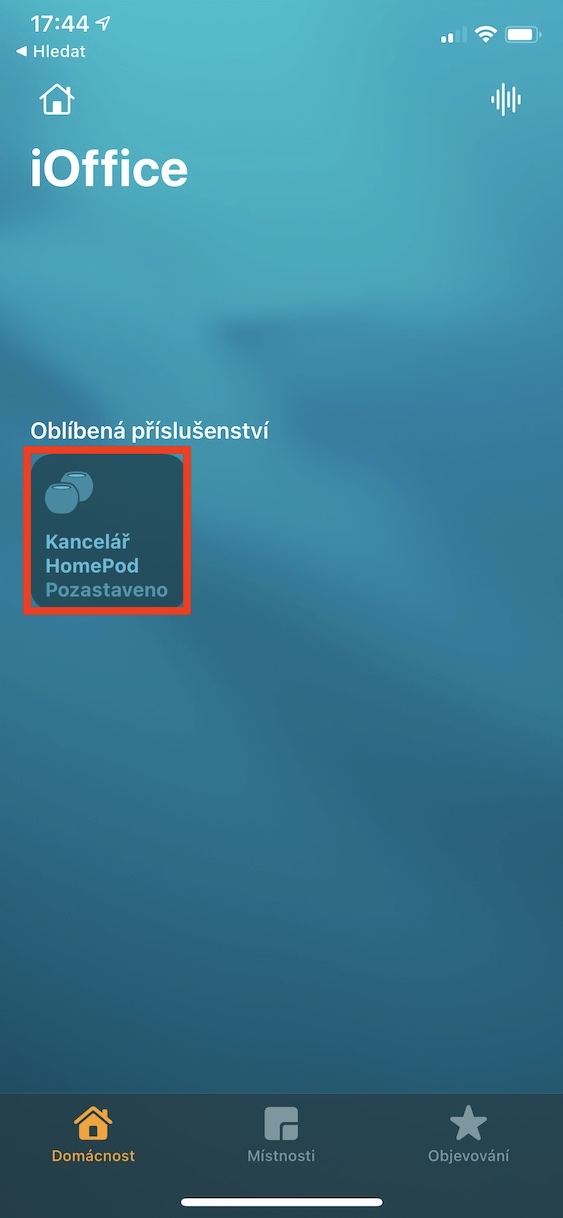
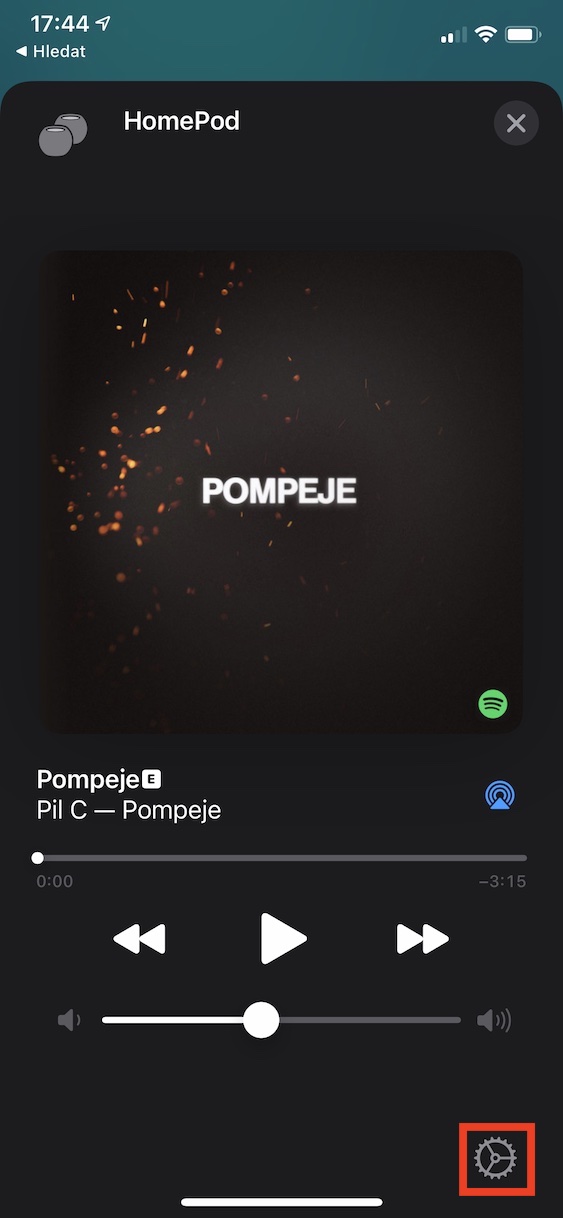
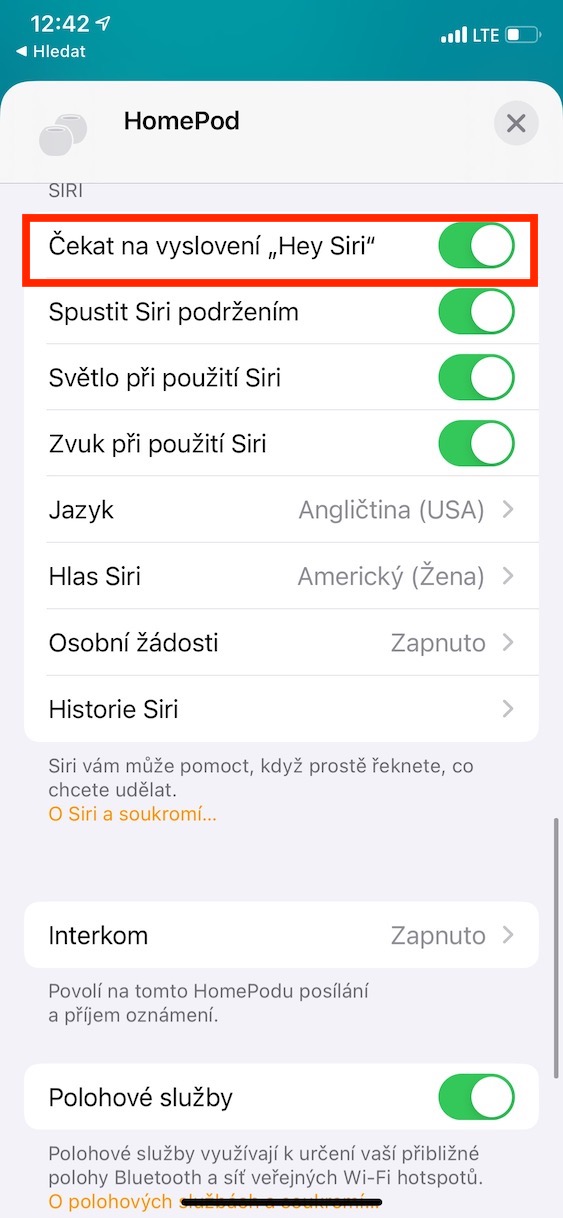
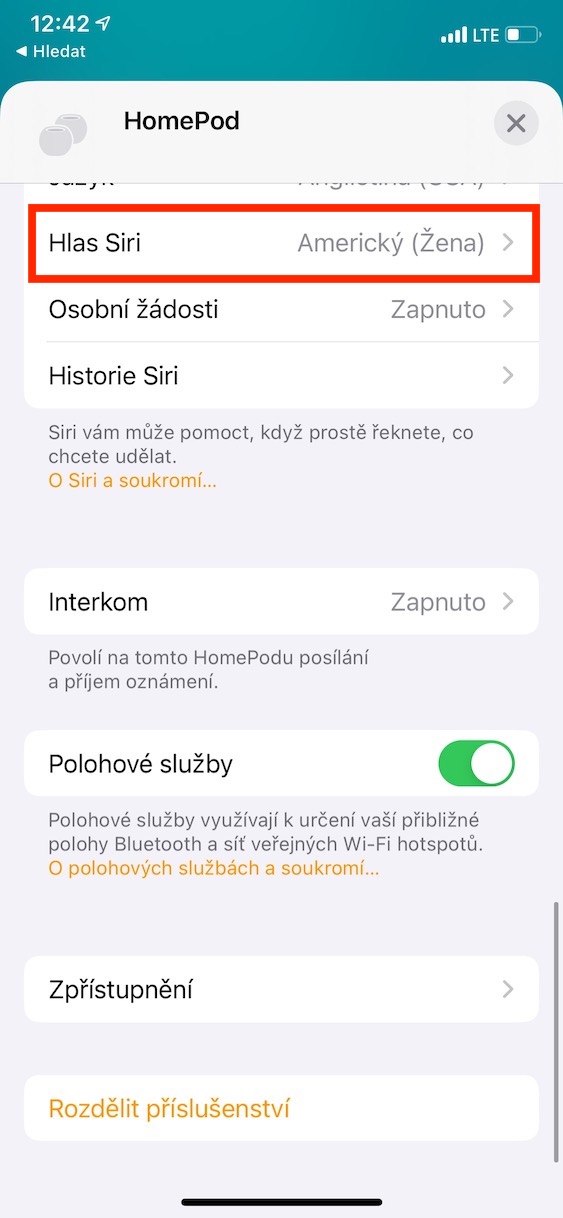
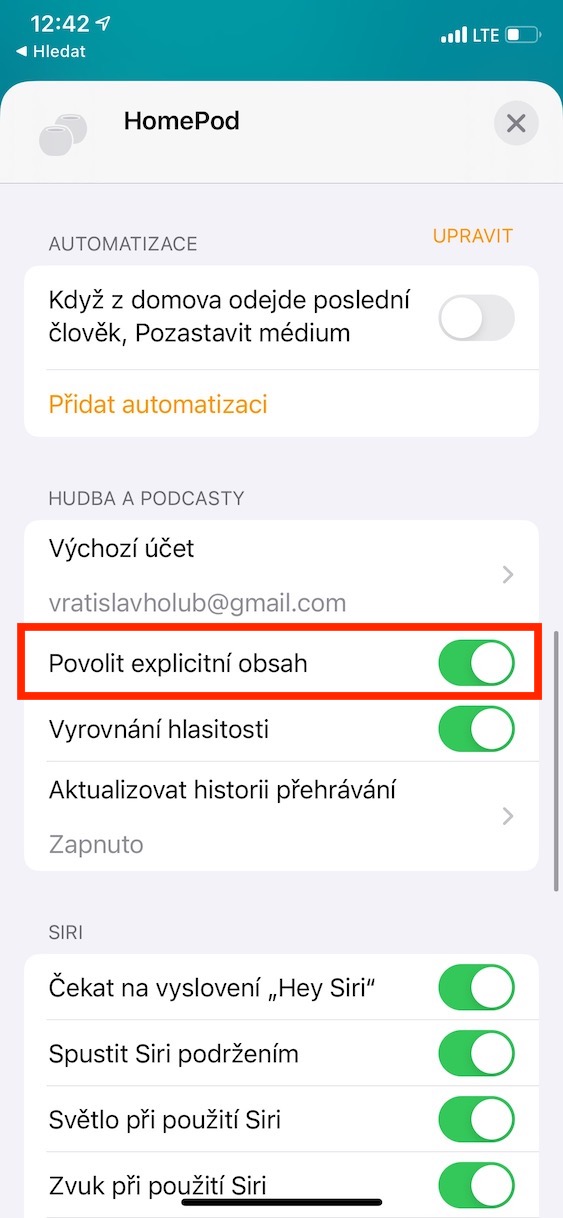
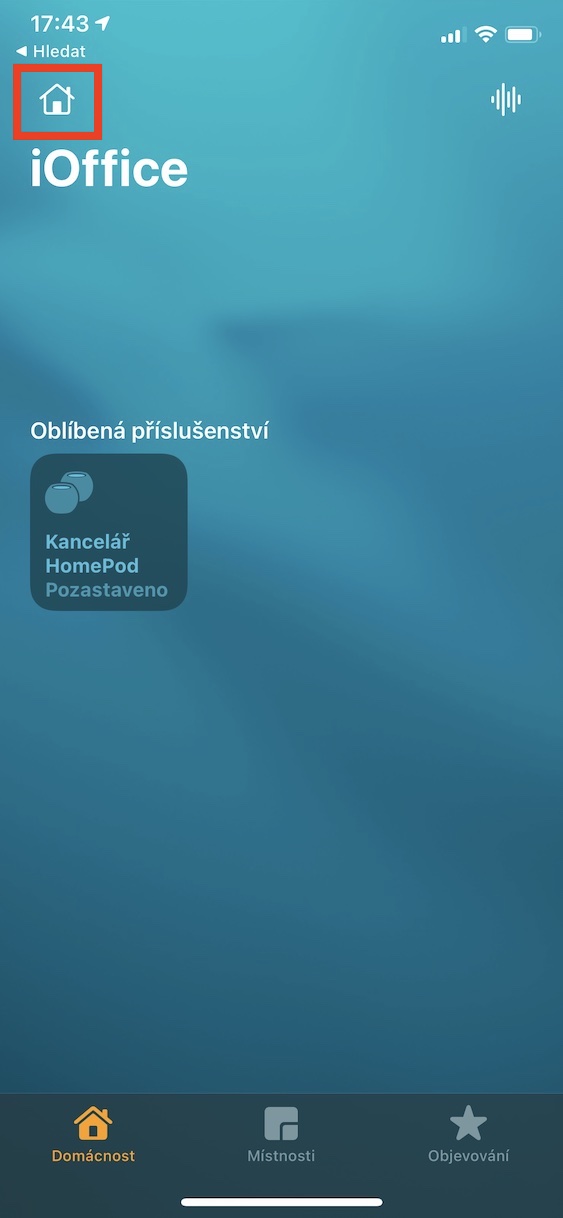
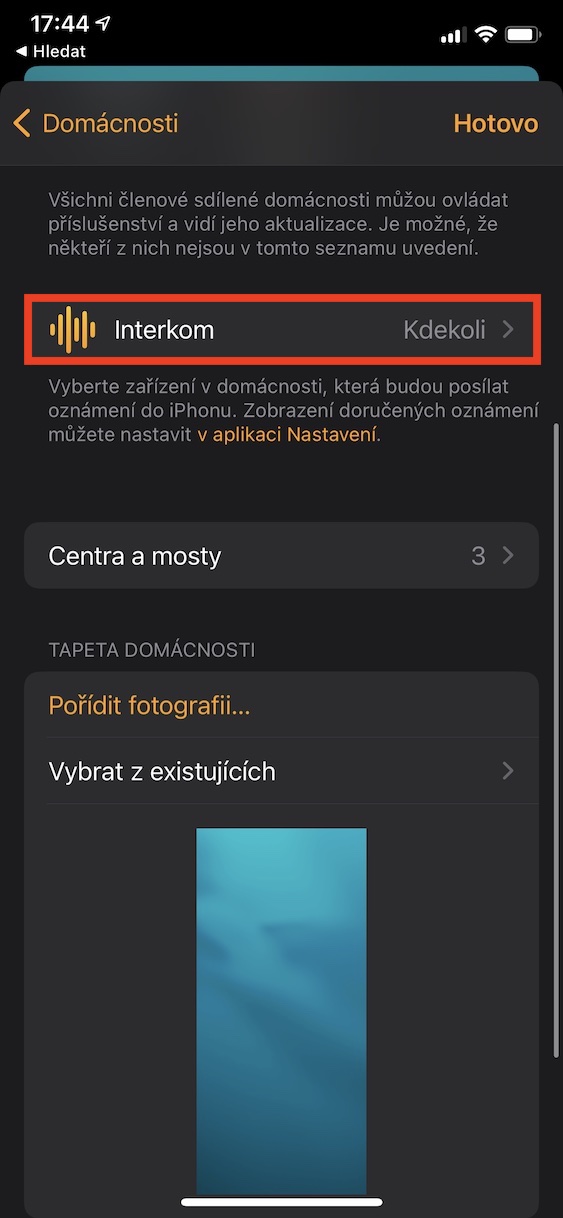
So after launching the Home app, hold your finger on your HomeUnder, which will display the current playback options. At the bottom right, however, tap gear icon, This will take you to the settings. Here you can set, for example, whether to wait for someone to say "Hey" Siri, voice Siri, Intercom, location services and a few other features. In addition, I also recommend viewing the settings for a specific household and room by tapping on the top left house icon. In addition to the background appearance, there is also the Intercom reception setting, which is a feature that allows you to send a message to all devices in a household, except HomeI'll go through iPhone, iPad, CarPlay and other apple devices.
Gallery

Play the first music and say the first command
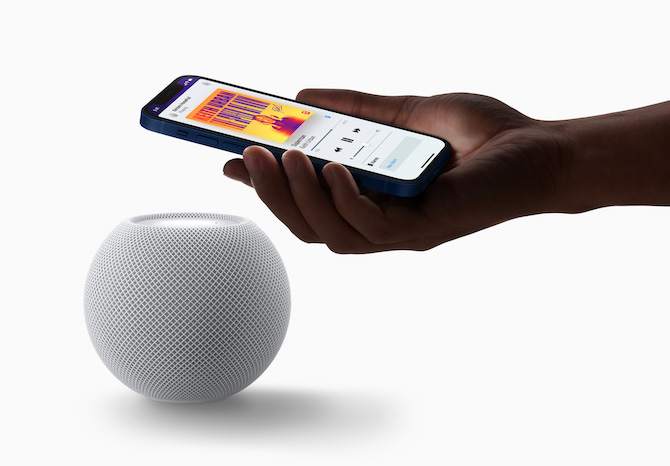
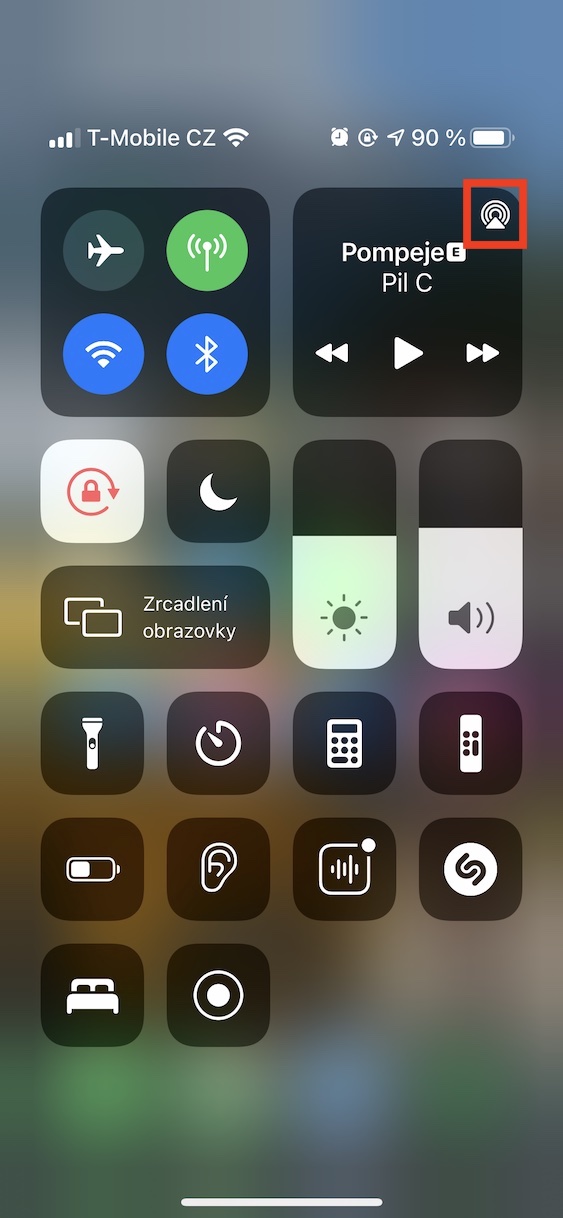
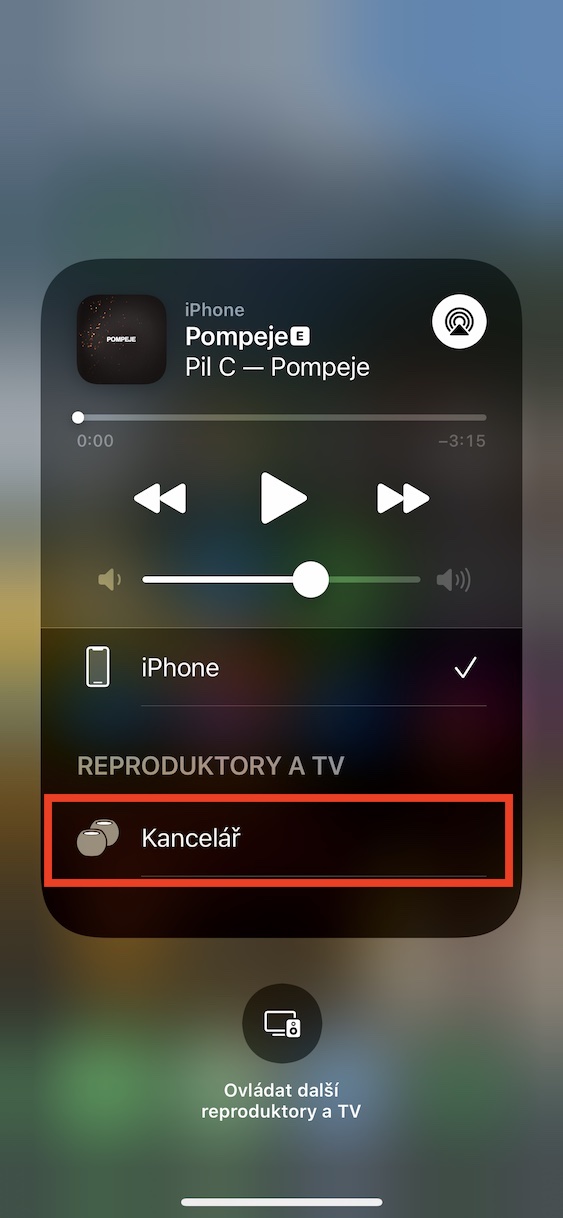
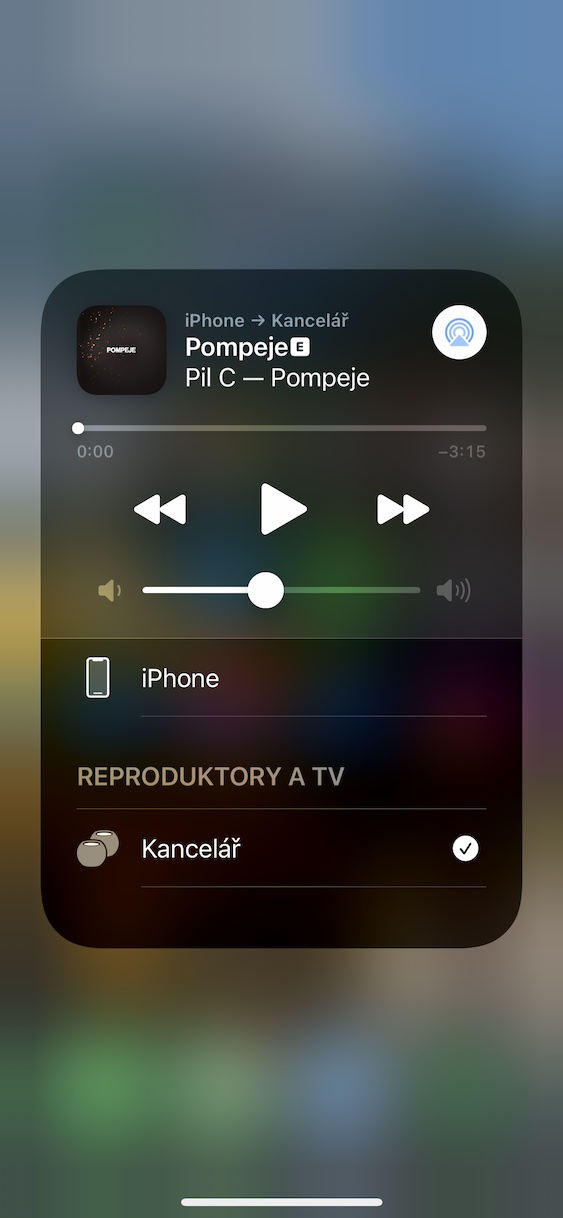
If you have completely gone through all the settings and managed to set everything to your liking, you can now start using your smart speaker. Right from the start, you can try playing music from iPhone. So connect your iPhone i HomeUnder to the same Wi-Fi, and then on iPhone open control center. Then in the upper right corner of the music element, tap icon AirPlay and then only from the device list choose yours HomePod. nakonec play any music or video. Of course, you will get the best experience when using Apple Music – you can control the music from this application simply using SiriWithin Spotify you can: maxIf you are a Spotify user, you have no choice but to hope that Apple soon this streaming app will start at HomeUse pods.
As for the commands you can say, there are countless available. Pro increase volume say Hey Siri, turn it up, if you want to set the volume to a certain level, say it Hey Siri, turn volume to 60 percent. If you don't like a song, you can skip it with a command Hey Siriplay next track, just say to play the previous track Hey Siri, play previous track.
You might be interested in
Touch area
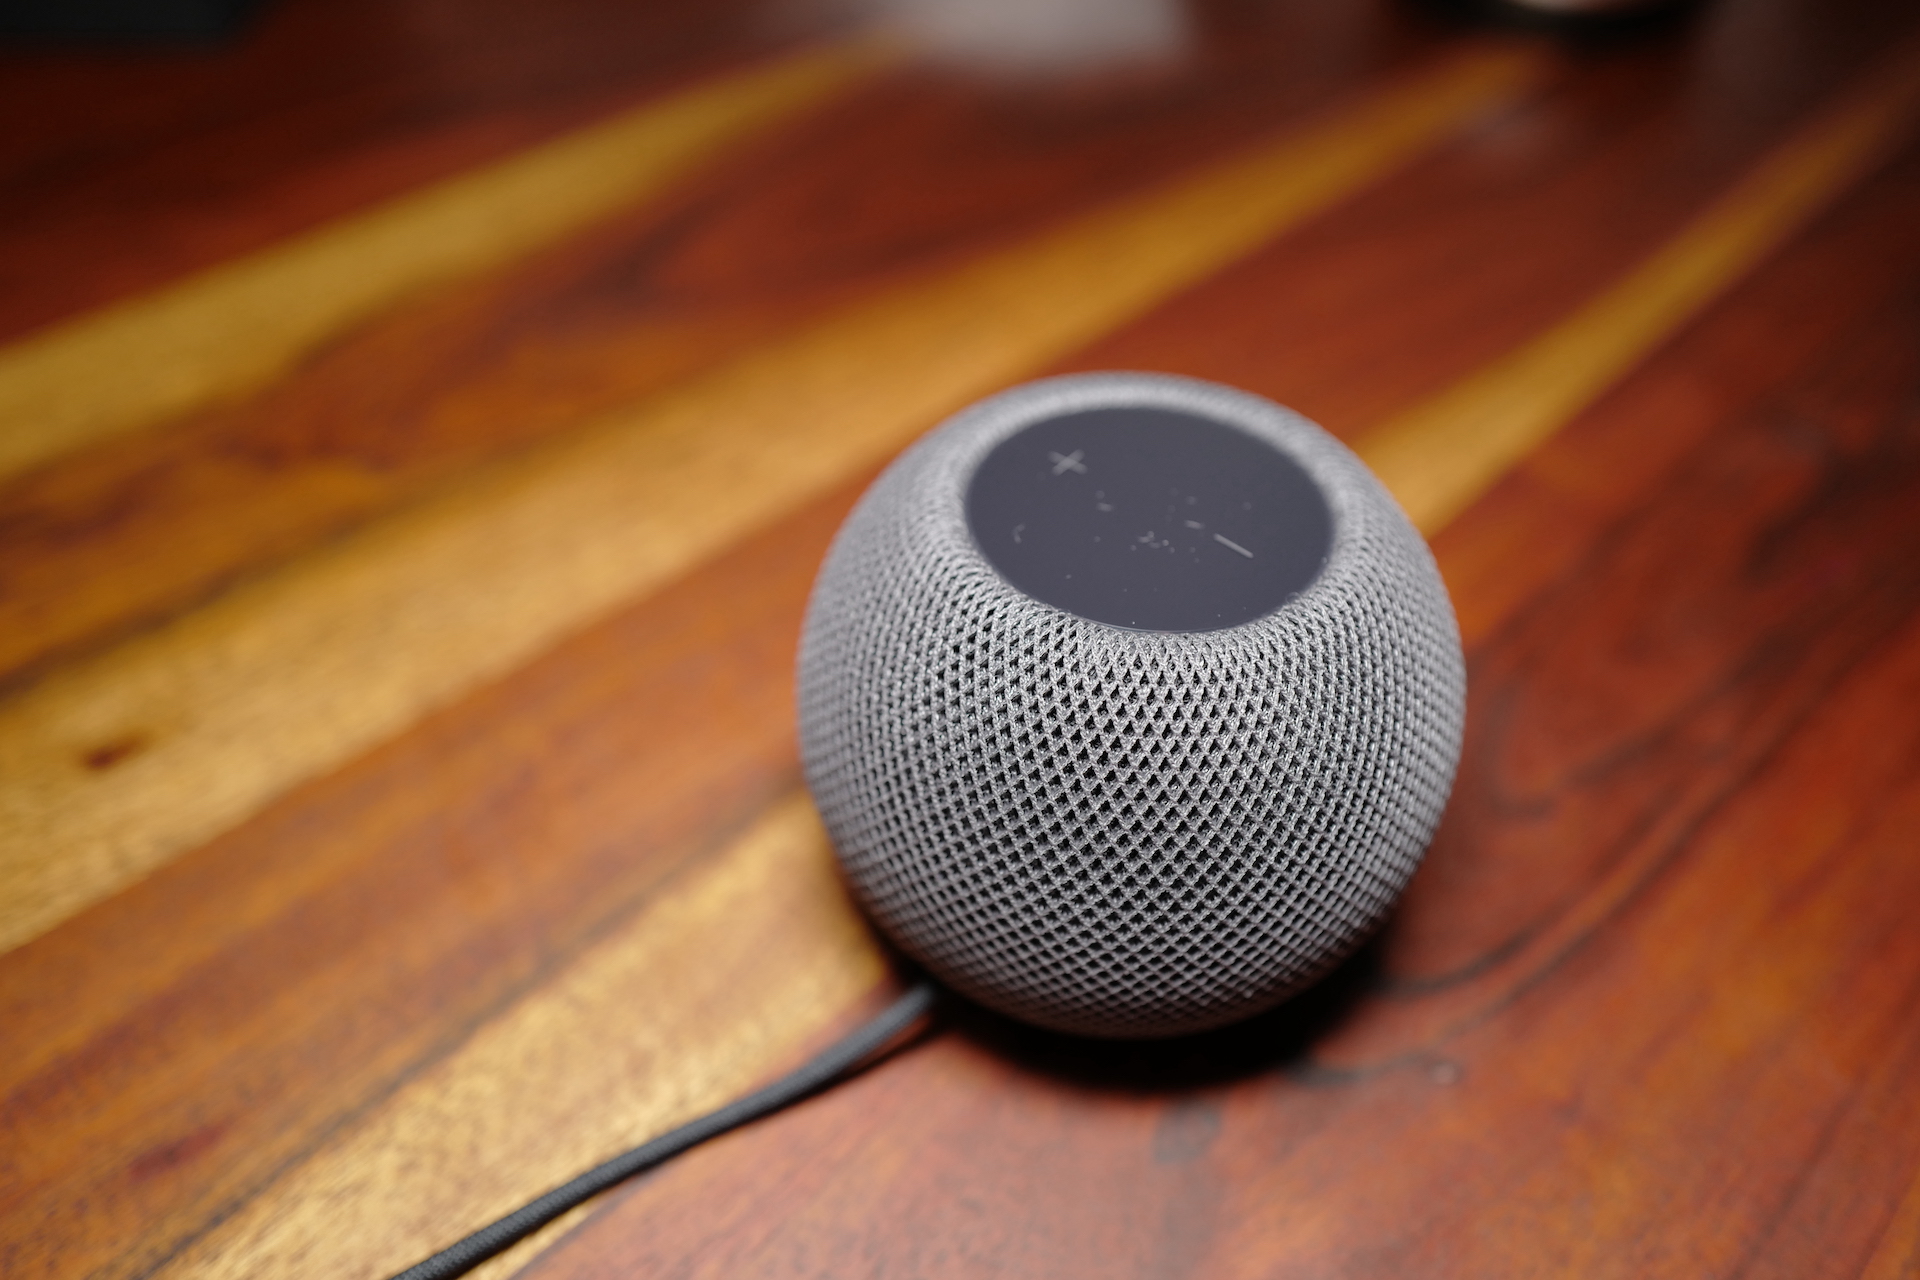
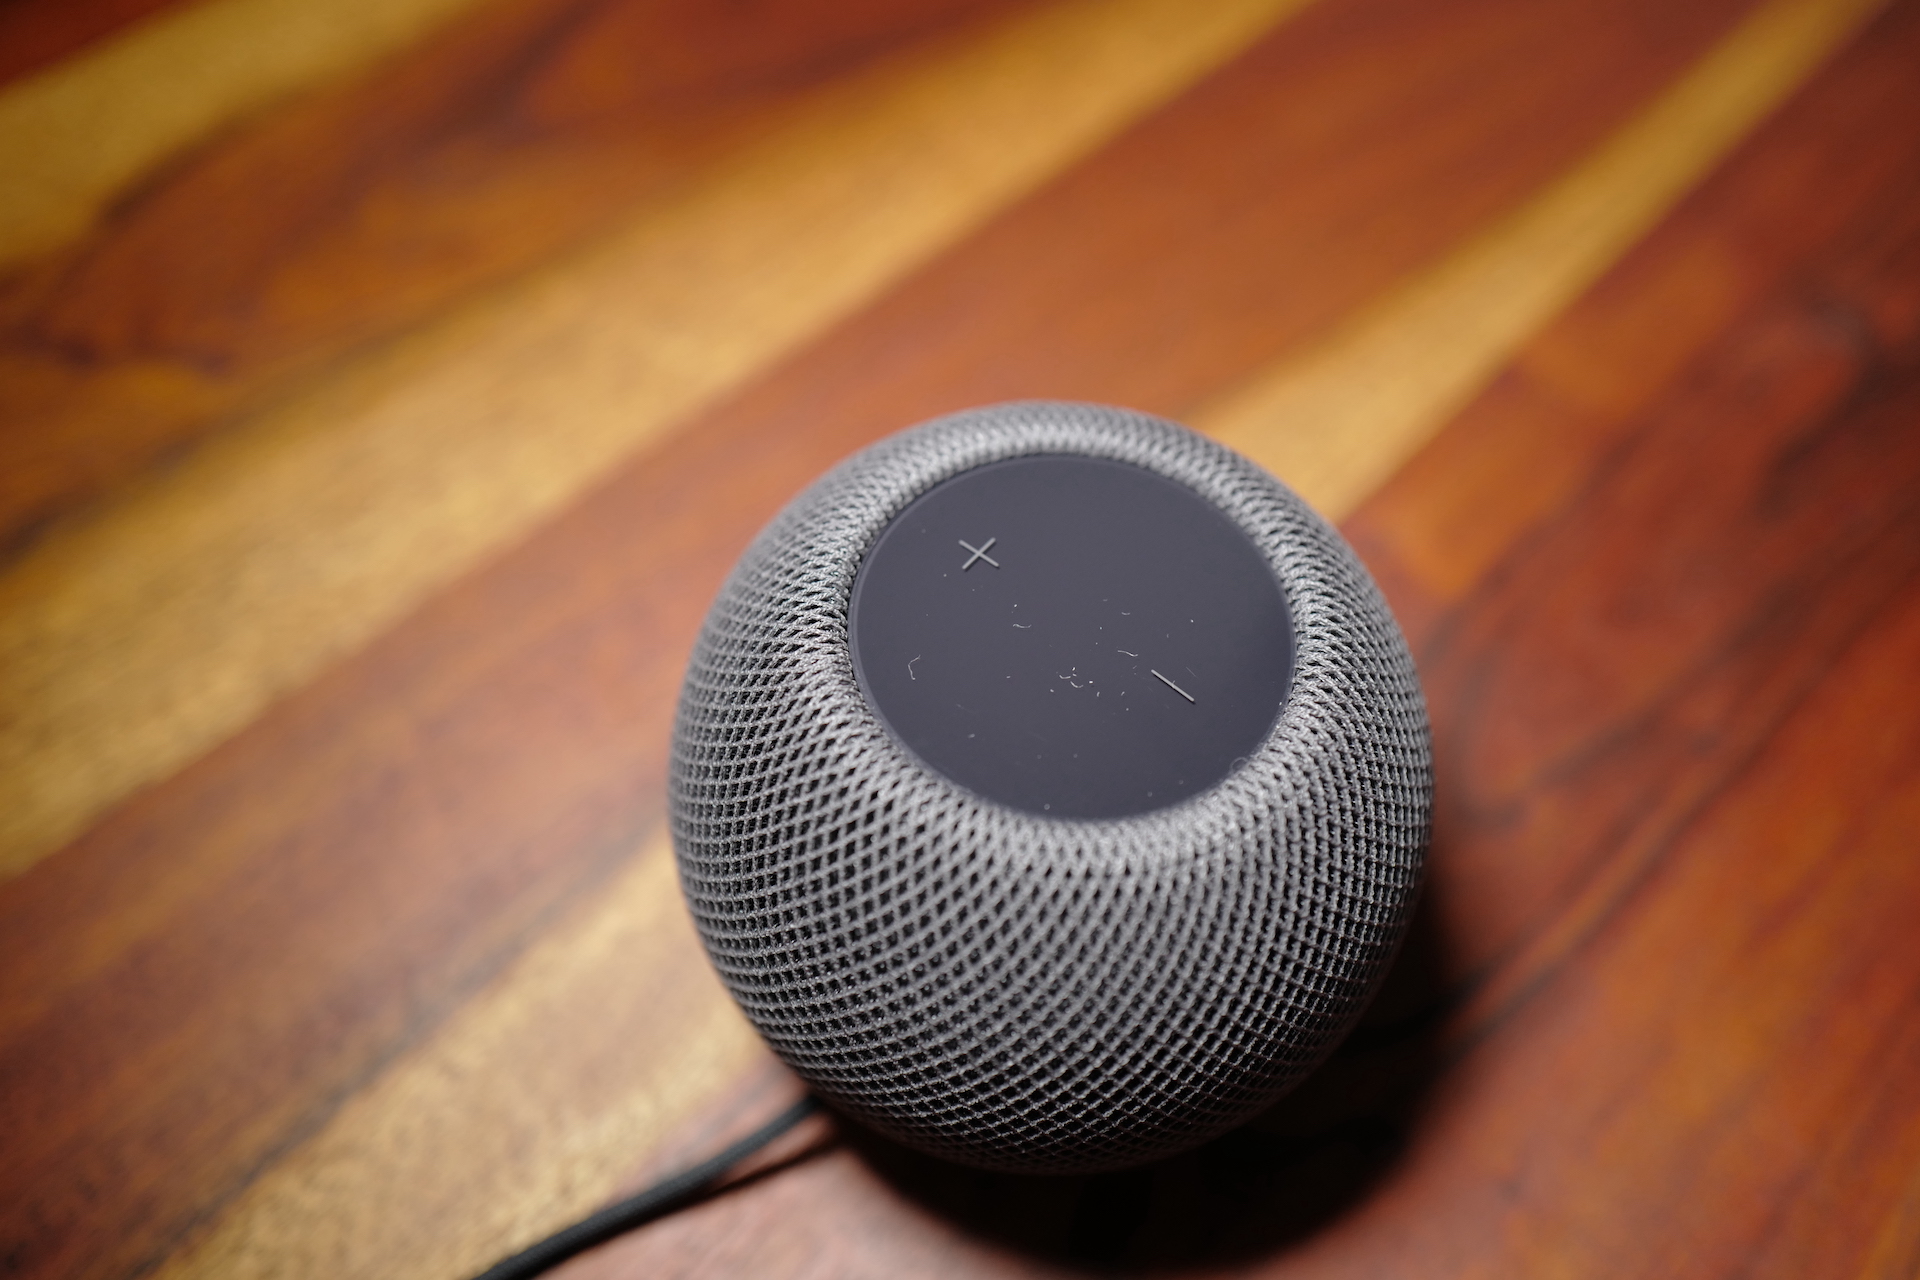
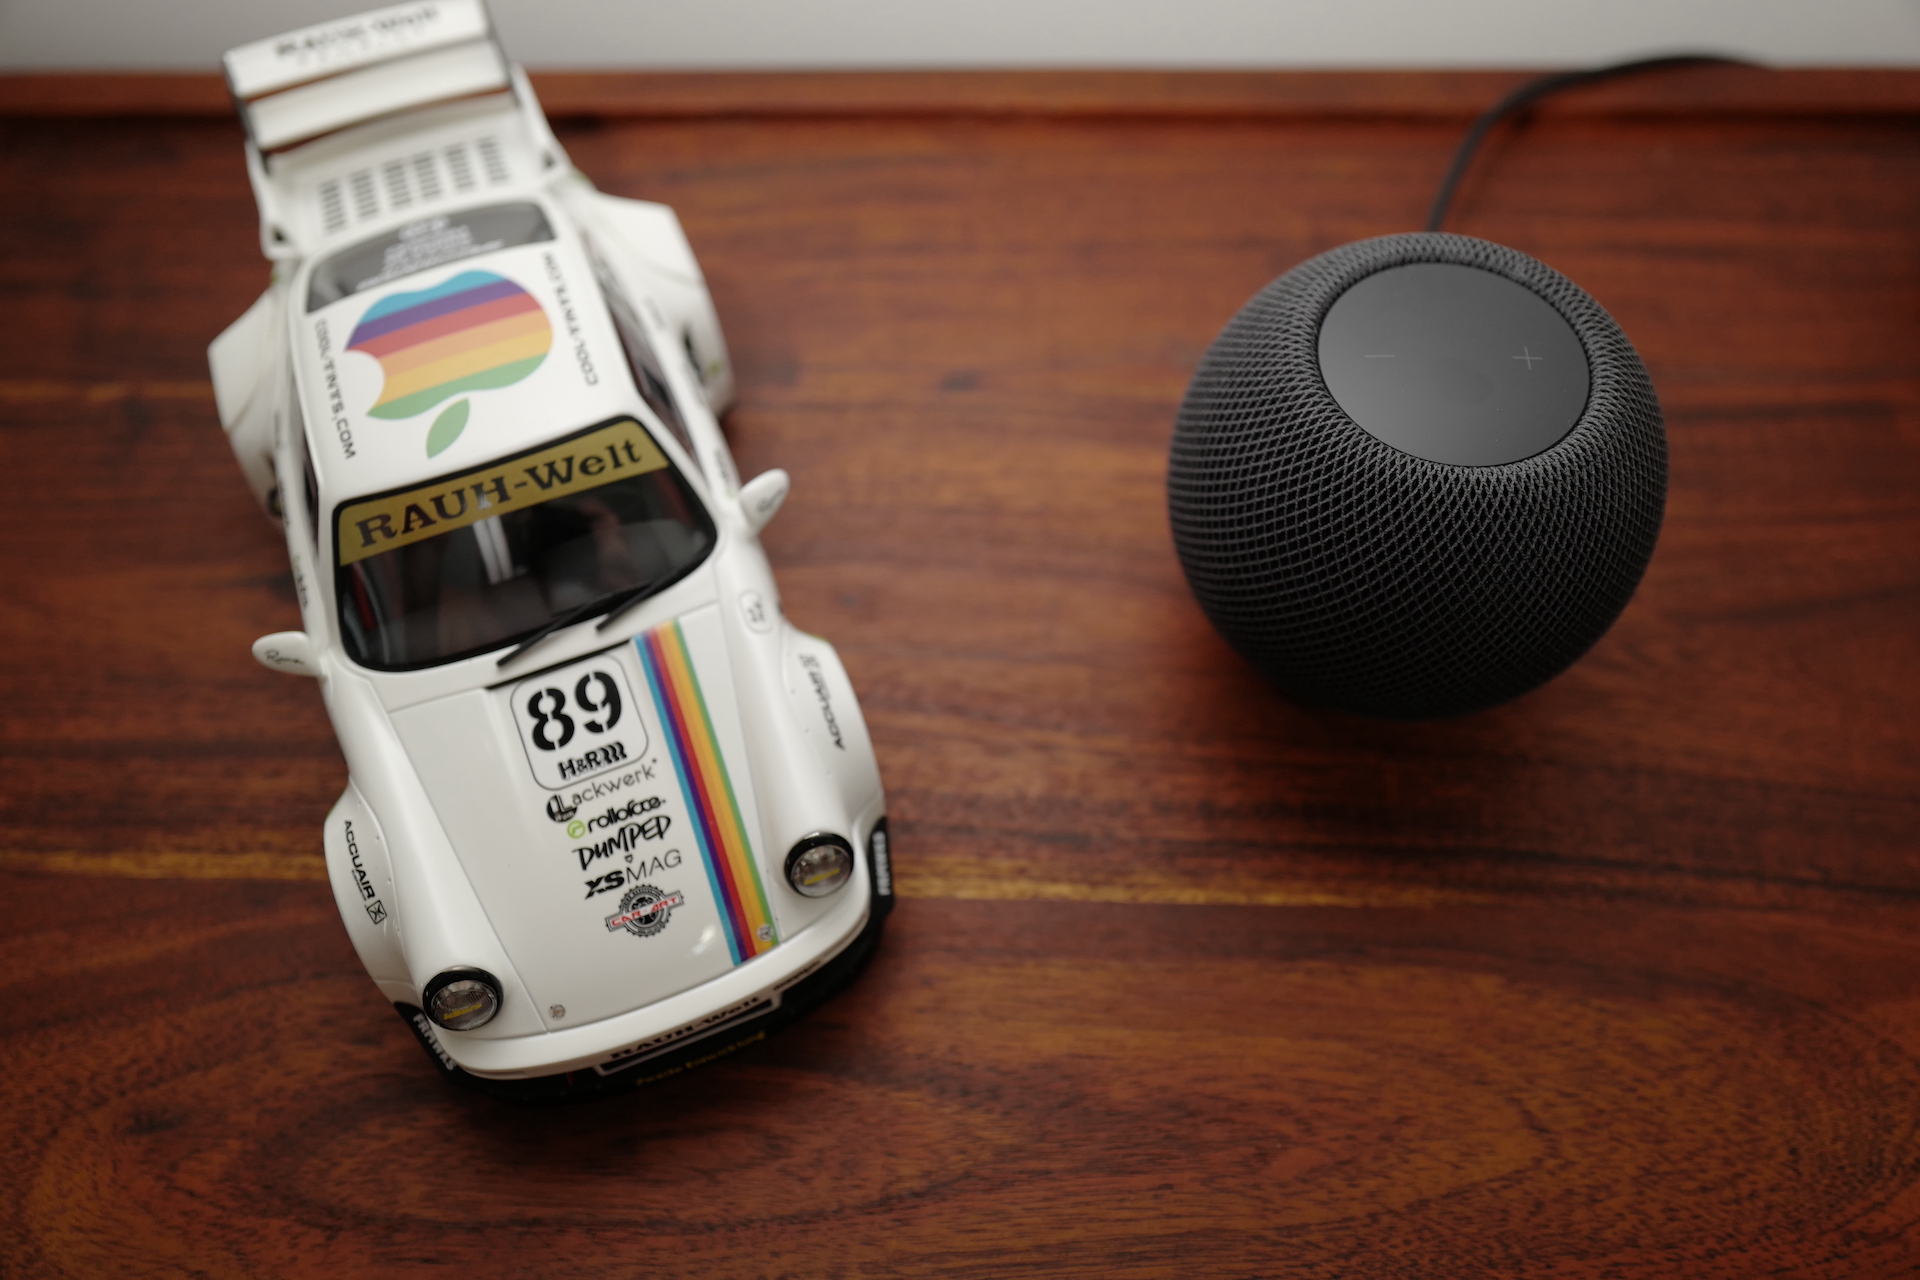
On the top side HomeThere is a round touch surface underneath, which can be used for manual control if you don't want to. HomeUnder control using Siri. This area contains the + and - icons to increase and decrease the volume. In addition, you can tap the area once to play/pause, double tap to skip a track, triple tap to go back one track, press or press and hold to activate Siri.