
A few minutes ago weonehave finally seen the release of the first public version of macOS 11 Big Sur. As you probably know, Apple this operating system, together with iOS and iPadOS 14, watchOS 7 and tvOS 14, introduced a few months ago at the developer conference WWDC20. A few weeks ago, we saw the release of the first public versions of the new systems, except for macOS Big Sur – fortunately, we did. If you want to switch to the new macOS Big Sur operating system with a clean slate, you might find the procedure for performing a clean install useful.
You might be interested in
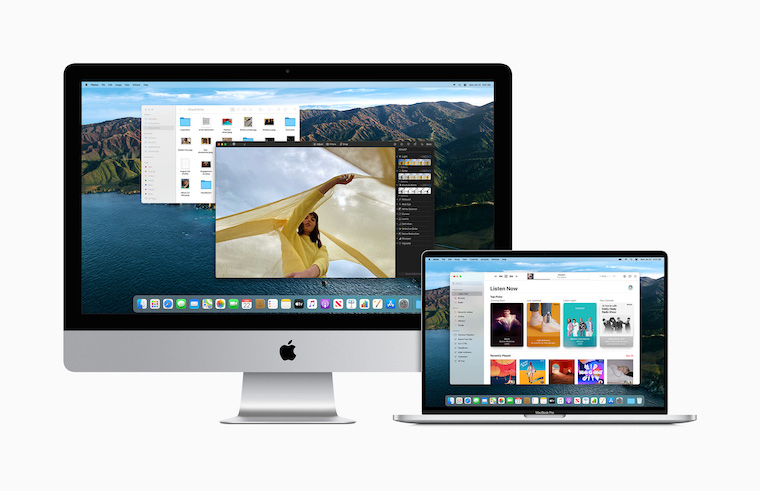
If you are wondering what a clean installation actually means, it is a classic installation of a new operating system, but with a completely formatted disk. When you format the disk, you will lose all the data that is stored on the disk, and in the end, it will only contain a clean macOS Big Sur system. A clean install is useful if you have any problems with your Mac device, or if your system is overloaded with unnecessary files, or perhaps some viruses. In addition, you also eliminate the manifestation of certain errors that may appear after the update. This whole guide is divided into two parts - the first part will show you how to perform a clean install if you're still running macOS Catalina, and the second part will look at how to perform a clean install of macOS Big Sur if you're already you have updated to it.
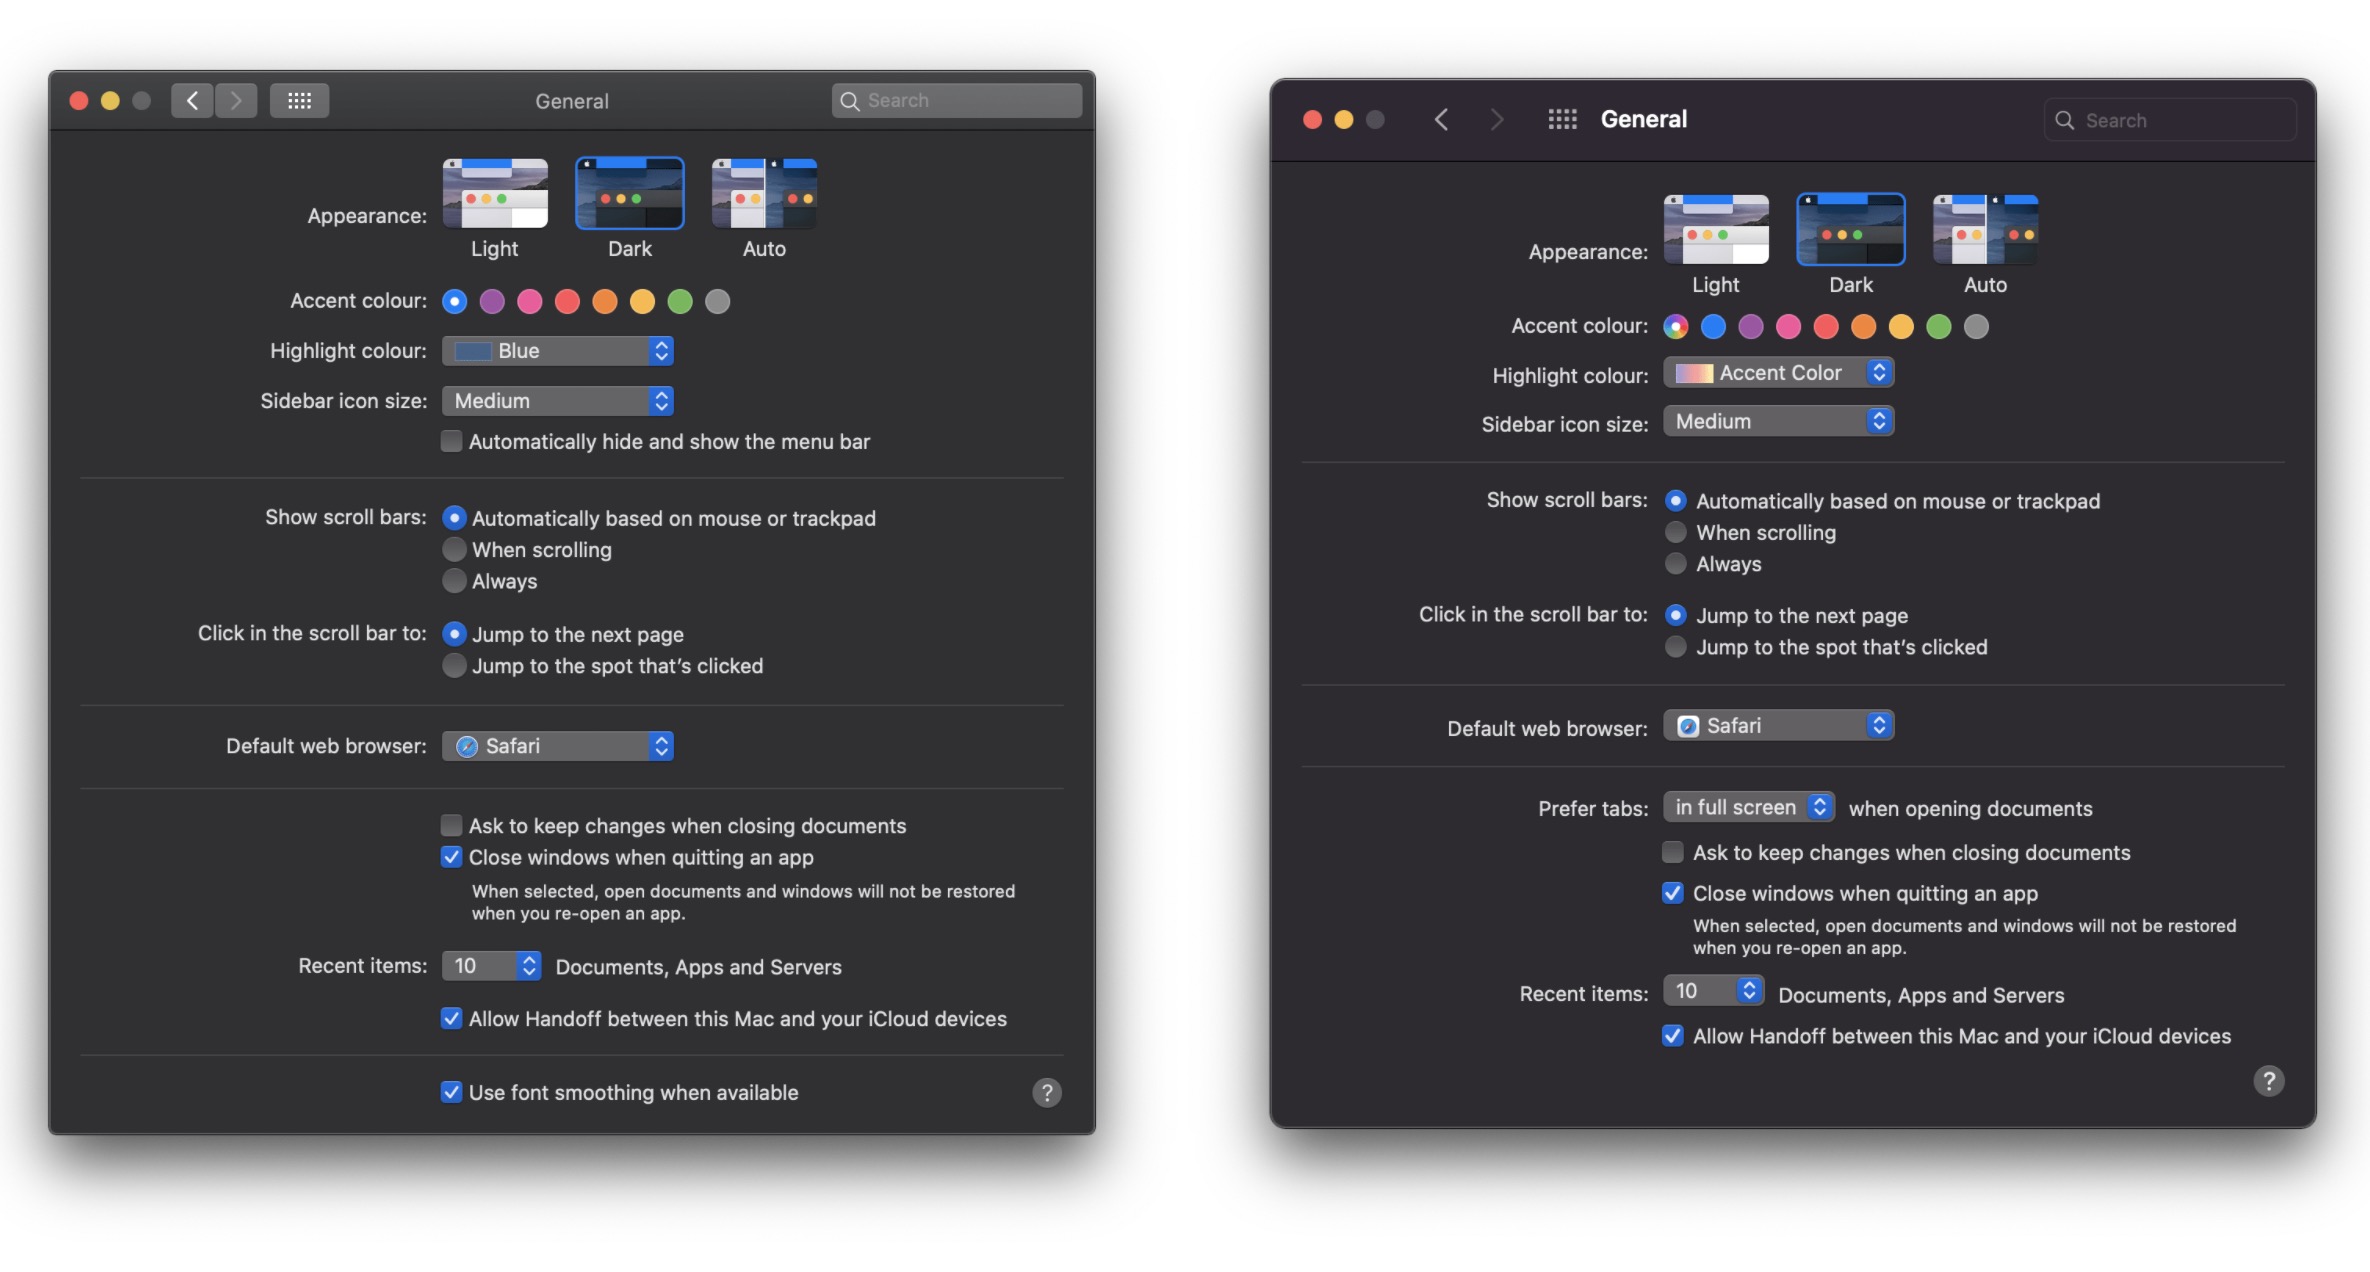
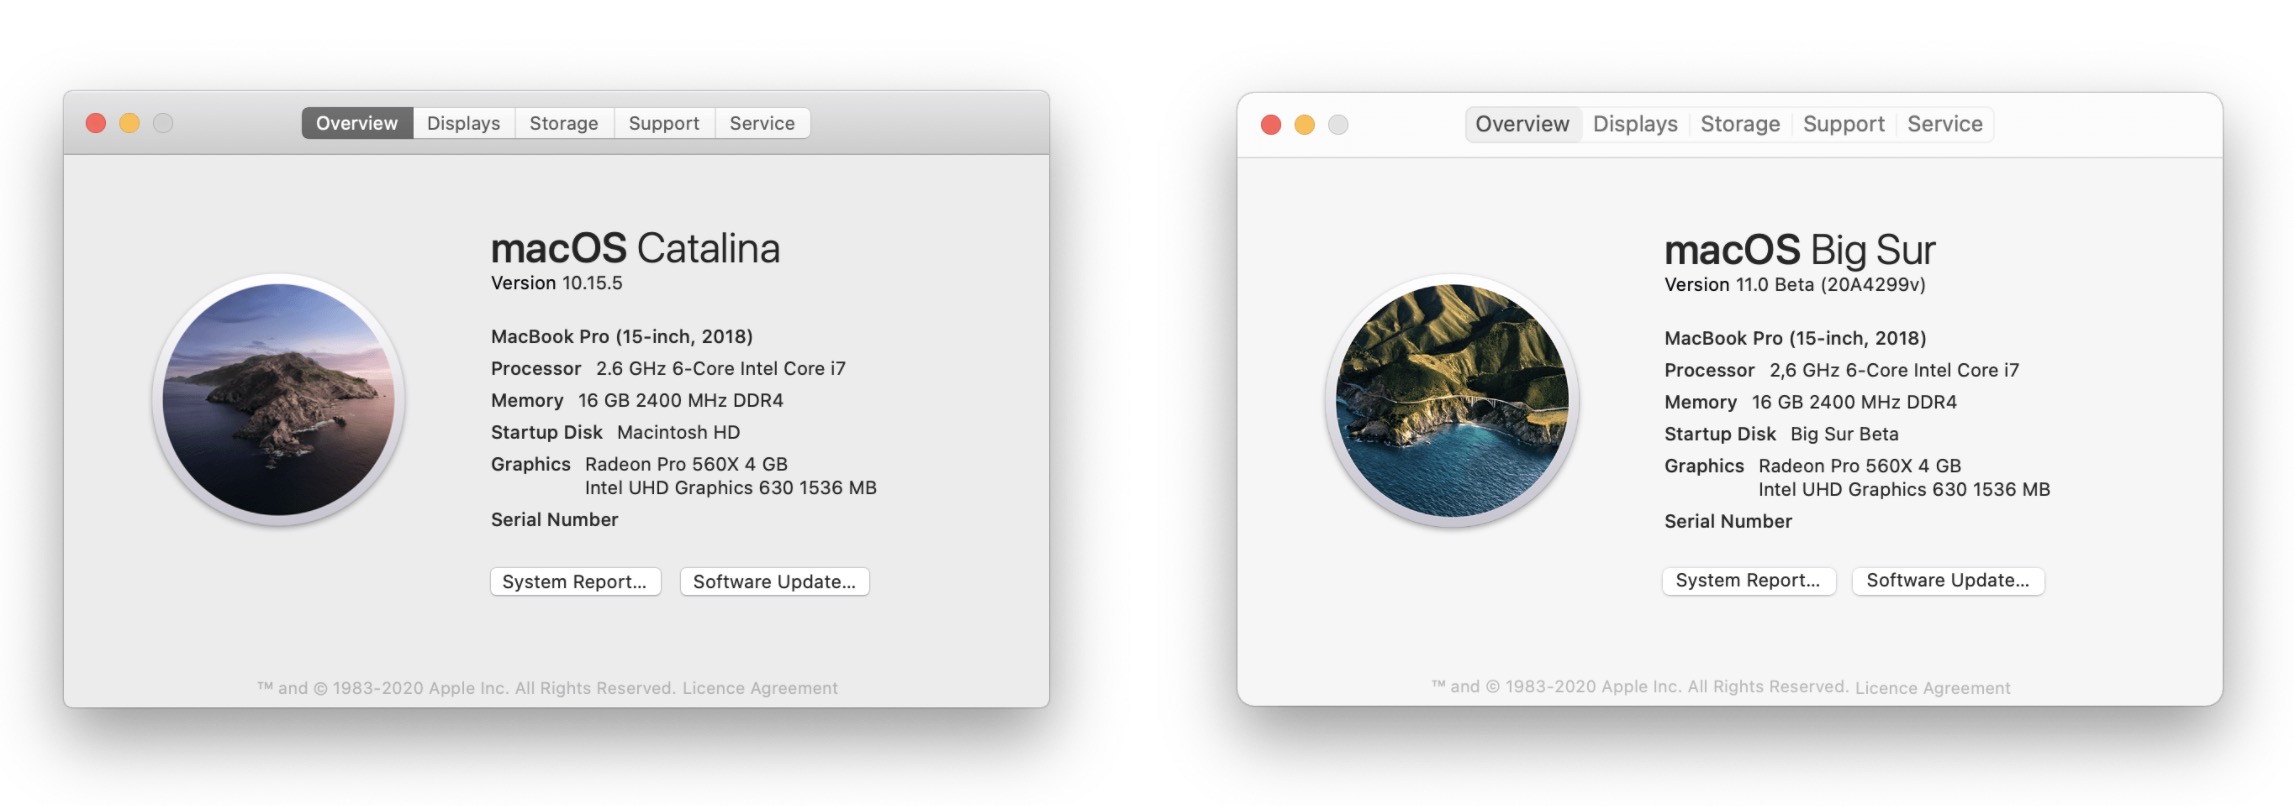
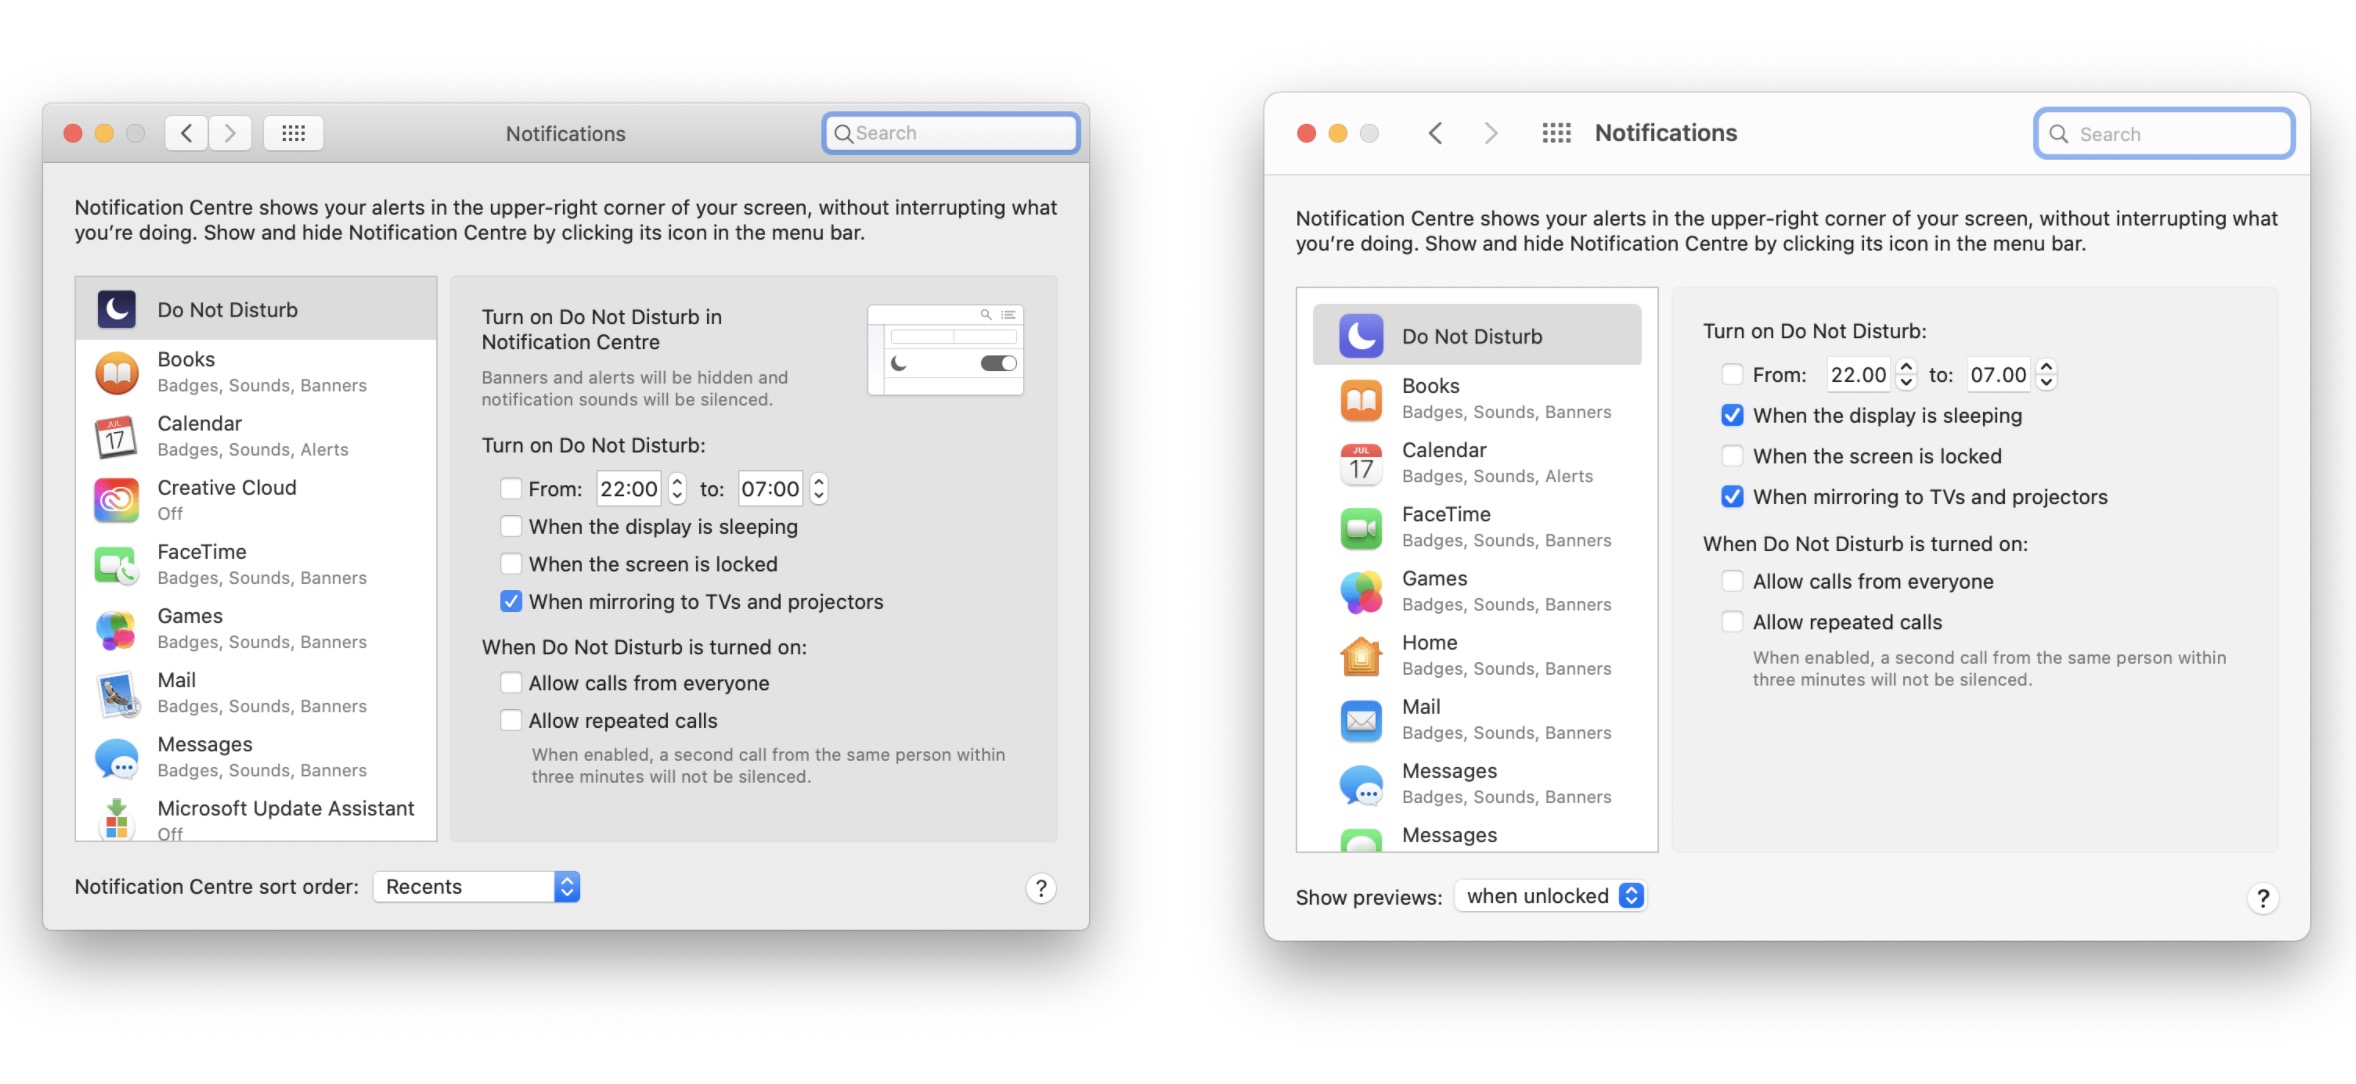
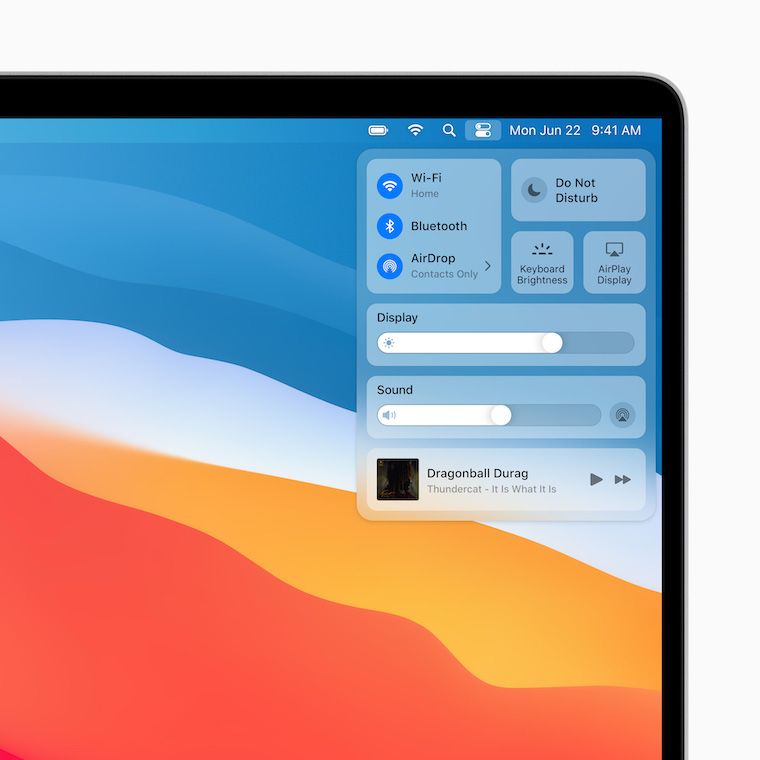
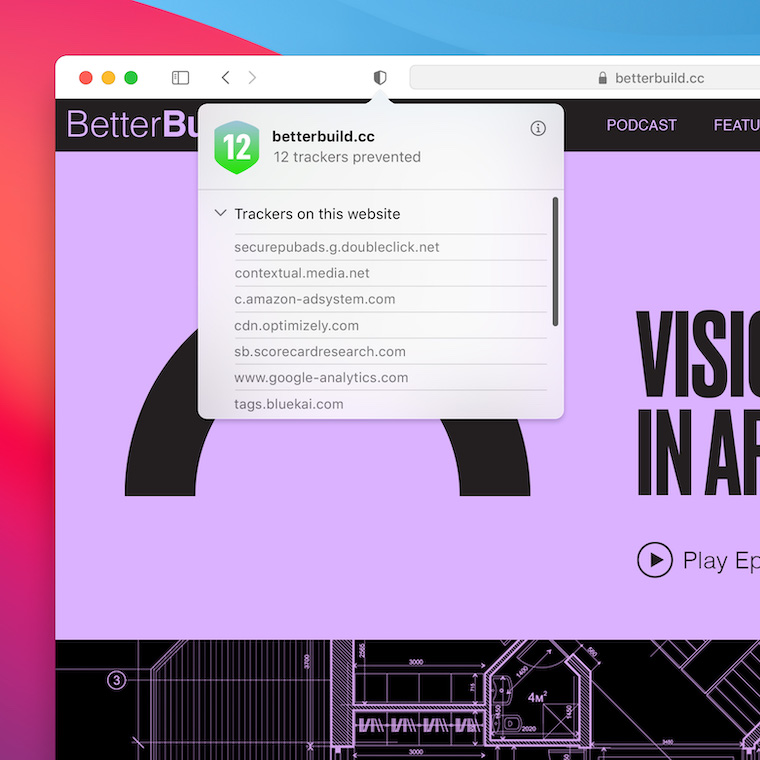
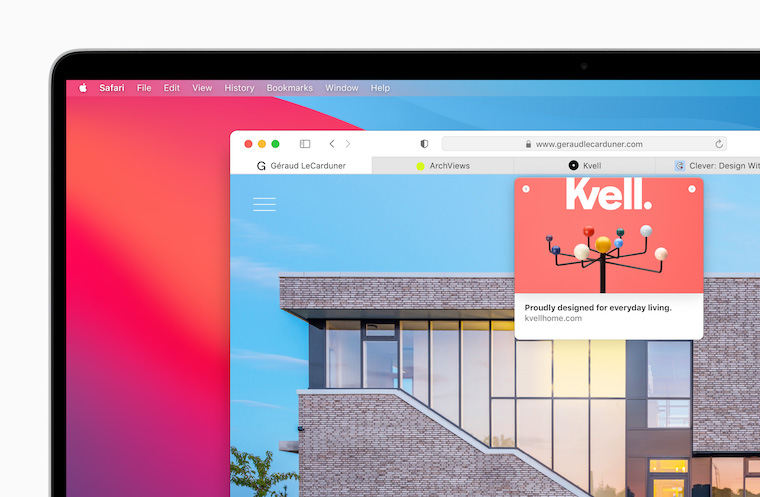
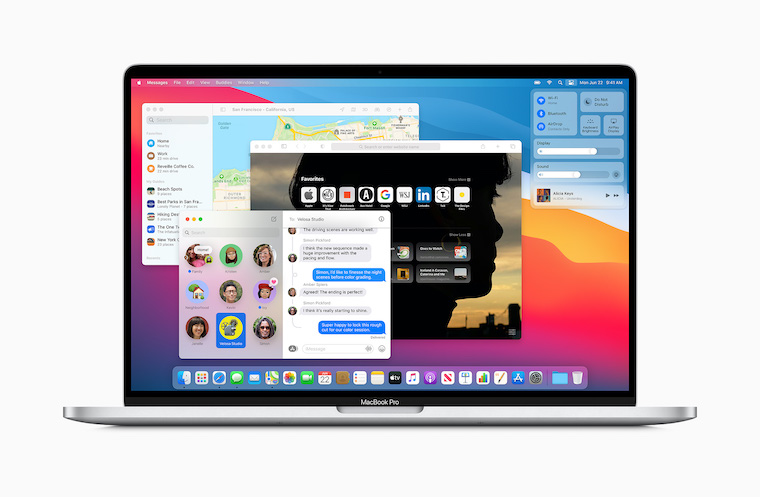
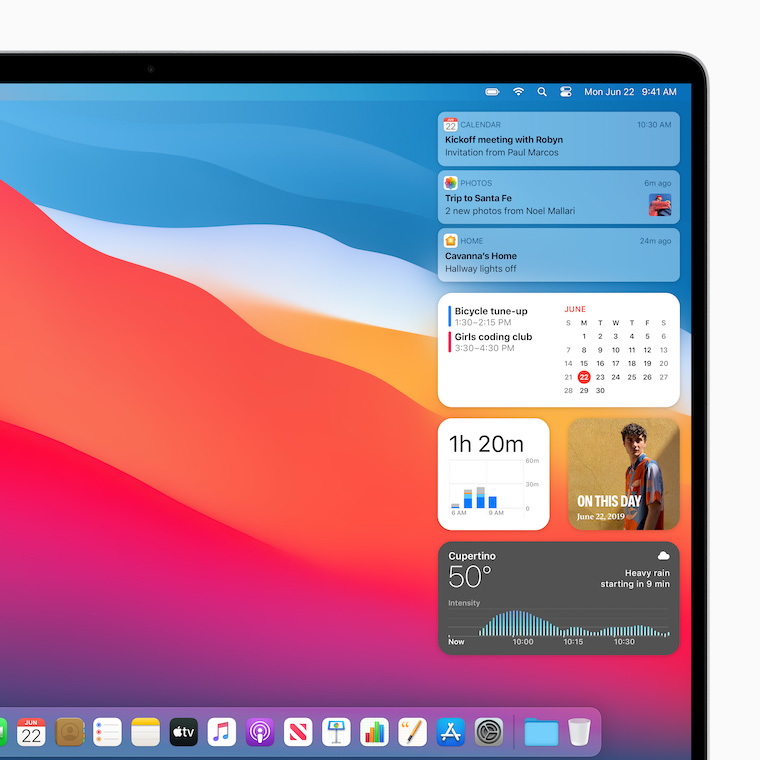
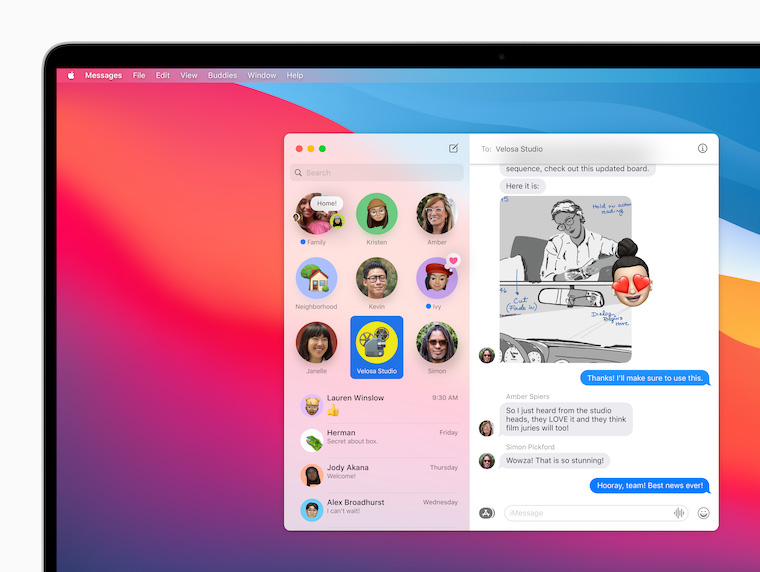
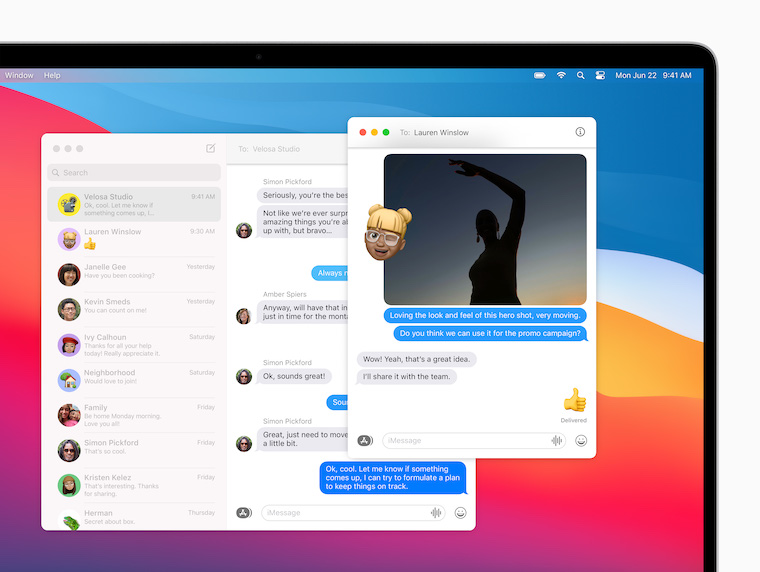
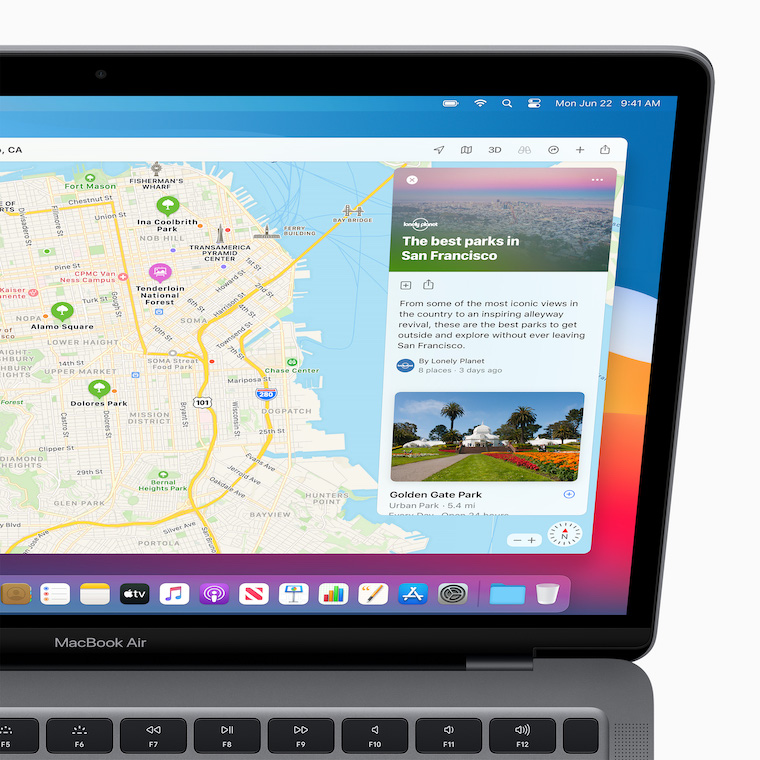
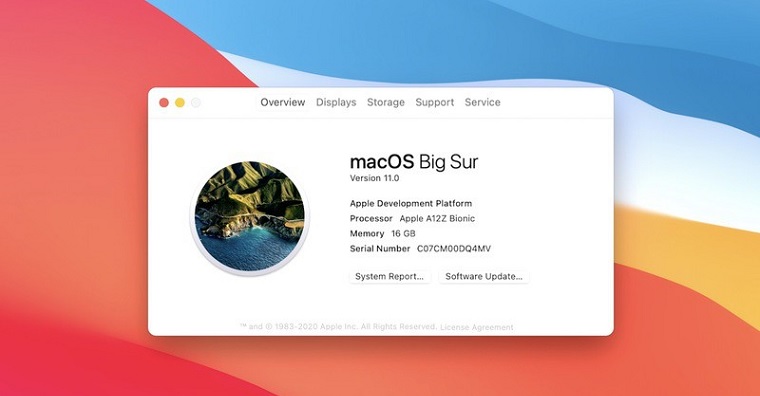
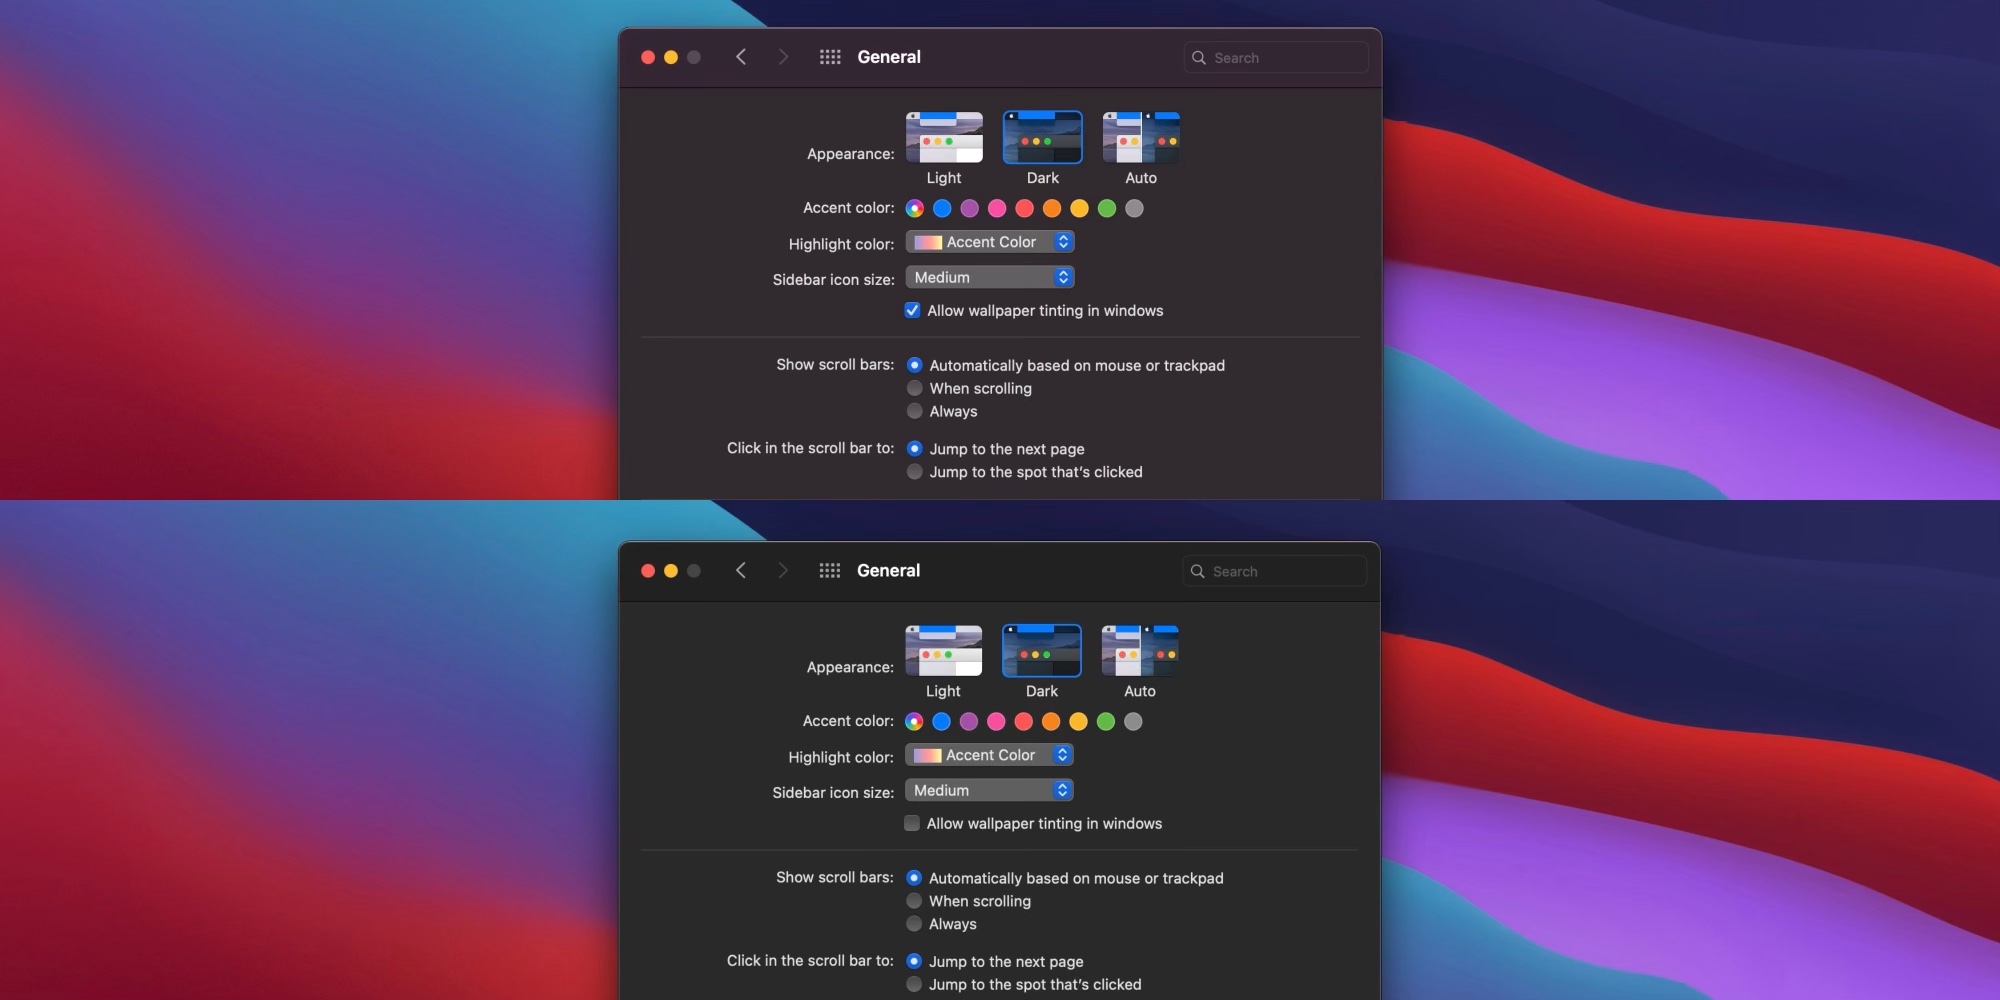
Differences between macOS Catalina and macOS Big Sur:
Gallery
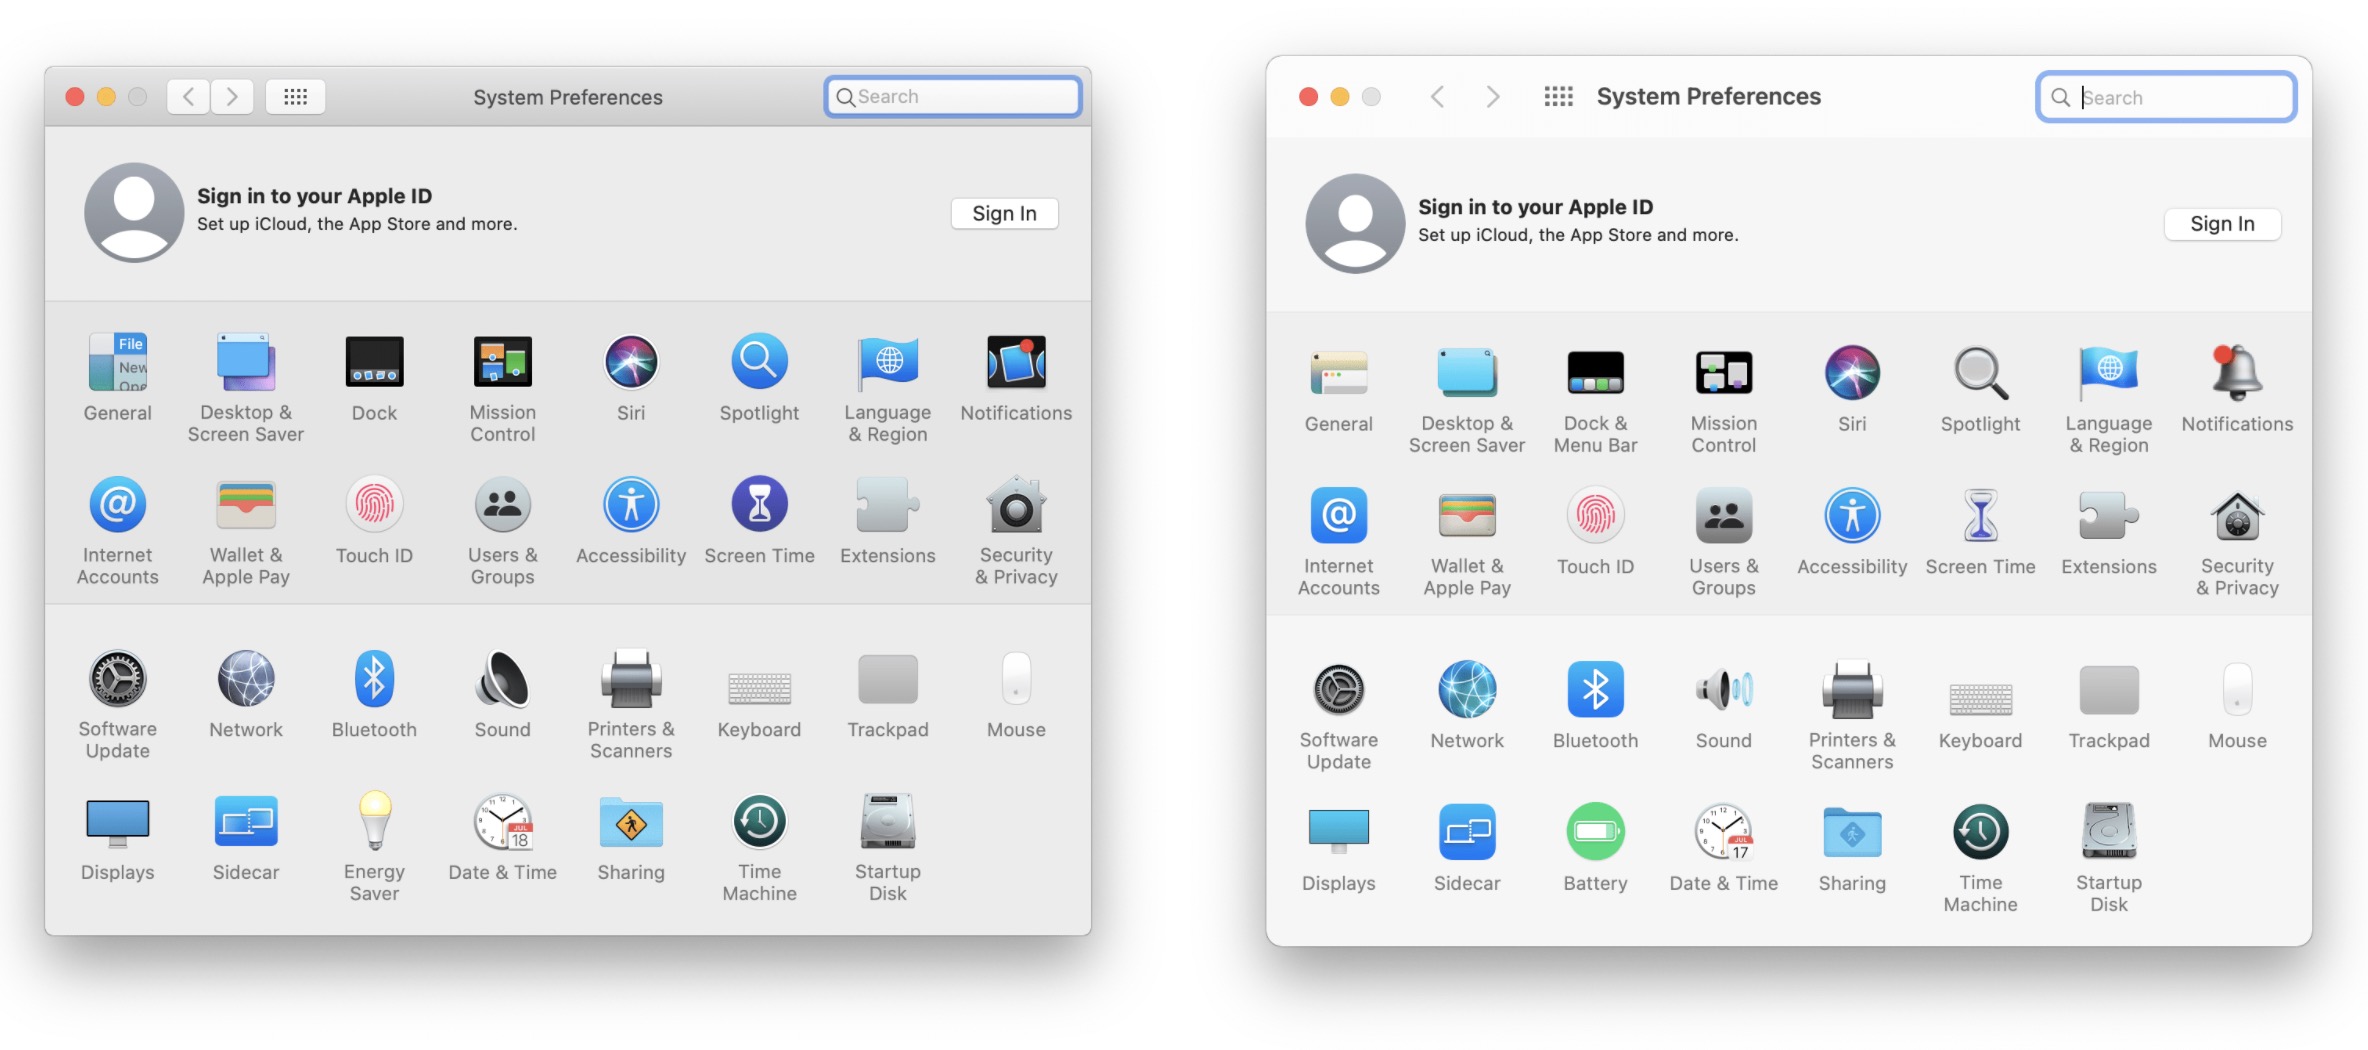
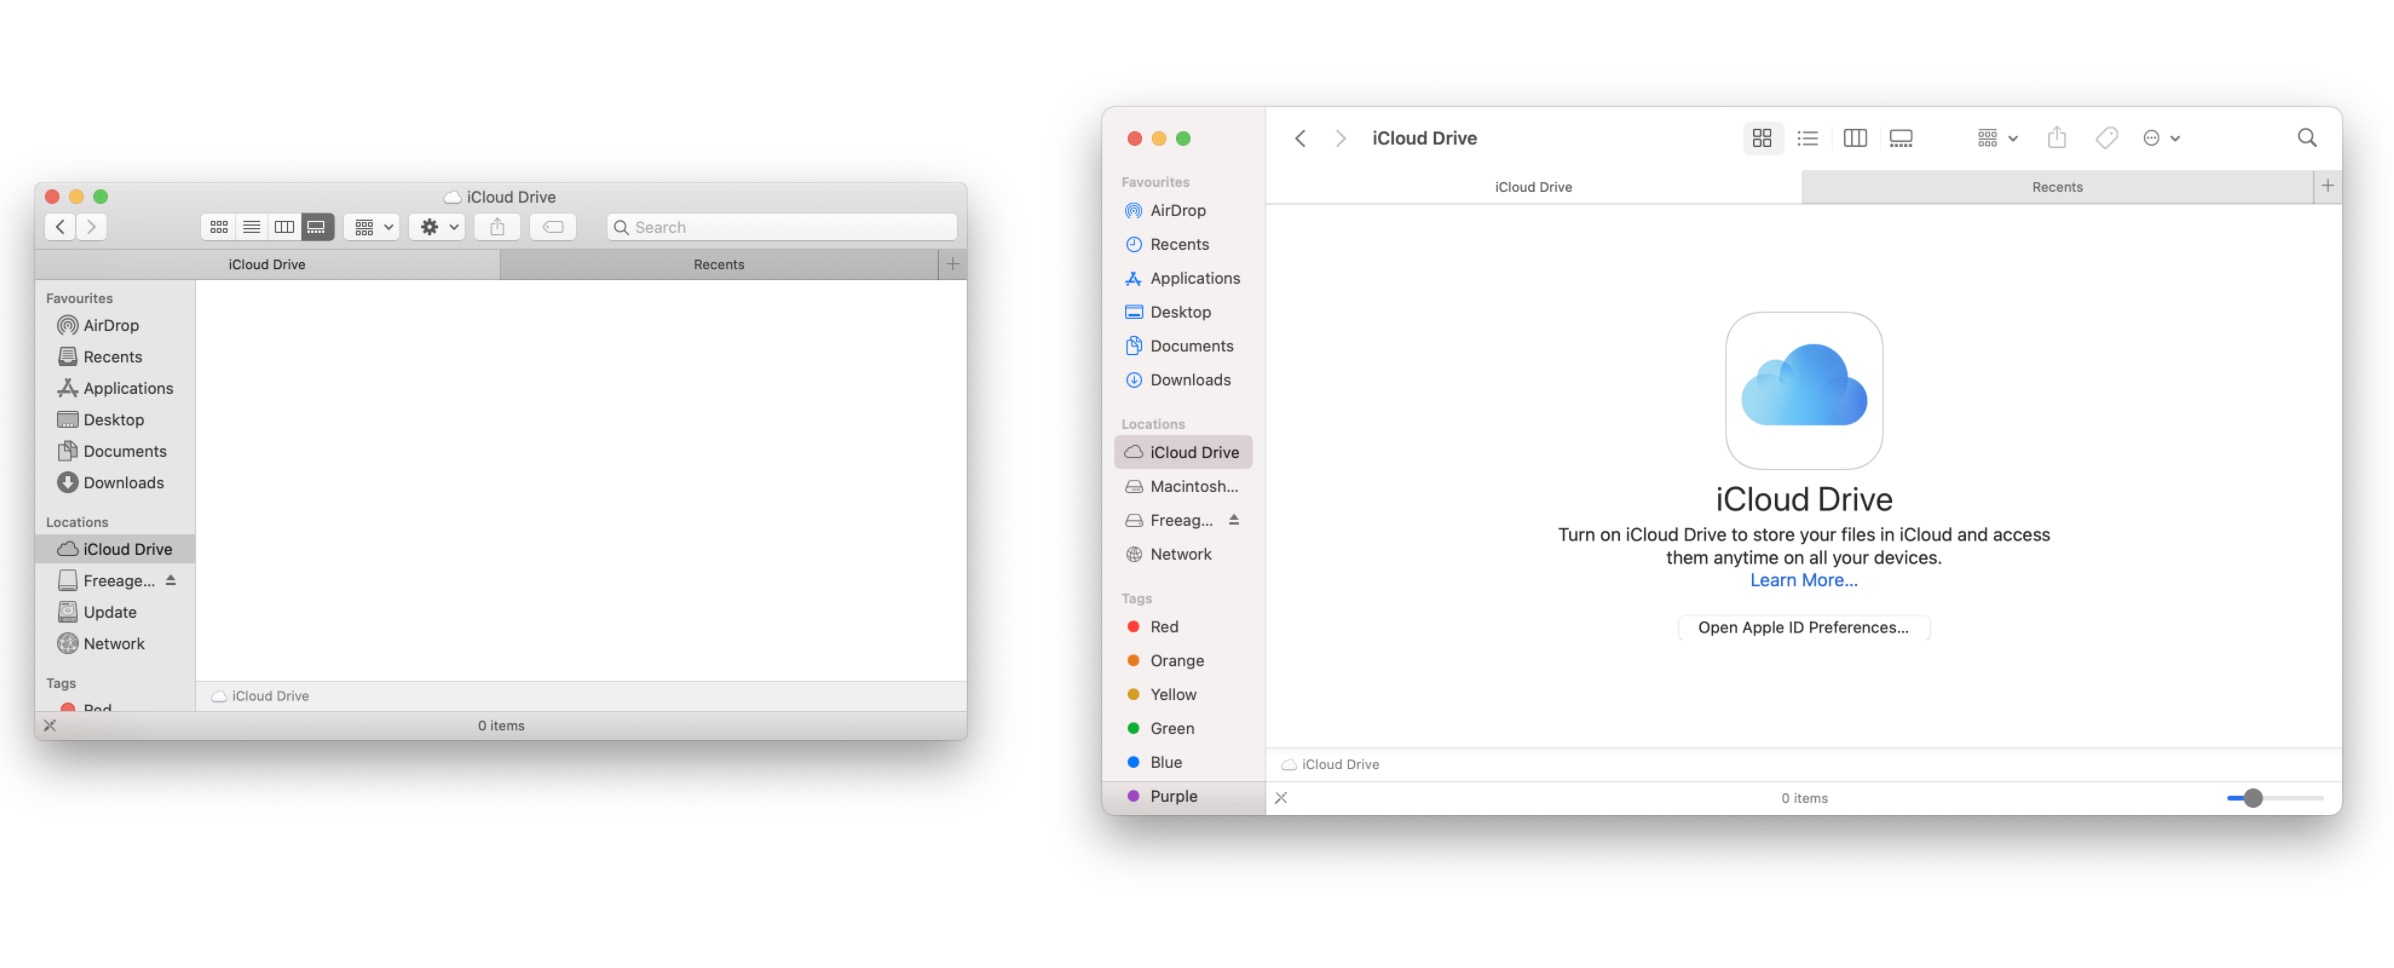
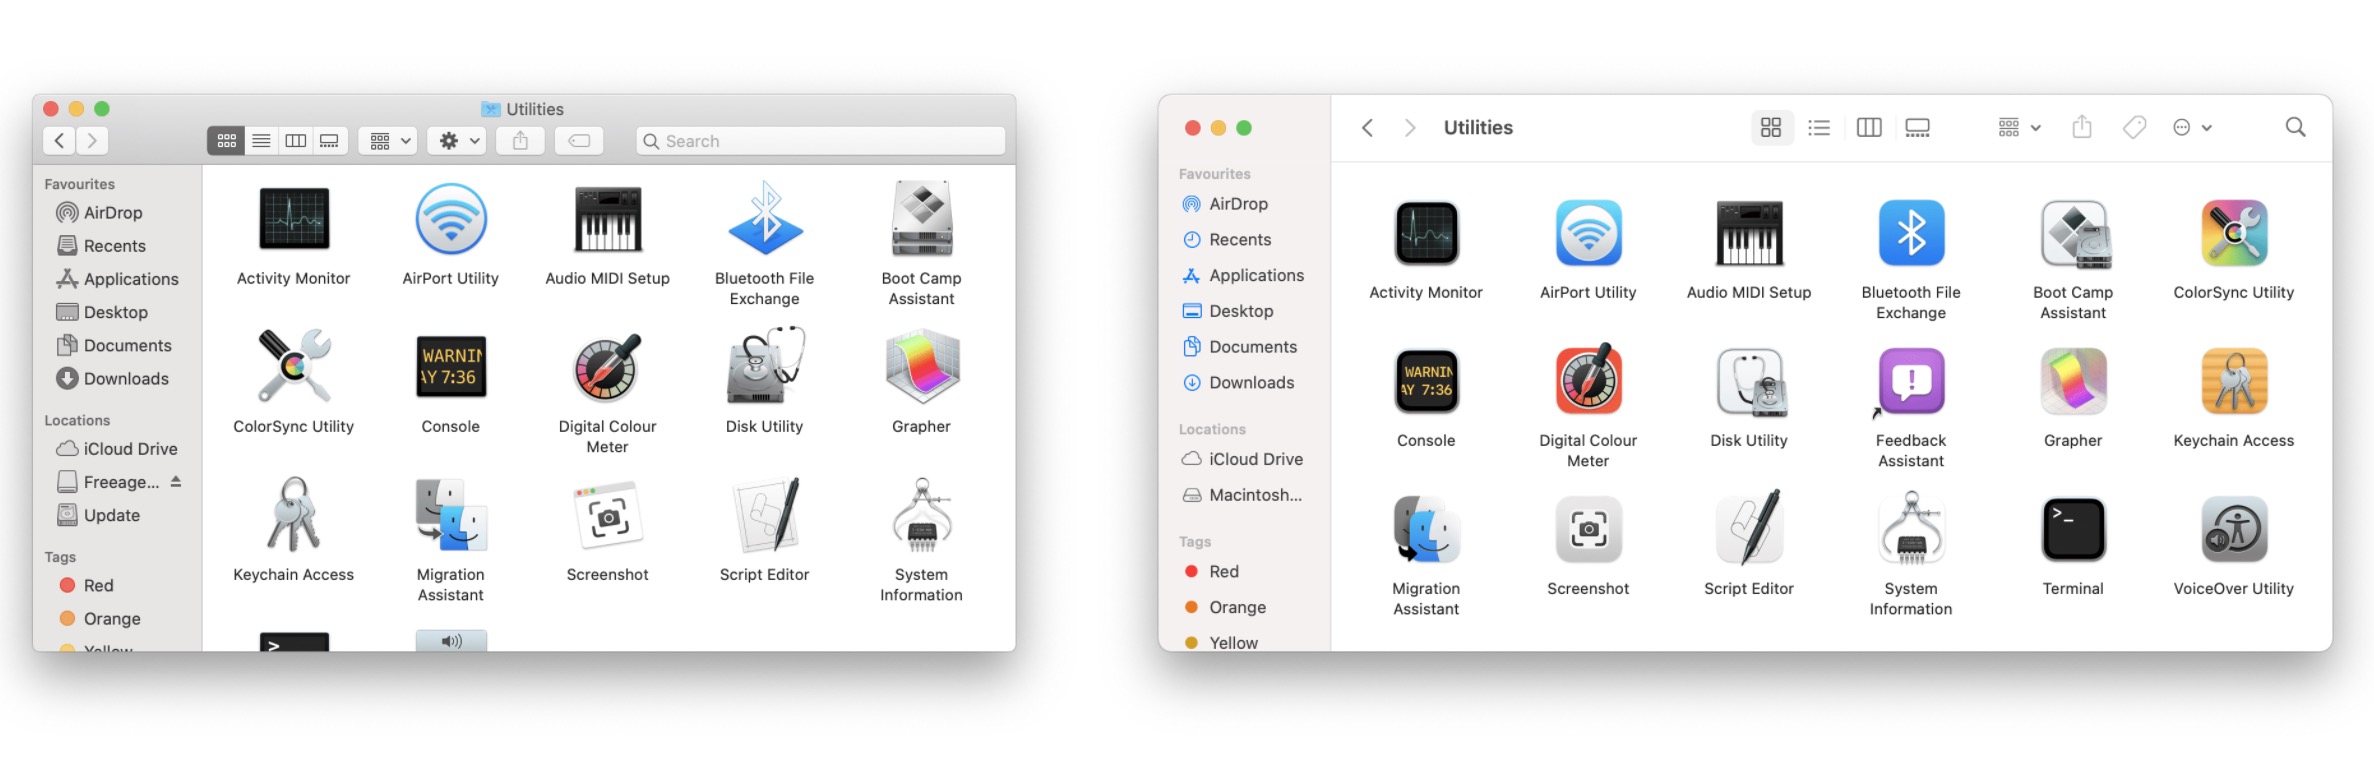
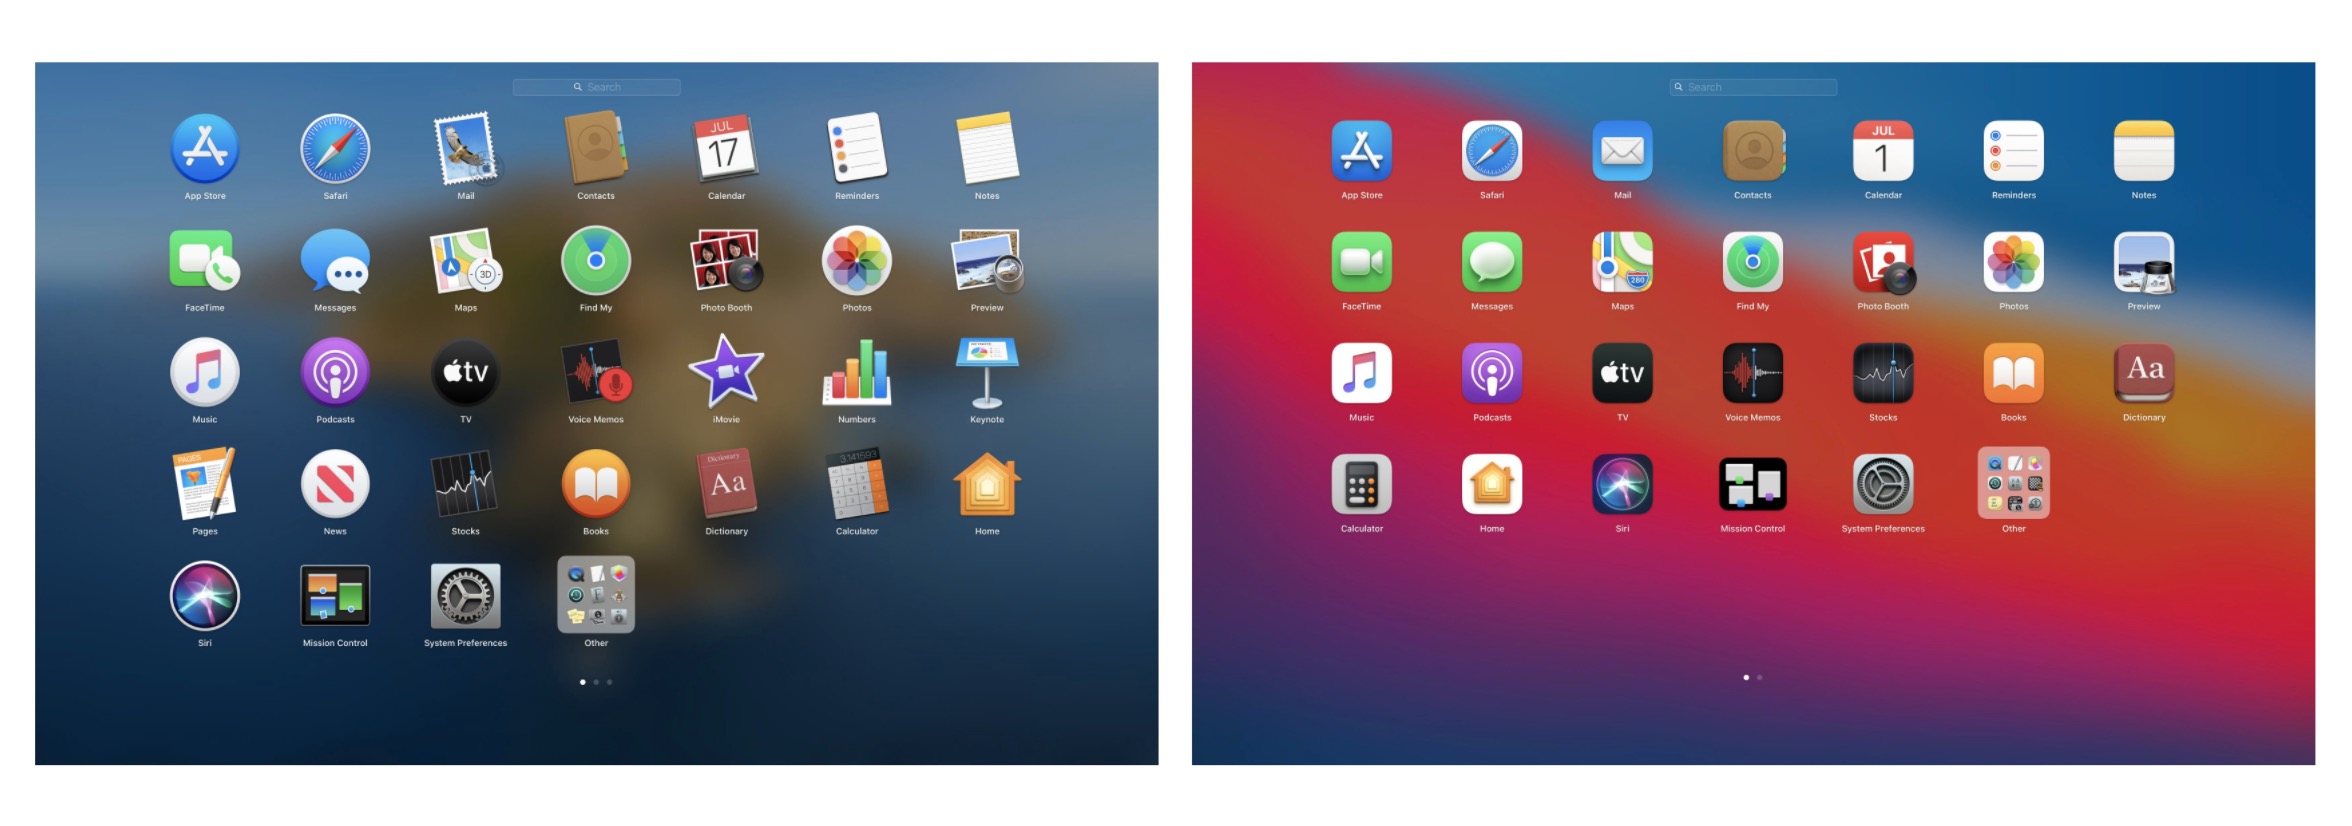
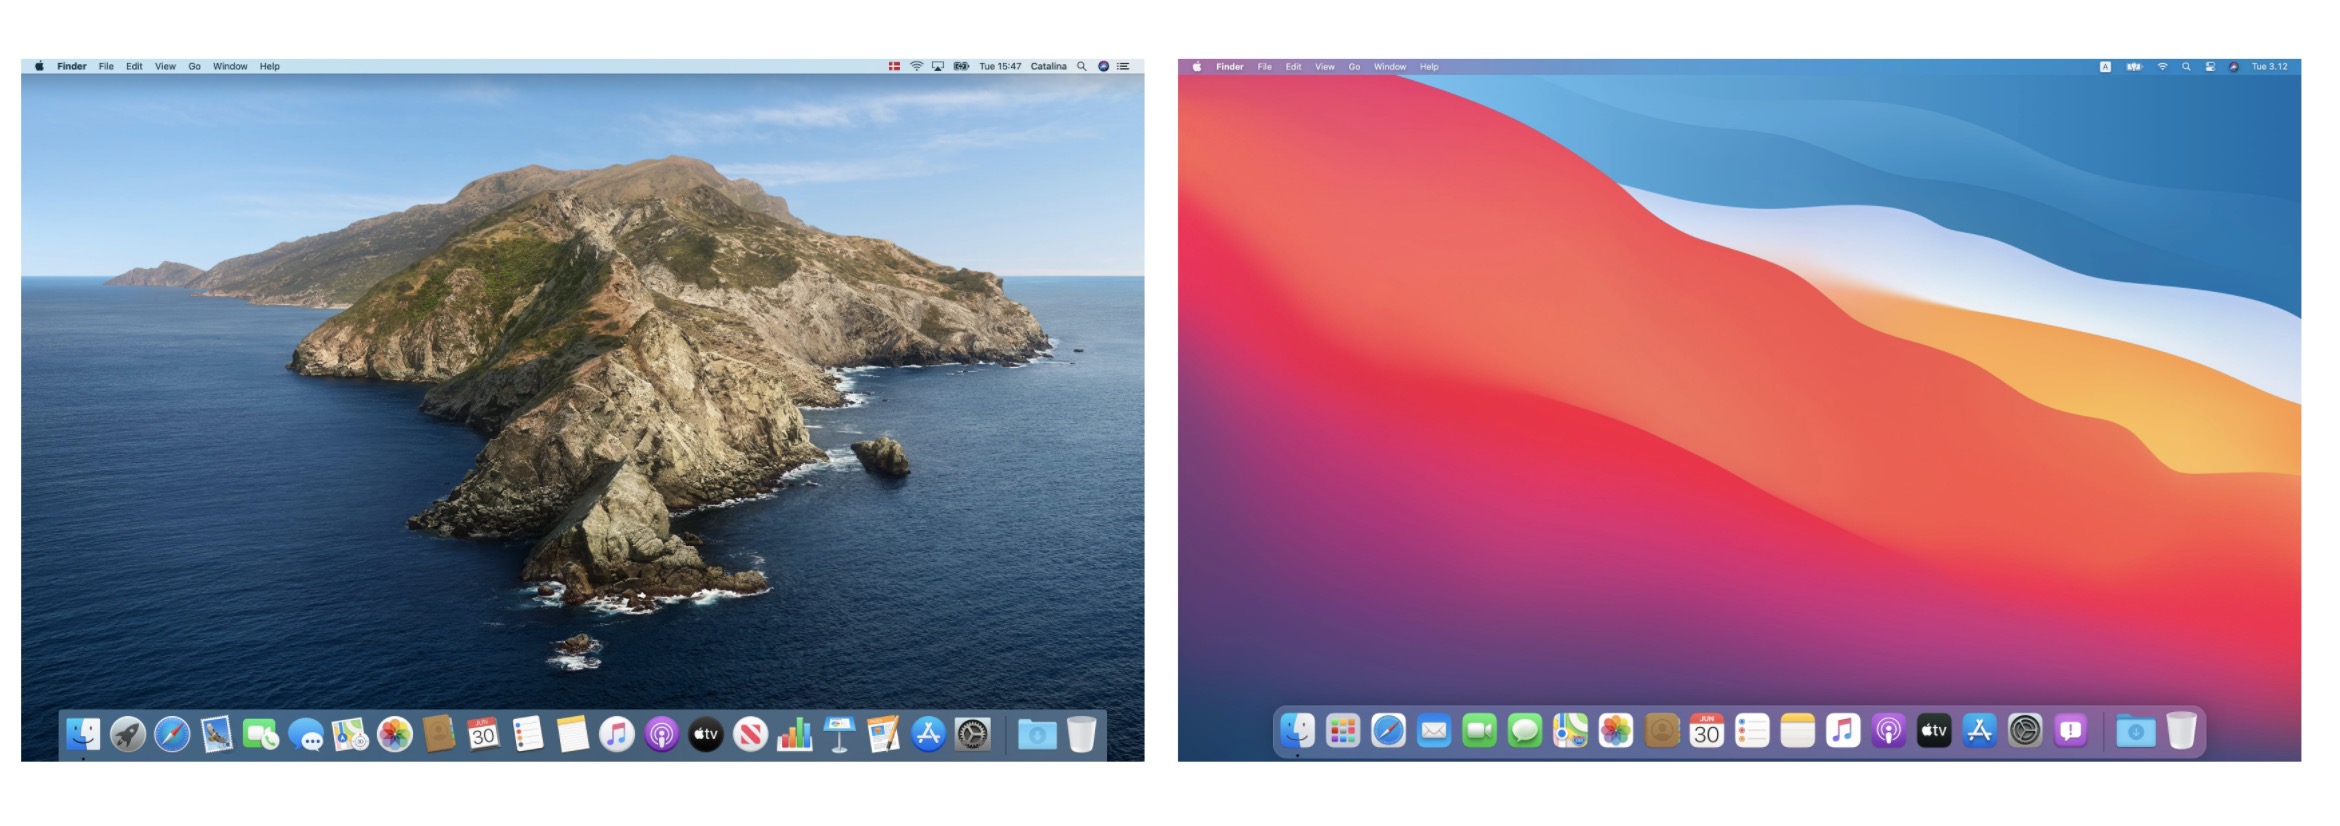
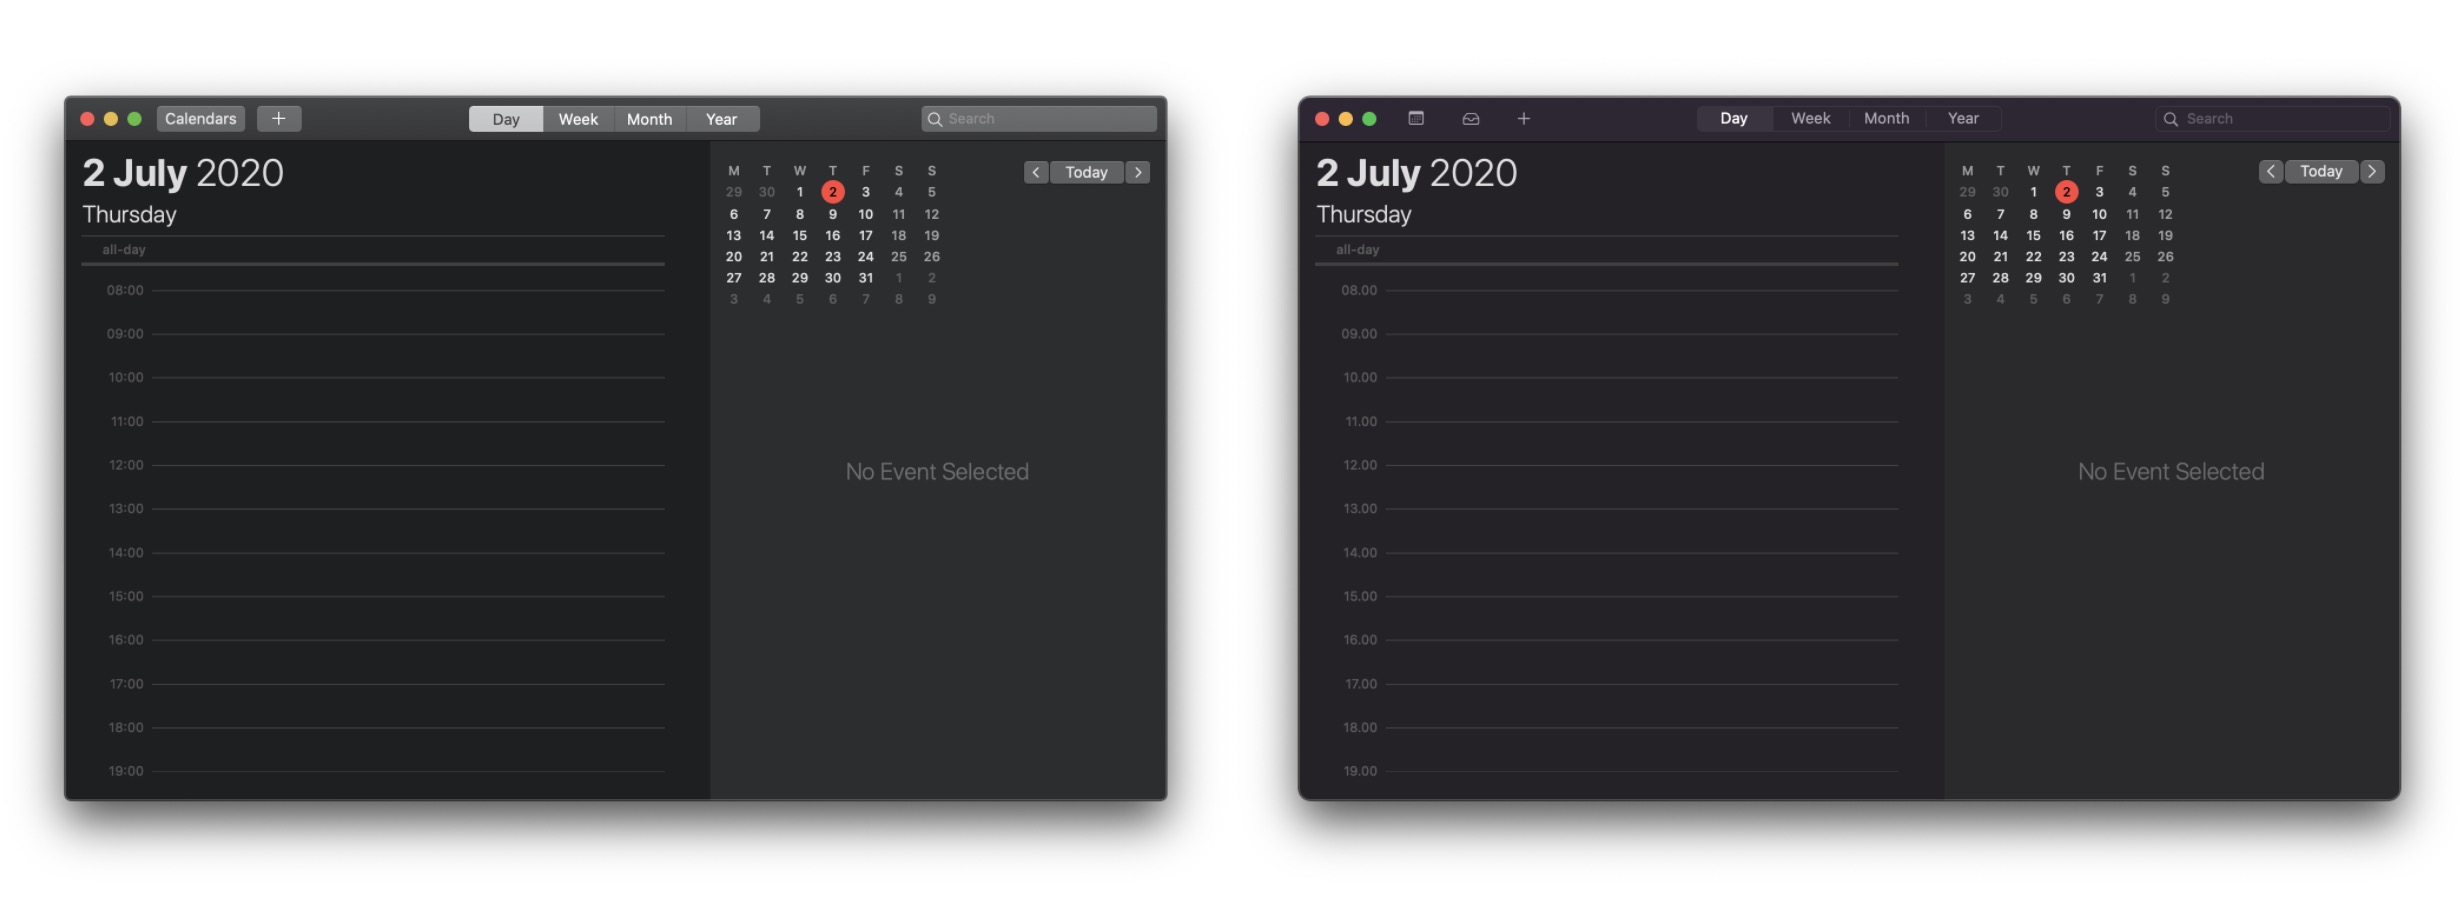
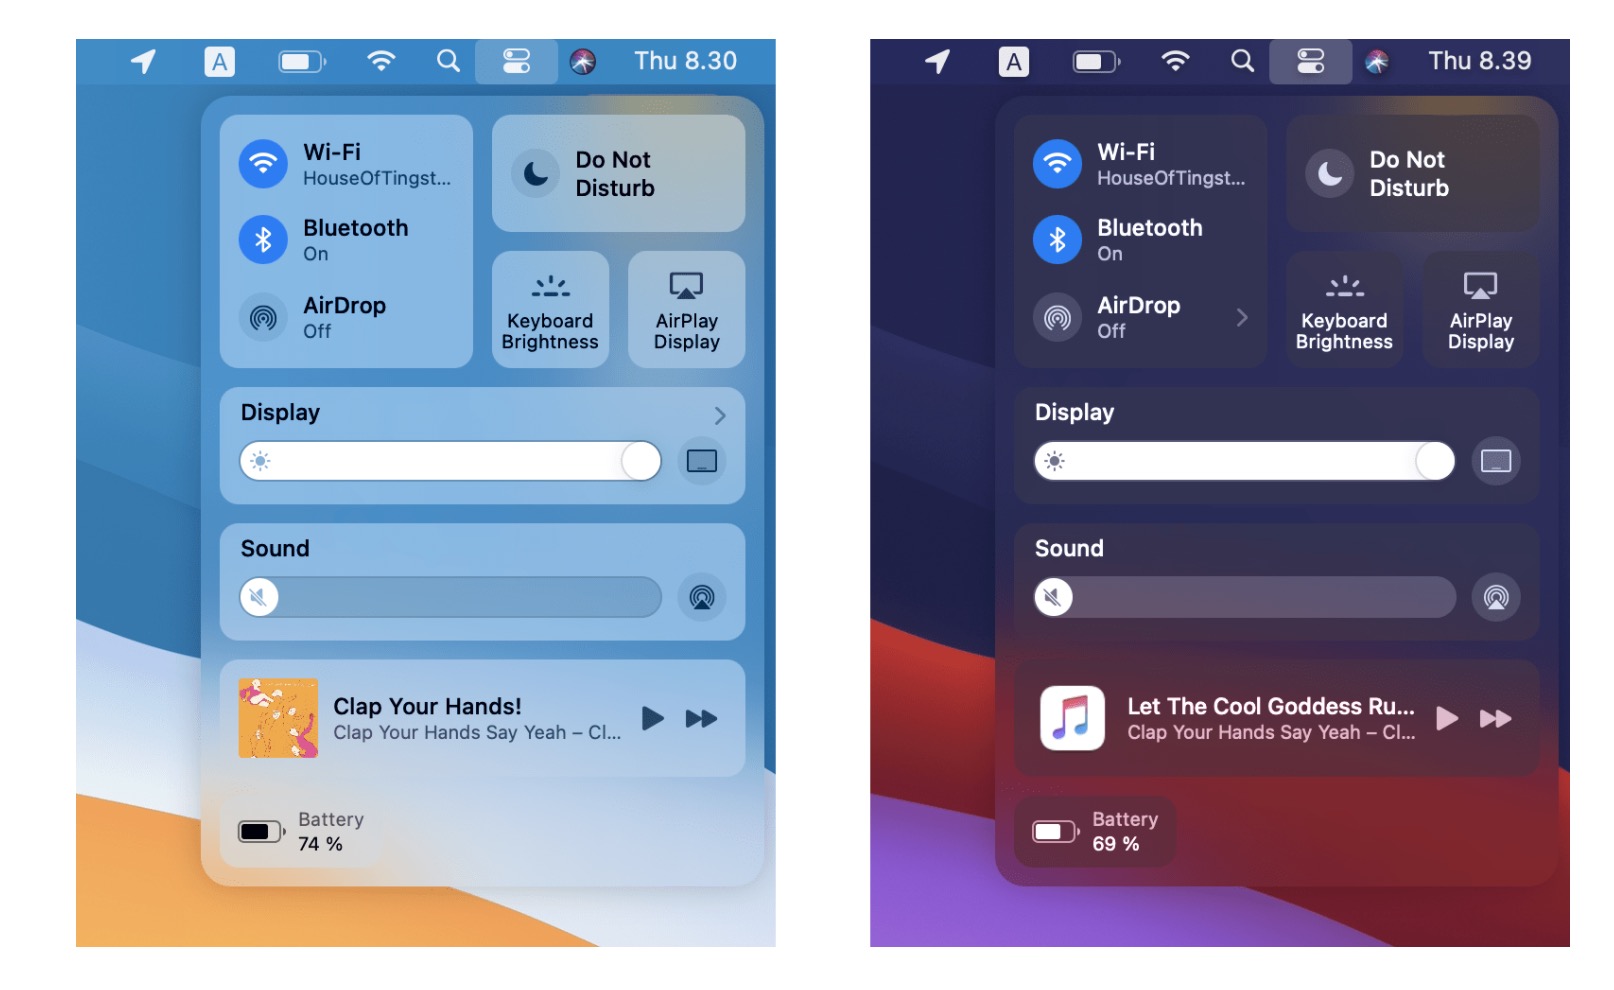
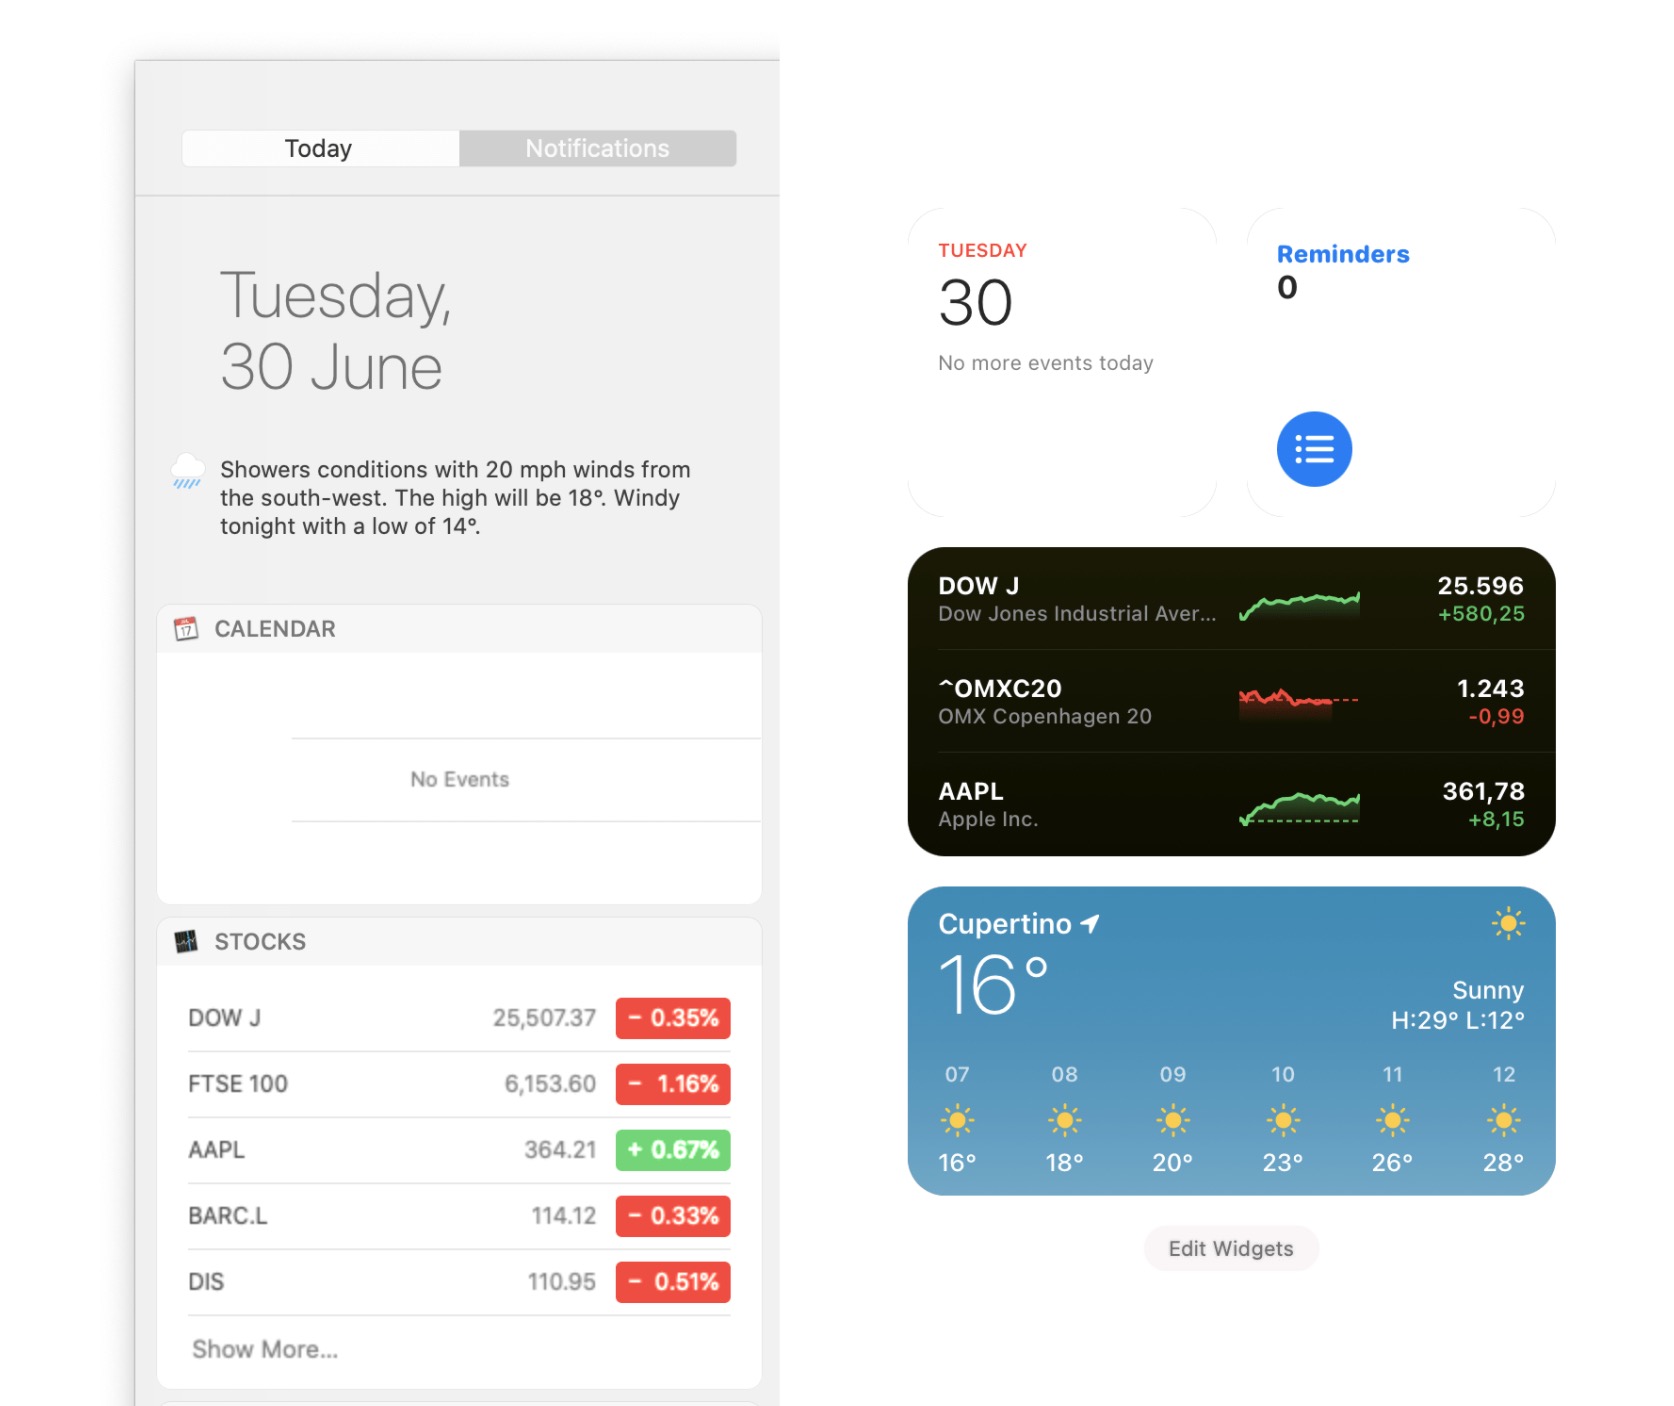
Backup
Gallery

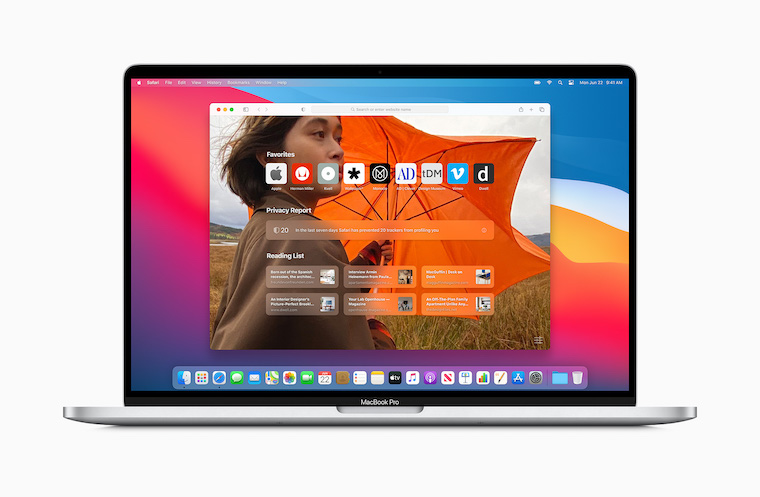
Before you start the process itself, you should first make a backup. As I mentioned above, when you format the disk, you will lose all your data. If you don't want to lose some data, save it to an external disk, for example, cloudemail service, or perhaps a home server. You have several options, just choose the one that suits you best.
Clean install of macOS Big Sur from macOS Catalina
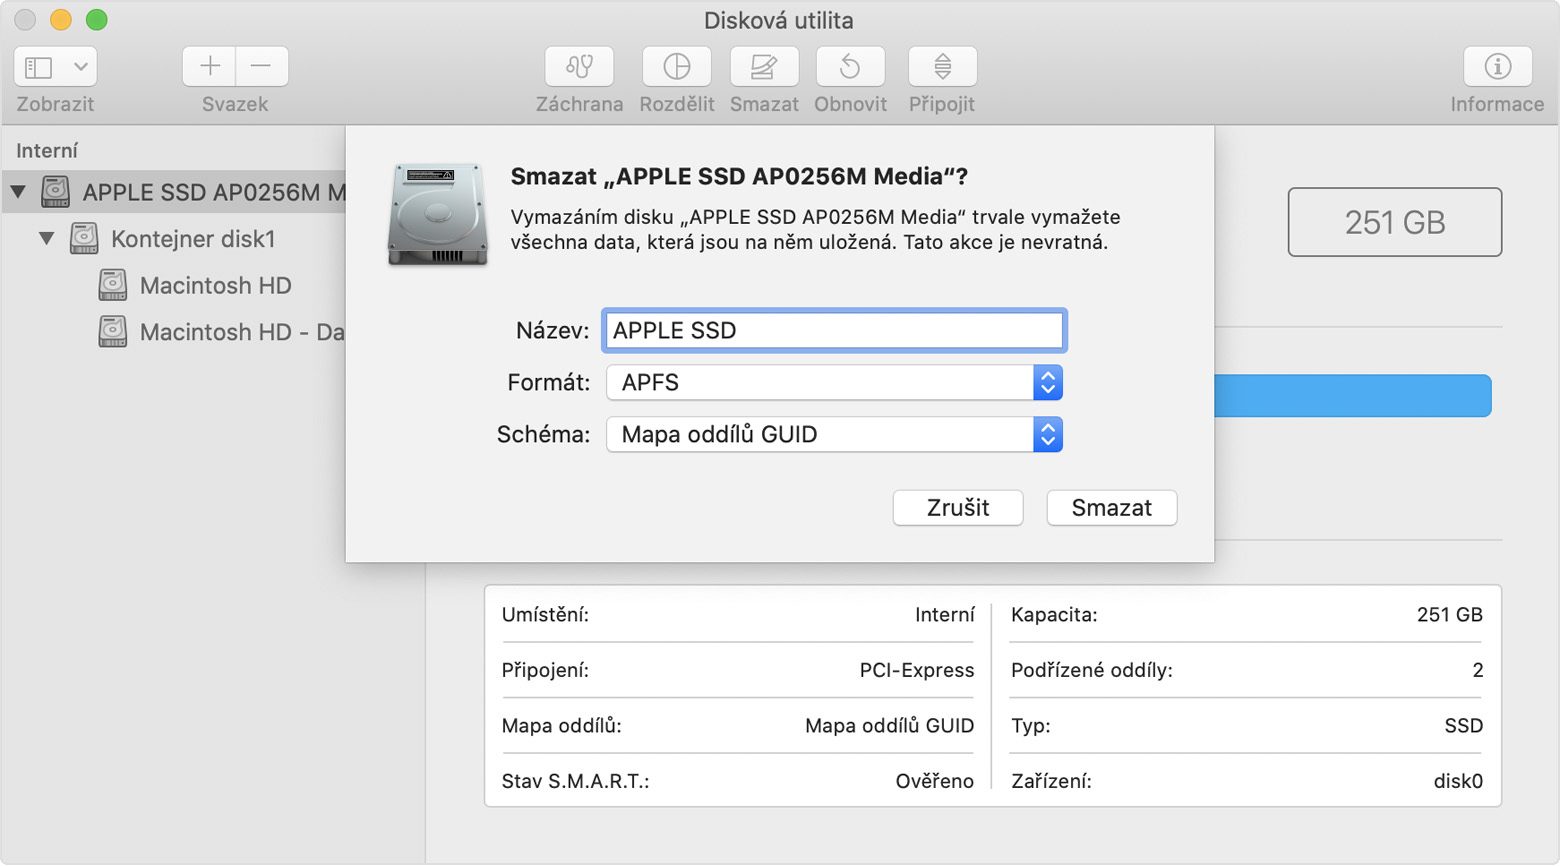
If you haven't updated to macOS Big Sur from macOS Catalina yet, here's how to do it. If you have everything backed up, your Mac or MacBook in the classic way turn off. As soon as the device is turned off, with the start button turn on and hold immediately afterwards together keys Command + R. Hold these keys until you appear on the screen macOS Recovery. Here it is now necessary for you to by entering the password have authorized your profile. Then select an option from the menu Disk Utility. In the new window that appears, in the upper left, click on See more and select an option See more all devices, which will make all the drives appear in the sidebar. In the section Internal click on primary disk, which most often bears the name APPLE SSD xxxxxxxx. After clicking the disk, click on the top delete, which will open another window. Take your pick any name disk and format ponereal APFS. nakonec click on Delete. Once the formatting is complete, then Exit Disk Utility (click Disk Utility and Quit Disk Utility in the top bar). Then at the top left tap on icon and equipment reboot.
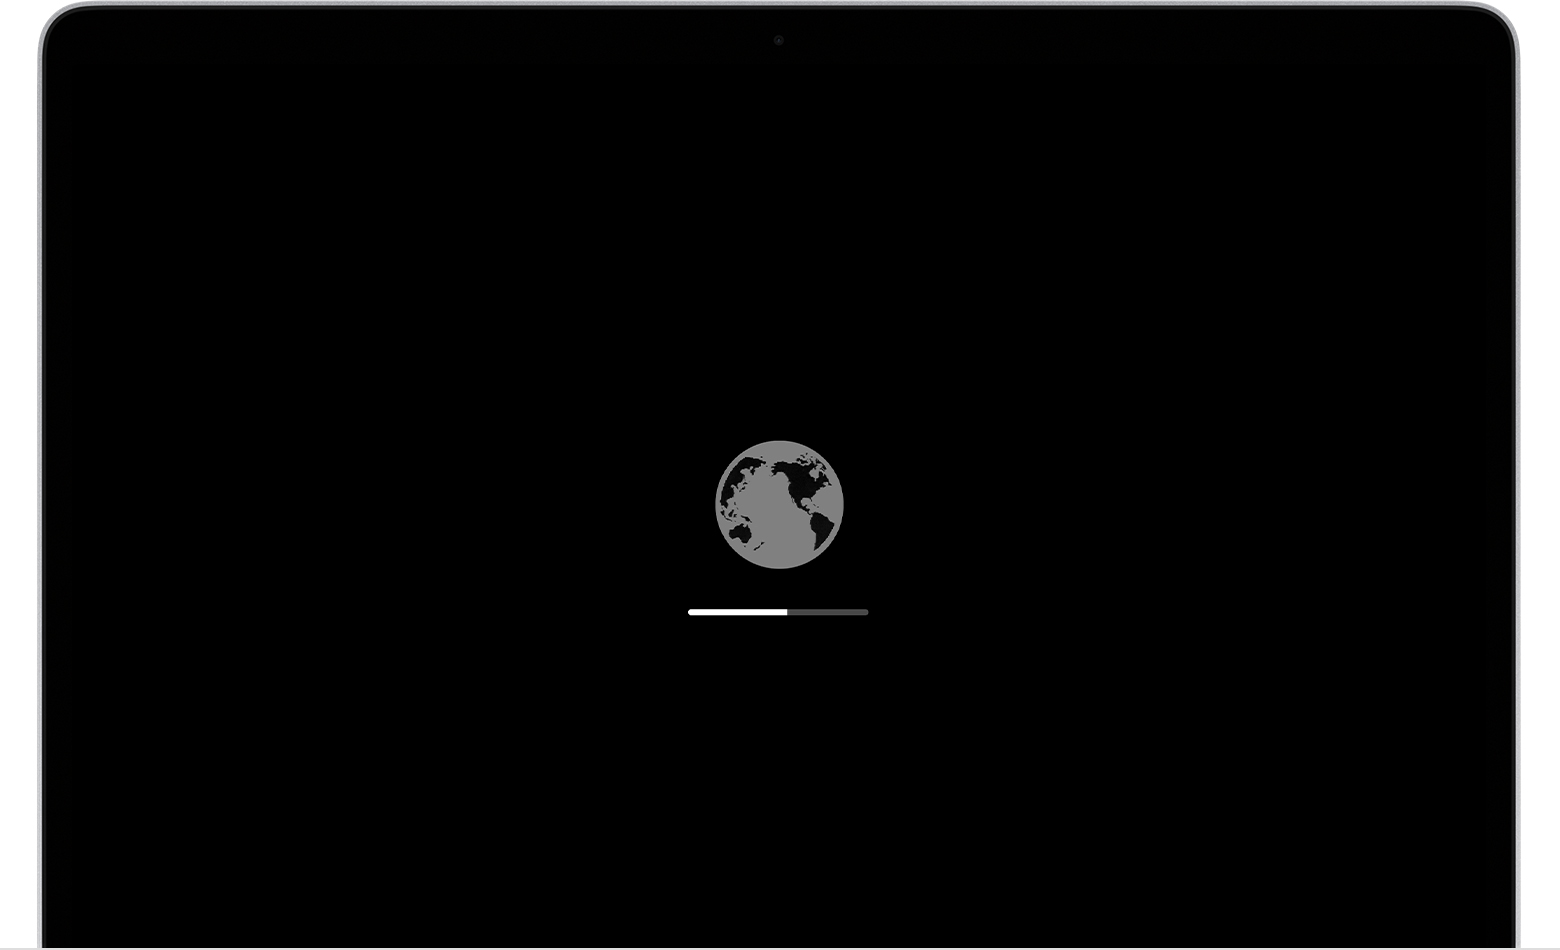
Immediately after that, once the device starts to reboot, hold down the keys Option + Command + R, then on older macOS devices Alt + Command + R. Hold these three keys until you are on the screen Internet recovery – you can tell by the way it appears on the desktop globe. ProInternet Recovery always downloads the latest version of macOS that is compatible with your Mac or MacBookOnce Internet Recovery loads, you just need to click through the screens and choose disk on which macOS will be installed. After that, you just have to wait download the latest version of macOS, which then will automatically install. Please note that the servers will be down at this time. Applu is very busy, so the download will be slow. So consider whether it would be better to wait a few days with a clean installation so that everything goes faster. After the installation is complete, you will find yourself on the classic welcome screen, through which you will perform the basic settings of your Mac.
Clean install of macOS Big Sur after update
If you have already successfully updated to macOS 11 Big Sur and you have found that you are having some issues, you may want to consider a clean install. In this case, the procedure is as follows. If you have everything backed up, your Mac or MacBook in the classic way turn off. As soon as the device is turned off, with the start button turn on and hold immediately afterwards together keys Command + R. Hold these keys until you appear on the screen macOS Recovery. Here it is now necessary for you to by entering the password have authorized your profile. Then select an option from the menu Disk Utility. In the new window that appears, in the upper left, click on See more and select an option See more all devices, which will make all the drives appear in the sidebar. In the section Internal click on primary disk, which most often bears the name APPLE SSD xxxxxxxx. After clicking the disk, click on the top delete, which will open another window. Take your pick any name disk and format ponereal APFS. nakonec click on Delete. Once the formatting is complete, then Exit Disk Utility (click Disk Utility and Quit Disk Utility in the top bar).
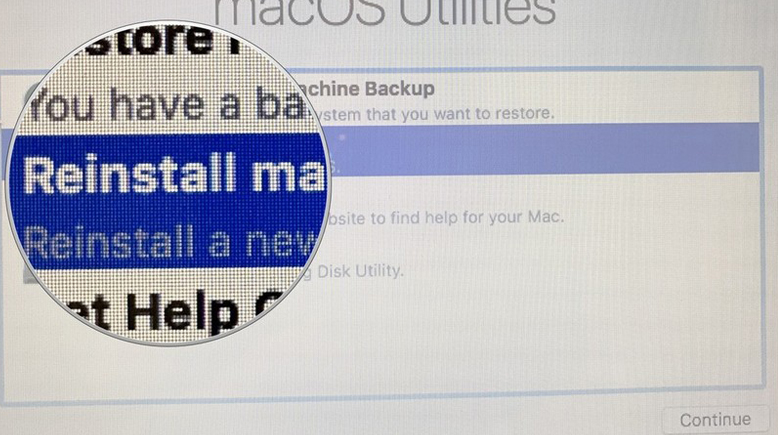
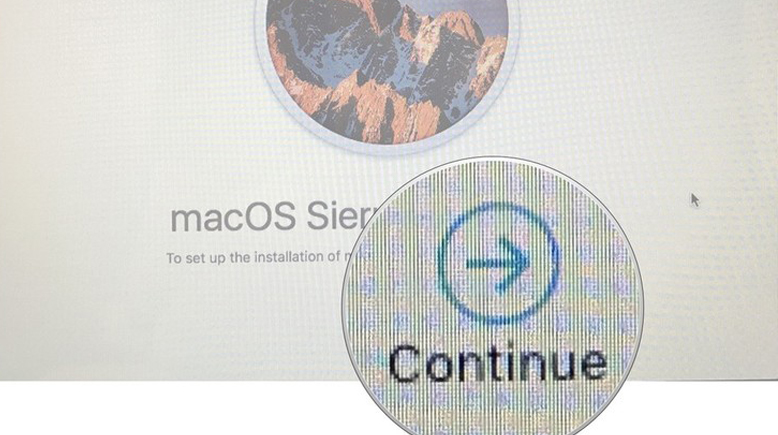
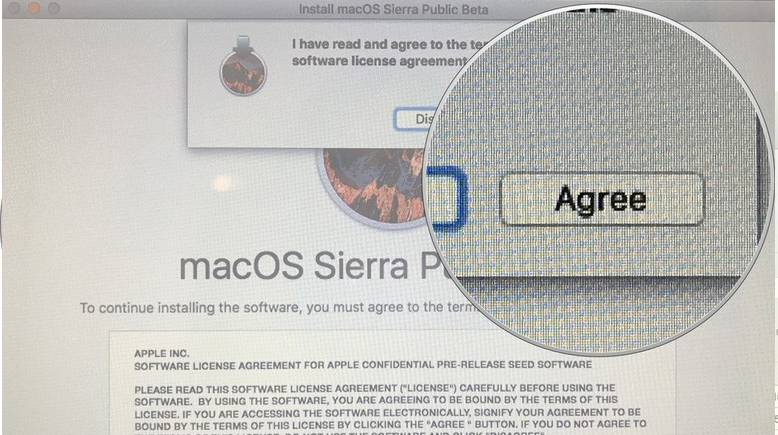
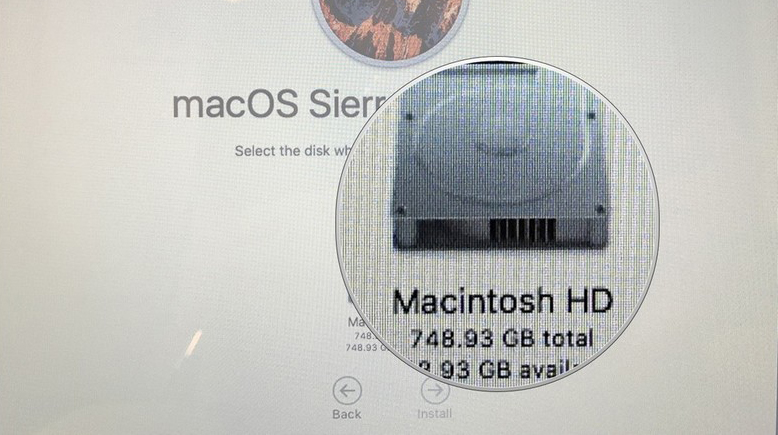
You will now appear on the home screen again macOS Recovery. On this screen, then tap on the option Reinstall macOS. Once you've done that, tap on the next screen Continue, and then again on Continue. Also, don't forget agree to the terms and conditions and choose disc, on which to install clean macOS Big Sur. Nakonec just click the button Install. Clicking will automatically install the latest version of the operating system that was installed on your device. Once the installation is complete, you will be taken to the classic home screen, where you can perform the initial setup of your Mac or MacBooku.
Gallery
záver
If you are wondering why you should perform a clean install of macOS Big Sur, there are several reasons – we have already mentioned a few of them in the introduction. If you are upgrading to macOS Big Sur from macOS Catalina, or from an even older version of macOS, various errors or bugs may appear. From my own experience, I can say that a clean install of the major version of macOS often runs much better and smoother than if you performed a regular update. A clean install can also be useful if your Mac seems slow or you feel that it is infected – by erasing the HDD, everything is deleted, including viruses, so you will work with a “clean slate”. Ideally, you should not use a backup after installing a clean version of macOS Time Machineso that you don't "re-inject" any errors back into your computer.



Same shit as Windows? I didn't buy NB for 50k to install it from scratch for every version. That's as stupid as the clouds.
So don't do it or is someone forcing you? Someone just wants to do a clean install, because it's still just code and something can happen to its data when files are changed.
Peter, isn't it better to make a backup and upgrade before installation?
And only use that backup if, as you say, "something happens"? Either do a clean installation and load the data via TimeMachine from the backup, or go back to the original version and restore the data from the backup again.
Do a clean install ofeventSeriously, it's kind of, to put it politely, pre-poked.
I completely agree with Mr. Karel's remark. I myself have had OSX upgraded on my computer since 2003, during which time I've replaced several Macs, starting with an iMac G3, through other PowerPC and Intel Macs, and ending with an MBP.
I agree, I have a late 2013 PRO (retiring soon) and it has never needed a clean install other than the factory one. BigSur goes there now and no problem. I sometimes use sw to remove junks... But I understand that some need a clean install
And how do I do a clean installation if I have fusion drive disk?
And what should I do when I option+command+ra previously did everything according to the instructions, but instead of the globe, the file icon popped up where there is an X and it just flashes
Now you just enjoy the fun. The command line is waiting for you boy.
Friends, Big Sur is not yet fully ready, let's wait a month for Japan to fine-tune everything and then it will run as it should. For those who can't install, reset: shift, control, option, switch 10 seconds, restart, internet recovery, delete disc, format disc, install, done.
So for A)
The installation path really didn't work out that way, the Commad and R option just uploads back the last installed version... After you format the disk according to this guide, don't be surprised that you won't be able to install. And you will go through hell again... first the System with which the Mac book was sold and then the update
There must be something wrong with it. I followed the instructions. Now I have MB Air It only offers Sierra and still tells me that the file is corrupted or something, so I guess I'll have to install via flash drive.
you're right, it's better to do just ctrl+r
If anyone needs it, here are the abbreviations first and foremost apple.
Command (⌘) -R
Reinstalls the latest macOS that was installed on your Mac (recommended).
Alt-⌘-R
Updates to the latest macOS that is compatible with your Mac.
Shift-Alt-⌘-R
Reinstalls the macOS that the Mac came with or the closest available version.
Here is the link if anyone needs it
https://support.apple.com/cs-cz/HT204904
Unfortunately, even with option+command+r, Catalina is installed again. How to put BigSur there right from the start only without updating from Catalina? MBP 2019
Same with me. I will try to install catalina and then upgrade to big sur
I think it's because their servers are down now.
Is it somehow official that the servers are down? I thought about it too, but I couldn't find the info anywhere
Only for USB installation, but you can't do that anymore if you've formatted the disk. So first Catalina and then create an installation disk
Well, I looked here: https://www.apple.com/support/systemstatus/ And the error why it didn't run before is solved, but I don't know why it still gives catalina during a clean install :( I downloaded catalina and updated to BigSur, but it's not a clean install :( Anyone have any advice? If it works for you, let me know.
So it would be possible to make a Big Sur USB installer out of it and load it via the Option key and reinstall the system. But I think it's also a pretty clean installation this way. Installing Catalina from Apple.com and then a pure Catalina update to Big Sur. It's ok for me.
Hello, I did a clean install according to the instructions (I have MacBook Pro 2015) the globe was spinning for about 10 minutes and it gave me an error -2002f..does anyone know what to do with it?
Yes, the servers were down, but according to Applu it should work now. But I found out on various forums around the world that it still doesn't work and it didn't work for me either so I made some backups that I don't have on cloudua installed Catalina and then upgraded to Big Sur and I'm already installing. So it worked for me.
Hello, I did a clean install according to the instructions (I have MacBook Pro 2015) the globe spun for about 10 minutes and it gave me an error -2002f..does anyone know what to do with it?
Clean installation from USB is also not completely easy on a computer with a T2 chip - see here: https://9to5mac.com/2020/09/03/how-to-create-bootable-macos-11-big-sur-usb-install-drive-video/
For me, only a clean installation from USB. Simple and functional. The prerequisite is, of course, Intel.
Next time I'd rather buy a computer from MSI for 70k because this is horrible. Updates, bugs and problems have been bugging me for 3 days now. Now I'm following this guide and it's offering me Sierra.
So I went through all the comments and then I also went through the official website Applu, both in English and Czech. The author of the article could also have done this before publishing.
The English and Czech versions differ fundamentally to date.
https://support.apple.com/en-us/HT204904
https://support.apple.com/cs-cz/HT204904
This probably led to a lot of the problems described above in the first days, e.g. why Catalina appeared, etc. (there is still no BigSur listed on the Czech website after recovery, only Catalina. This means that the clean installation is probably from a different server than during recovery. So if anyone wants to use the instructions, I would rather refer them directly to the website Applu and maybe it would be better to wait a week or so until everything stabilizes in the Czech Republic and the Czech pages will correspond to the English ones, which should probably guarantee a smooth process.
I wouldn't really believe that you download something different in the Czech Republic than in the USA.... honestly it downloads the same and runs from European servers for the whole EU and from American servers for the whole US
During a clean installation of Big Sur on MBP 2013 late according to the instructions above, a few seconds after starting, an error message appears "MacOS installation could not be continued The installation requires the download of important content. This content cannot be downloaded at this time. Try it later”. Even after several days of trying, I didn't get any further. Don't have an idea?
I have the same problem (MPB Mid 2014), was it solved?
it is necessary to lick it off, I have it too
Hello, I wiped my Mac. Pro 13 Retina and I wanted to install macOS Big Sur. Unfortunately, the installation got stuck at 13% and it wouldn't start. Have you encountered this? Is there a solution?