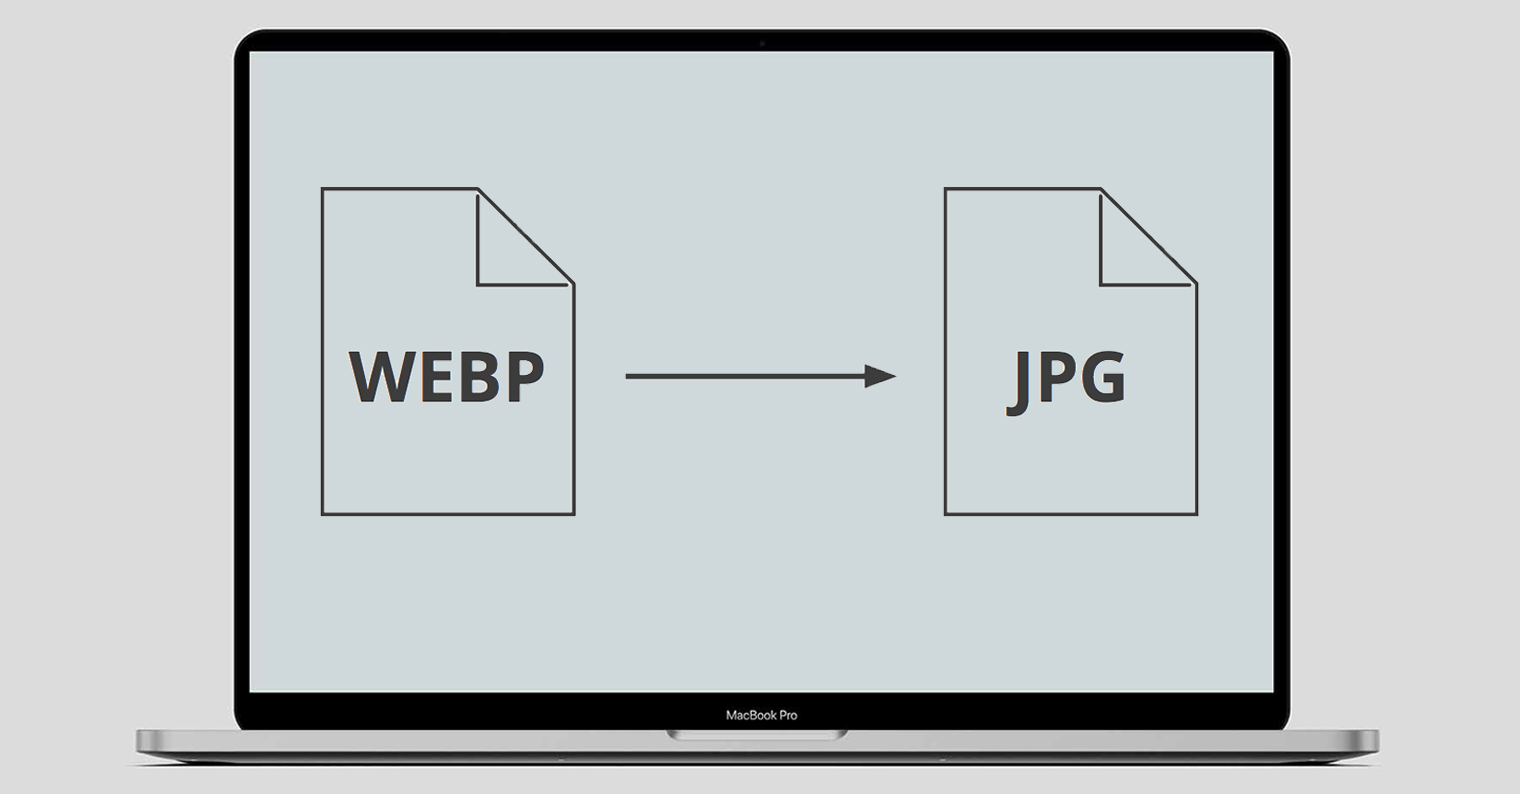
Recently, you can increasingly come across images on the Internet that have the WebP format. This format is a great alternative to the now outdated JPG, PNG or GIF formats. Compared to these formats, WebP has the advantage that it is much smaller, so it loads faster. In general, it is a lossy and lossless compression file format that is intended only for raster images. It is backed by Google and you may have encountered it for the first time in macOS if you have macOS 11 Big Sur, where this format is included in Safari supported.
You might be interested in

This format has been with us for ten years, in any case, it only started to be used properly now. You can also save animation in it, together with transparency. However, most applications still do not support this file, so you should know how to convert a WebP image back to JPG, or to another more common image format. It is very similar with the HEIC format, which is gradually becoming more and more supported, but it is still not a hit parade. So let's get straight to the point.
How to convert WebP to JPG on Mac
If you want to convert from WebP image format to JPG or another popular format on your macOS device, it's not complicated, and you don't even need a third-party application. Just follow these steps:
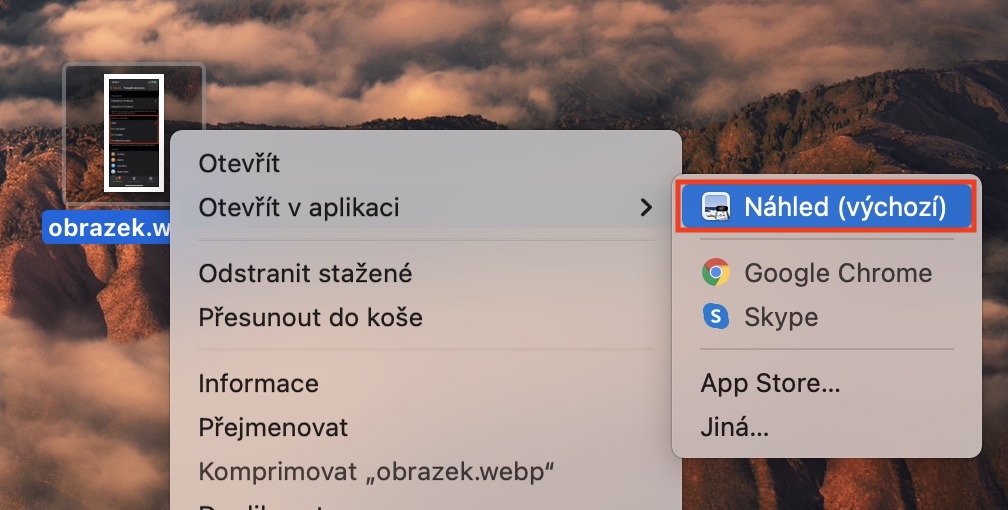
- First, you need to have a Mac or MacBookof course image in WebP format, which you want to convert they prepared.
- Once you have the image ready, it open in the native application Preview.
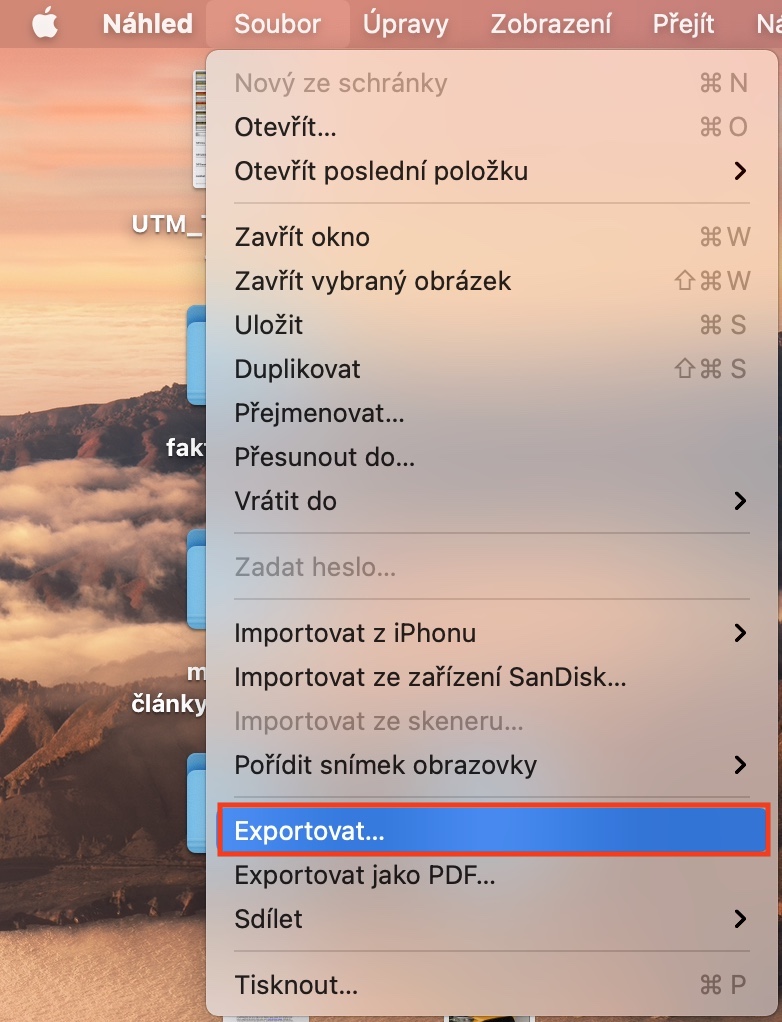
- After opening in Preview, click on the tab in the left part of the top bar File.
- This will open a drop-down menu, at the bottom of which click on Export…
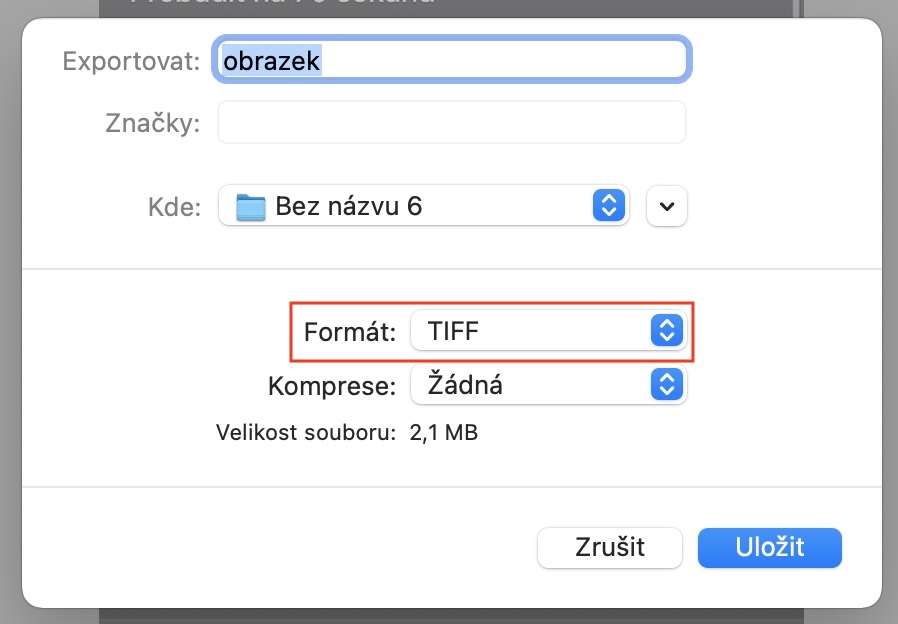
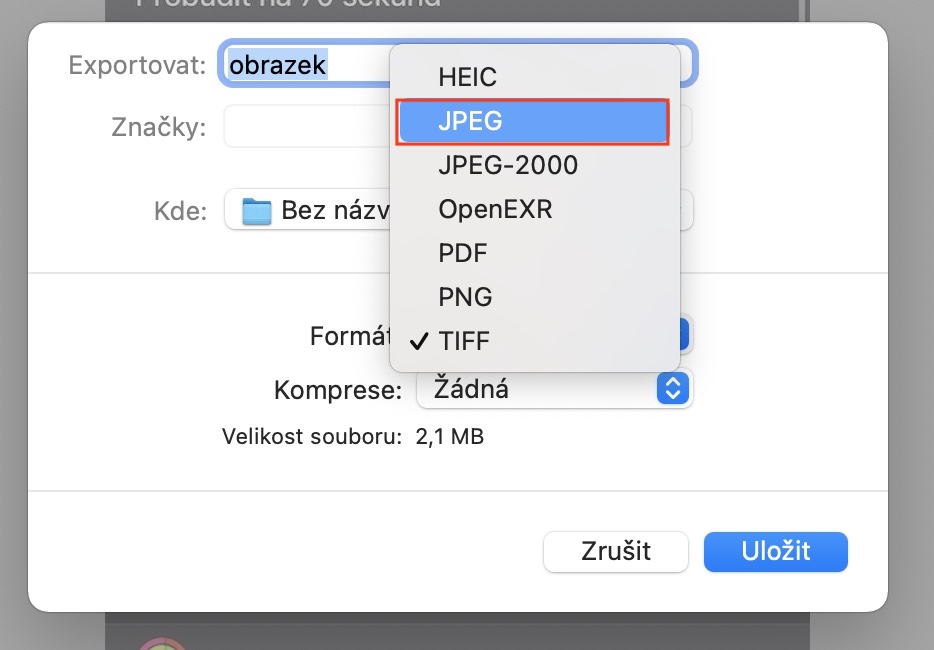
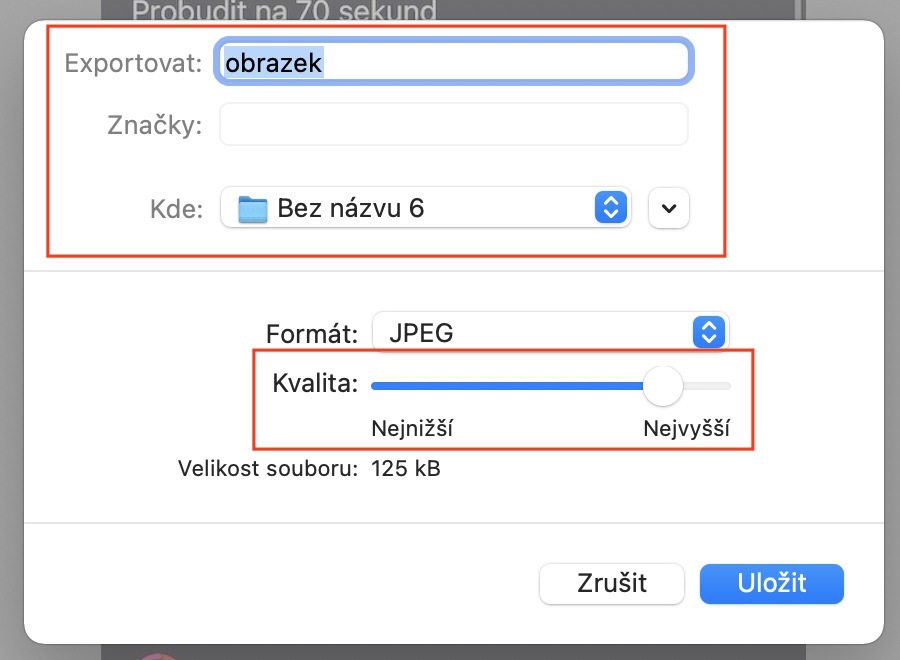
- Then a new window will open, where you click on the menu Format and choose the format you want to use - in our case Jpeg.
- nakonec don't forget to choose above, kam the resulting image is obtained impose, possibly using below slider choose quality.
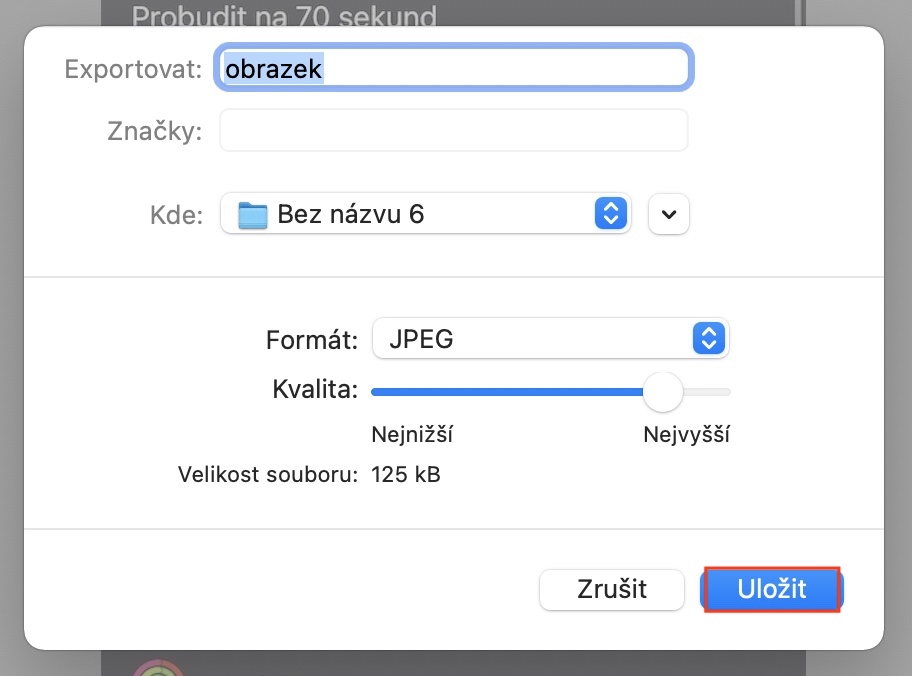
- Once you have everything set to your liking, just tap on Save bottom right.
Gallery
You have successfully converted WebP to JPG. This way you can also easily convert multiple WebP images at once, not just one – just open them all in Preview, select them with Command + A , and then click File -> Export Selected Images again, where you can choose JPEG format and destination. After converting WebP to JPG or PNG, you may notice that the exported file is usually much larger than the original.