
If you are interested in the world of technology and you are not usually interested in the latest trends, you have certainly heard about 3D printing in recent months, which is growing rapidly and its use is penetrating almost all sectors. Until now, however, it has still been more of a matter for a narrow group of enthusiasts who printed at home for fun and tried to come up with new solutions. After all, until recently, the device itself was not cheap at all and the assembly itself usually required some manual skill and experience. Fortunately, this is gradually changing, especially thanks to the company Průša, which offers models at affordable prices and half-hearted instructions, thanks to which anyone can handle 3D printing. However, this technology has only seen a real boom now, during the coronavirus pandemic, when the mass production of respirators and face shields is relatively dismal, so hospitals and various institutions rely on 3D printers . So, if you have a similar device at home and like to experiment with various materials, or just want to help someone in your area, we have a short guide for you that will explain the basics and help you print your first respirator.
You might be interested in
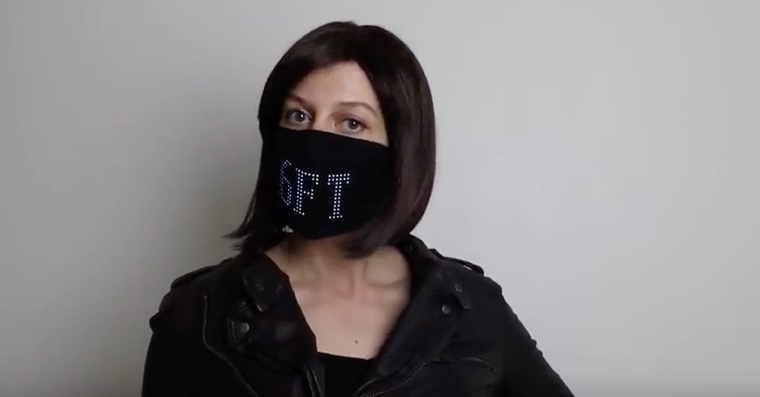
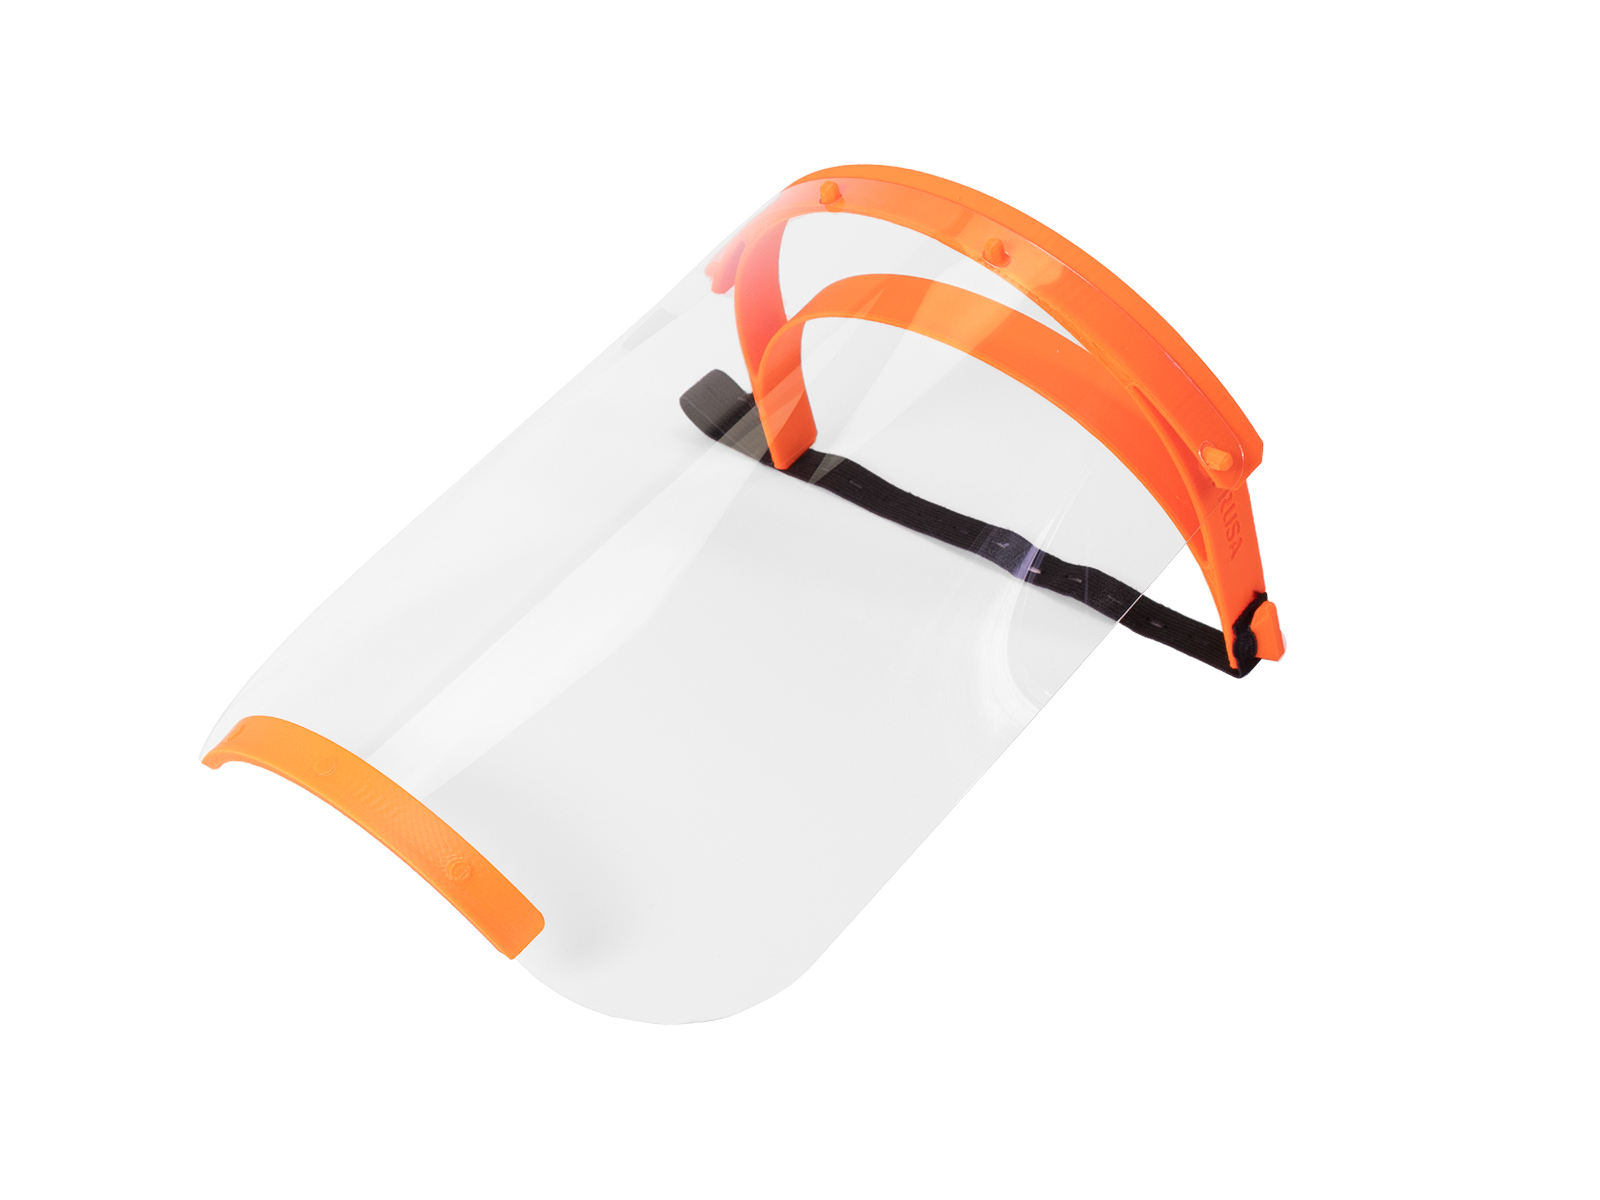
How to print a face shield
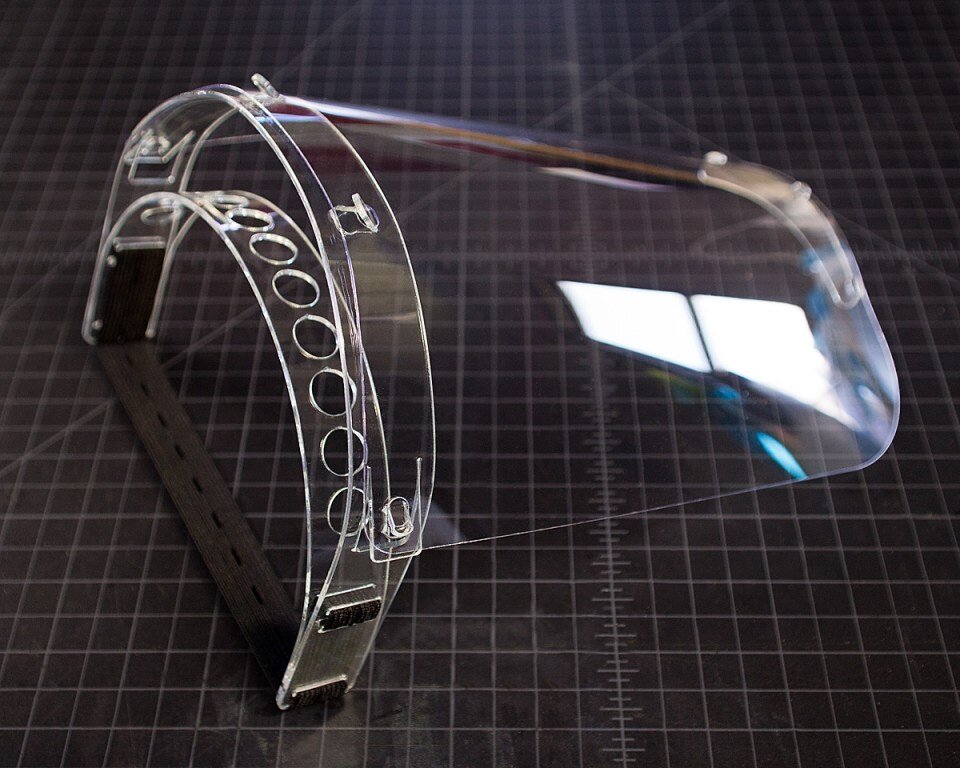
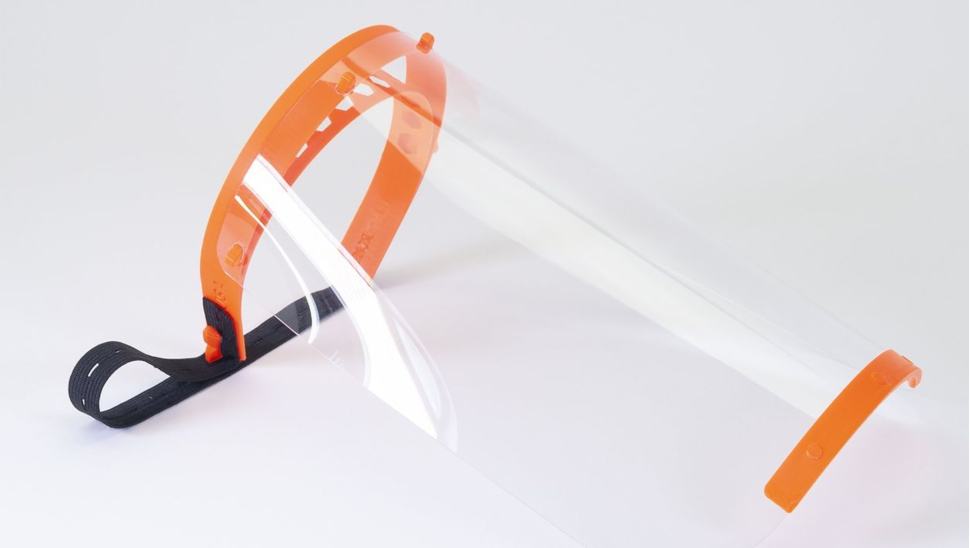
What can we say, in many ways a mask is fully sufficient and offers the necessary protection to avoid infection. However, if you work on the imaginary "front line", or someone from your environment, an additional protective layer is needed that prevents the transmission of droplets and isolates not only the mouth and nose, but also the rest of the face. In this case, a face shield is fully suitable, but there is one almost insoluble problem with it - it is not commonly available. Right after the outbreak of the pandemic, most of the shields were sent directly to healthcare workers, so the average user will hardly get their hands on them. Fortunately, you can make your own, and although it may sound quite scary and complicated, you don't have to worry at all. To make it, you will only need a 3D printer, the necessary materials and, above all, enough patience. First of all, we strongly recommend heading to the official website of the Průša company and downloading the file with pre-made parts. It's not that we don't believe you, you can model your own components in any program, but Průša still relies on already tested procedures that are guaranteed to protect you and your loved ones.
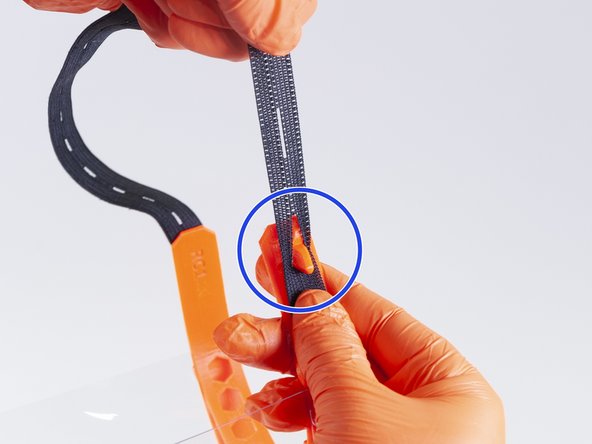
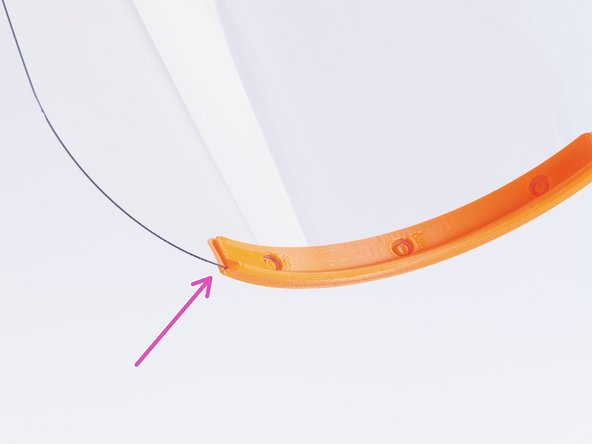
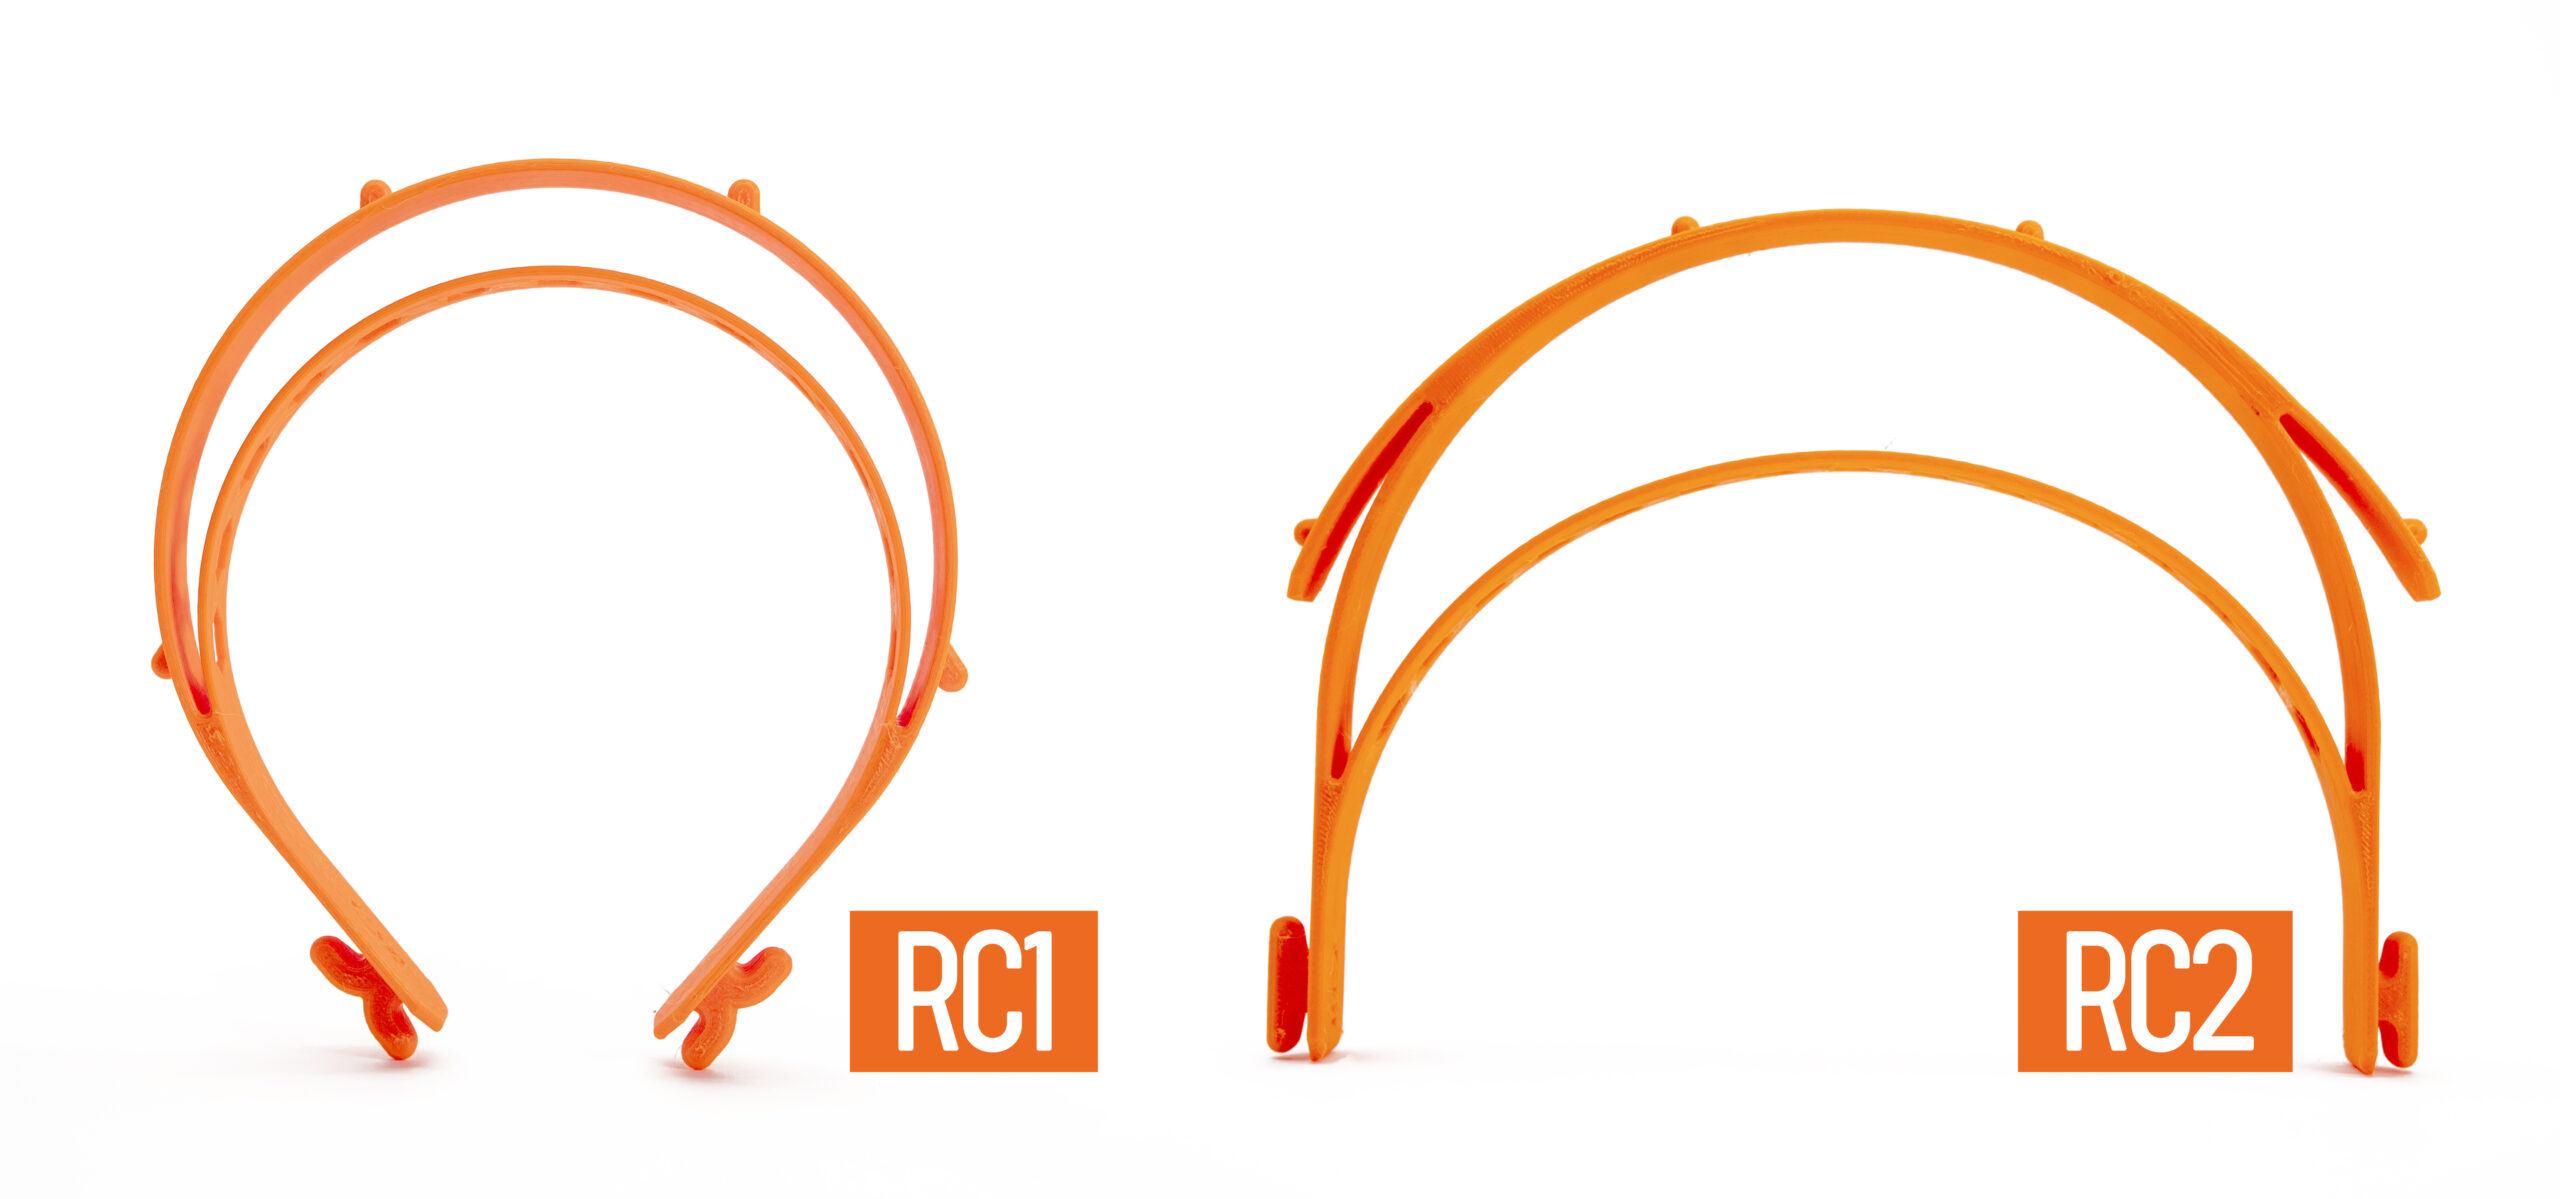
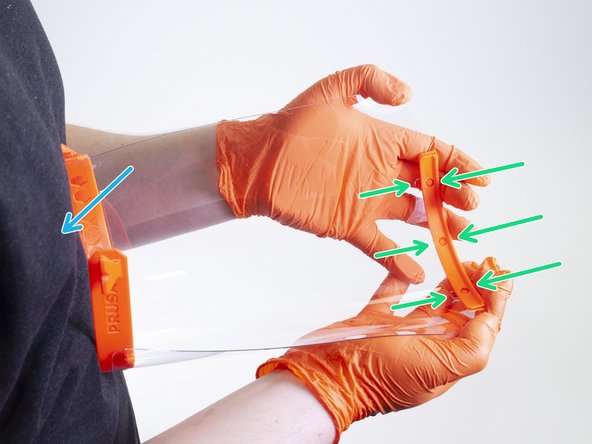
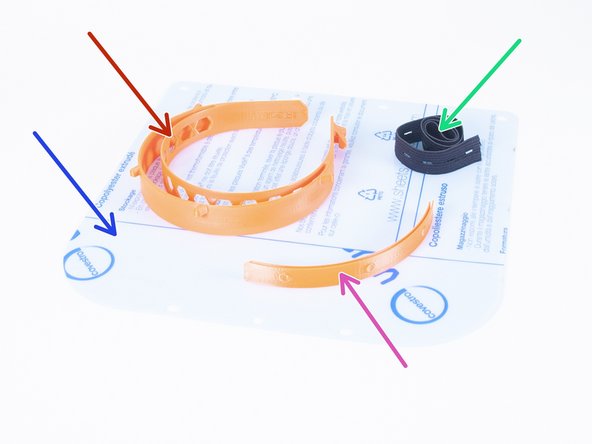
If you managed to get hold of 13 grams of PET-G plastic material, which is commonly used for example to produce PET bottles, the next steps will be quite simple. All you need to print is a rubber headband, a thin plastic shield and two nut holders so that you can assemble the individual components. If you have had a 3D printer for some time and are familiar with general printing procedures, there is probably no need to describe the entire process in detail. Given the pre-prepared files, you only need to insert the material into the device, set the required parameters, which you can find on the official website, and thenchat hour and a half to print. You can also print up to 5 rubber headbands at a time, which will extend the printing time to 7 hours, but there is no need to re-enter the relevant parameters each time. Then all you have to do is prepare your workplace, ideally disinfecting the table surface where you will mount the shield. Each headband contains 4 pins, approximately 80 millimeters apart, so it is best to start from the center and thread the middle protrusion through the hole in the plexiglass. Then all you have to do is repeat the procedure for the rest of the pins, just make sure that each of them is tightened all the way and the shield does not come off. You proceed similarly with the second rubber headband, i.e. the lower part of the shield. Then all you have to do is put the elastic band on the protrusions of the upper headband and adjust it to the size of your head.
Gallery
How to print a respirator
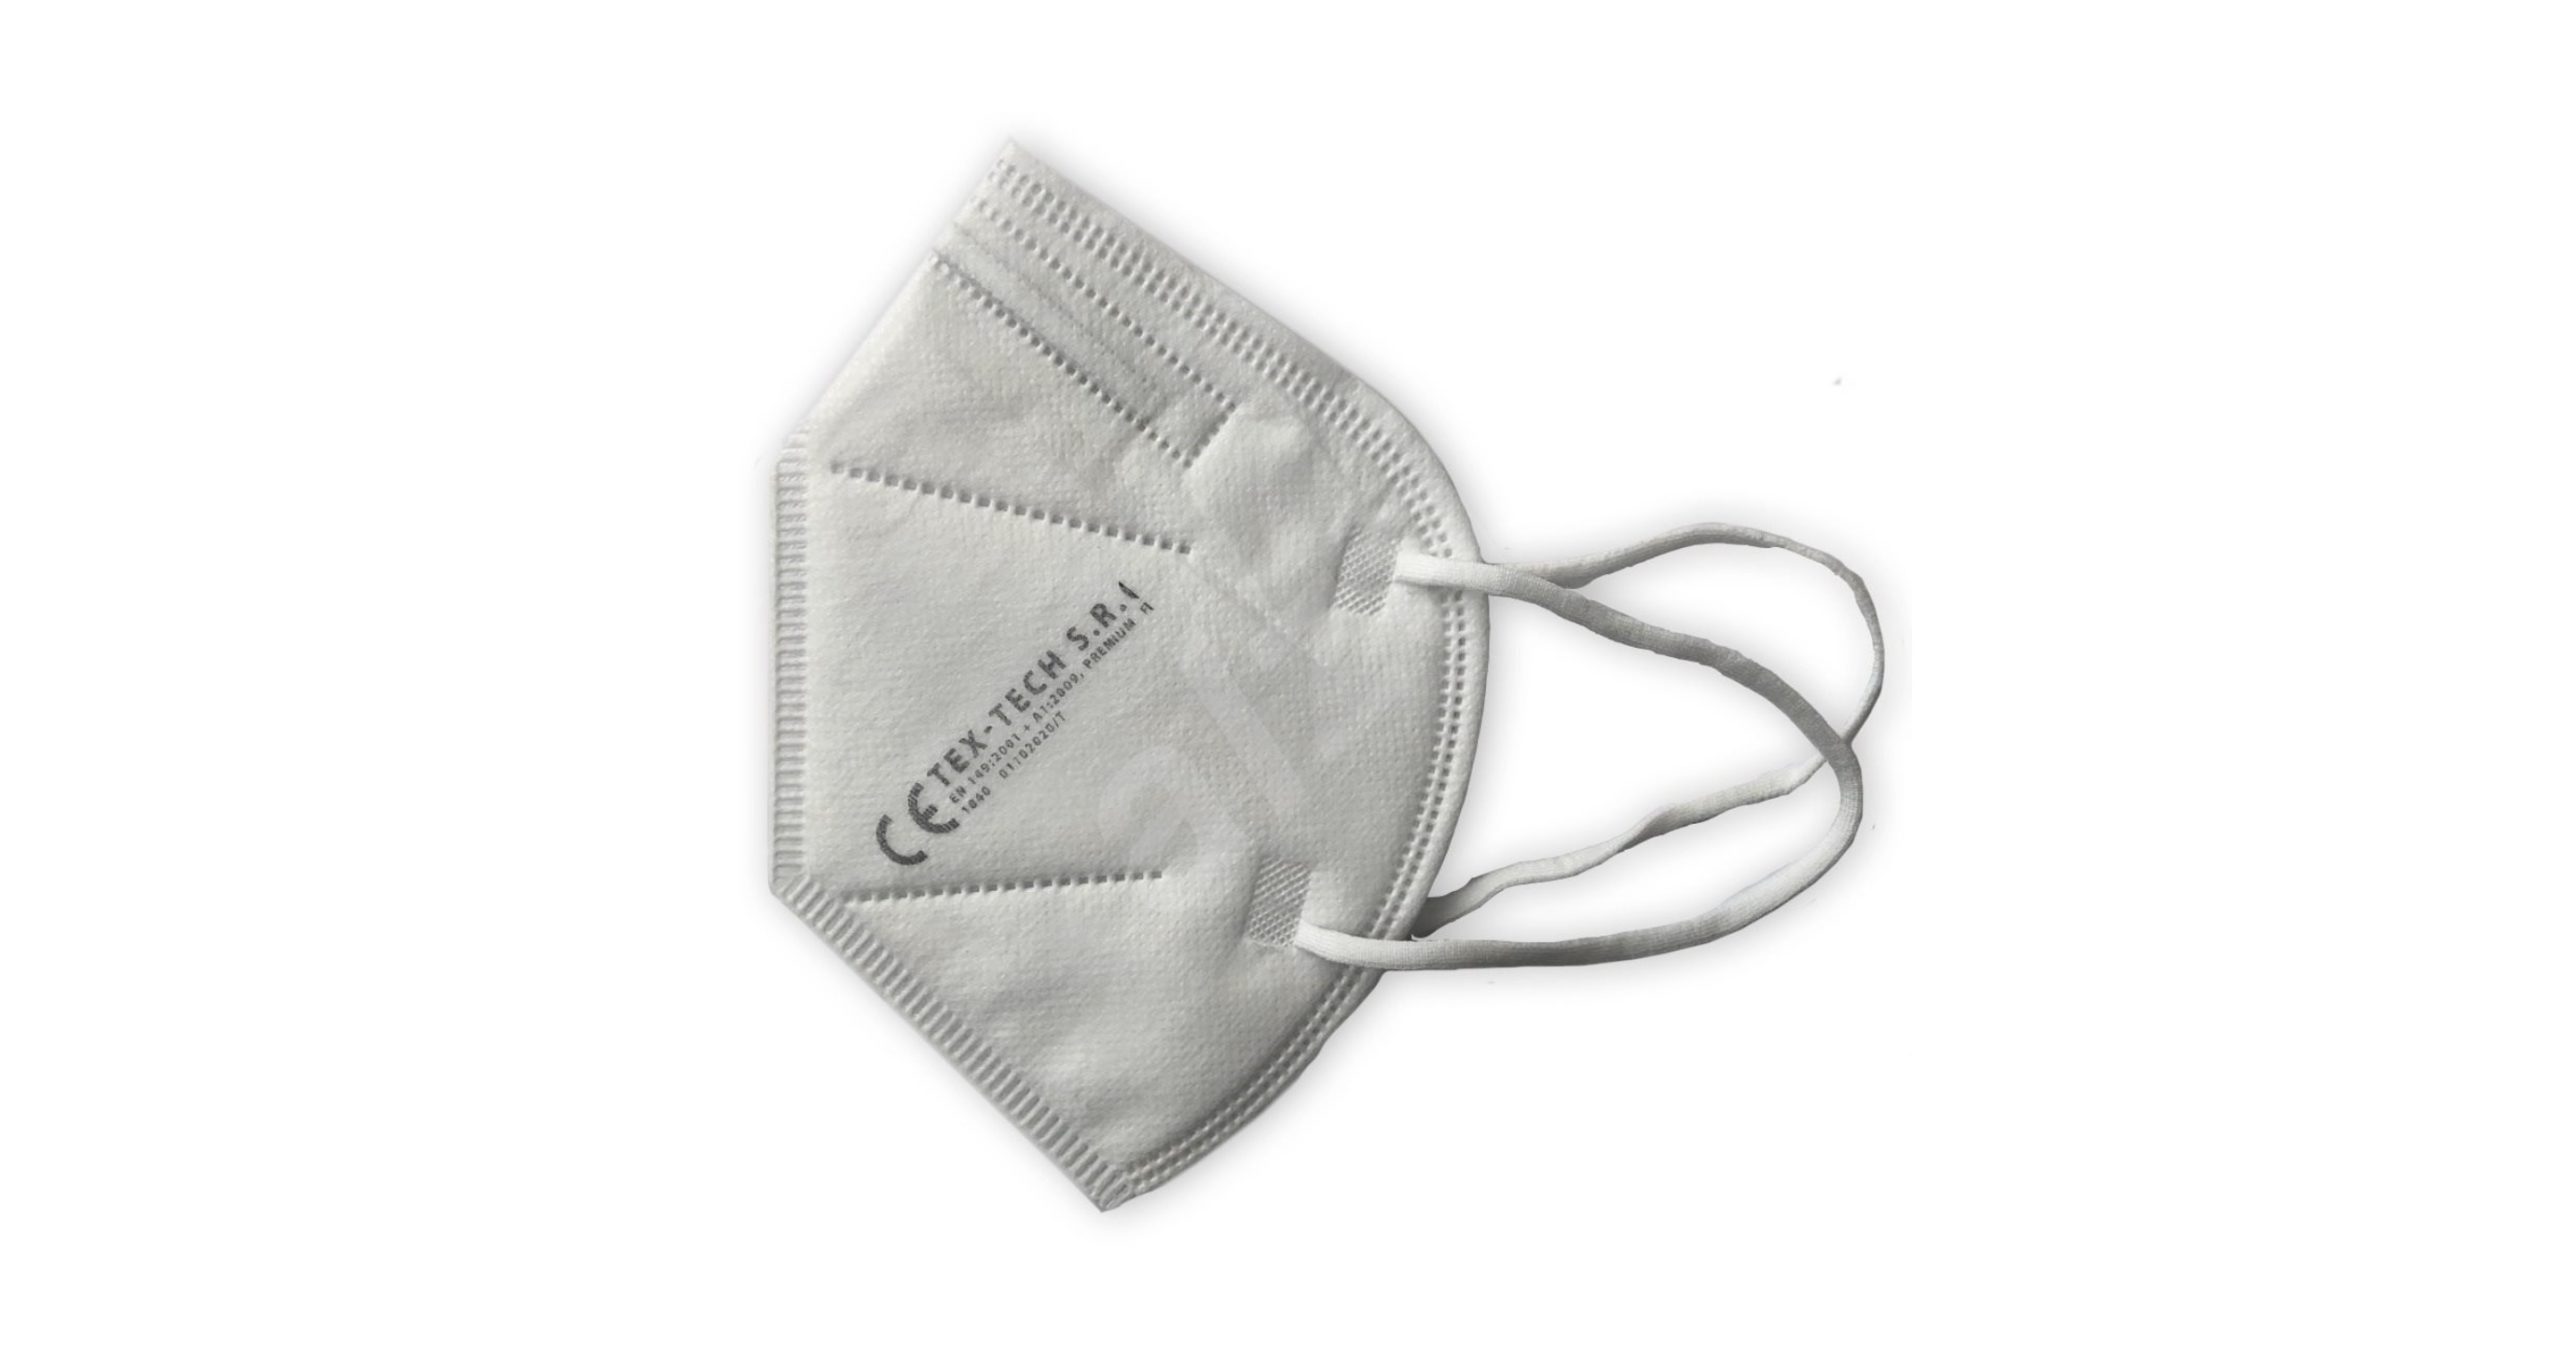
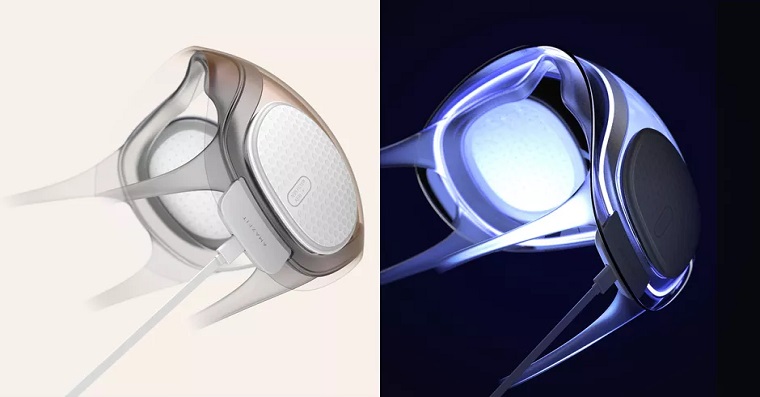
If you prefer more practical protection and don't deal with infected patients on a daily basis, a respirator will suffice. However, they are a relatively scarce commodity, and are being fought over in almost every country in the world. ProIt's no easier than making your own, which you can customize and play with its parameters as needed. While a face shield requires some form of assembly and assembly, you can start using a respirator almost immediately after printing. So, first of all, we recommend that you head to official site Brno BUT, where you can download the source files that students and researchers first came up with. You can choose from several sizes or types that differ in the required material. Again, however, you cannot avoid the need for PET-G material, thanks to which you can create a microscopic layer that protects you and the surroundings from particles and droplets. In addition to the body of the mask and the filter holder, which you will make using 3D printing, you will also need a sleeve made of a disposable flexible glove and an improvised filter, for example, a HEPA from a vacuum cleaner or a filter for an air purifier. If you need advice, please contact laboratory equipment service.
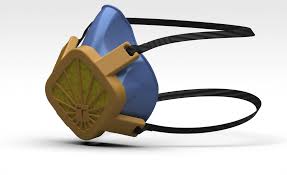
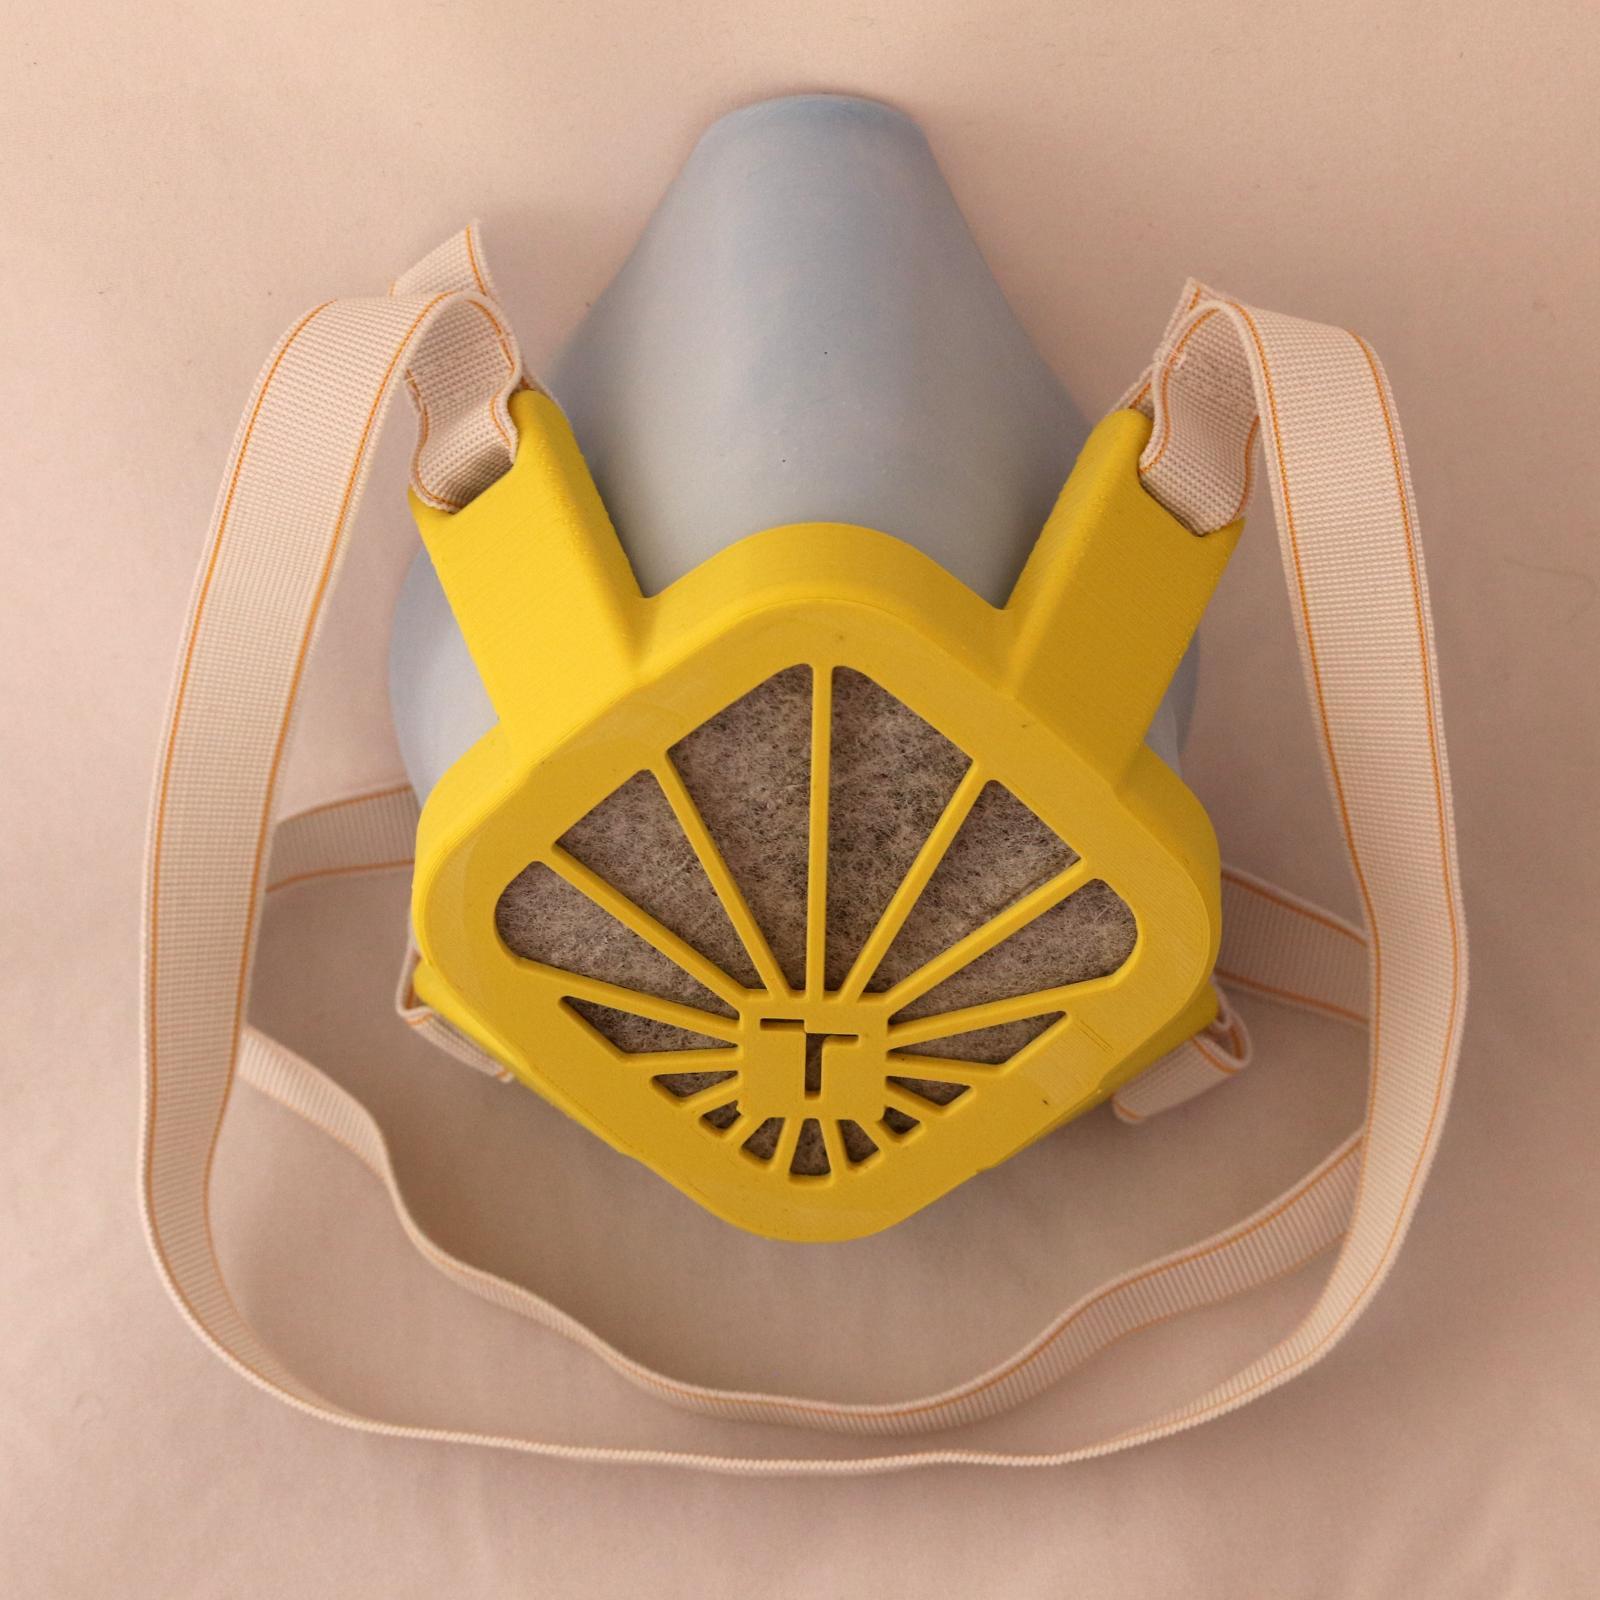
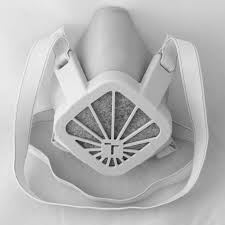
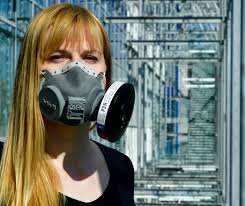
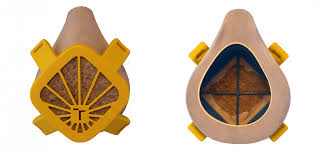
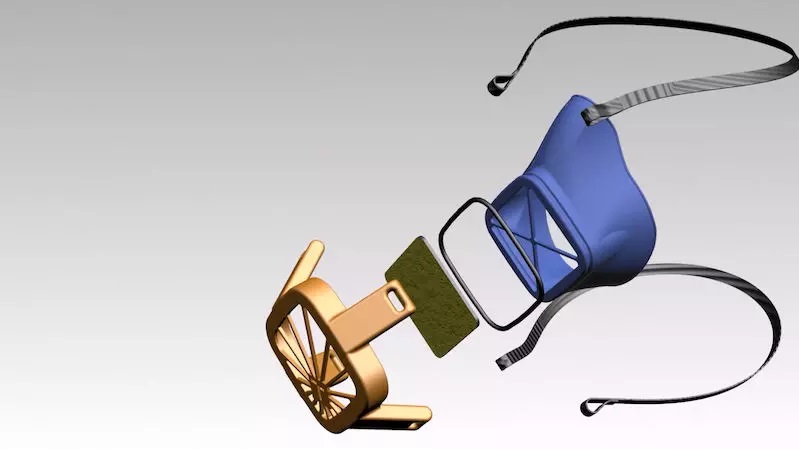
After printing the two necessary parts, you should properly disinfect and prepare everything so that the filter and mask do not get dirty before assembly. Then, all you have to do is insert the filter into the hole, click it in and thread the rubber band through the pre-prepared holes. So if you currently have nothing to poke around in during quarantine, we definitely recommend giving 3D printing a try in this regard.anci. You can send both shields and respirators to the central warehouse Tiskne kole Česko and who knows, maybe your piece will arrive at a place where it will be really needed. The material is also relatively cheap and you can buy 1 kilogram for about 300 crowns.






https://grabcad.com/library/breathing-anatomic-mask-with-changing-filters-of-cotton-makeup-remover-pads-1
And here is our respirator