Watch out for the light from the city
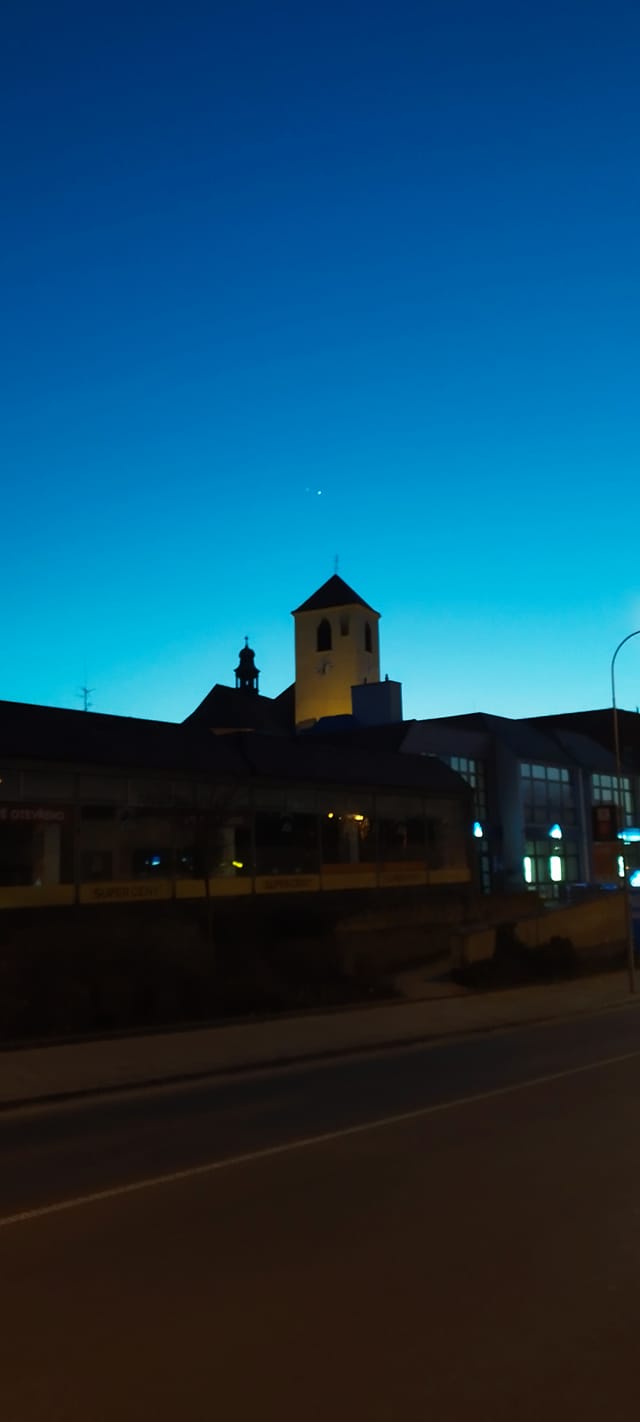
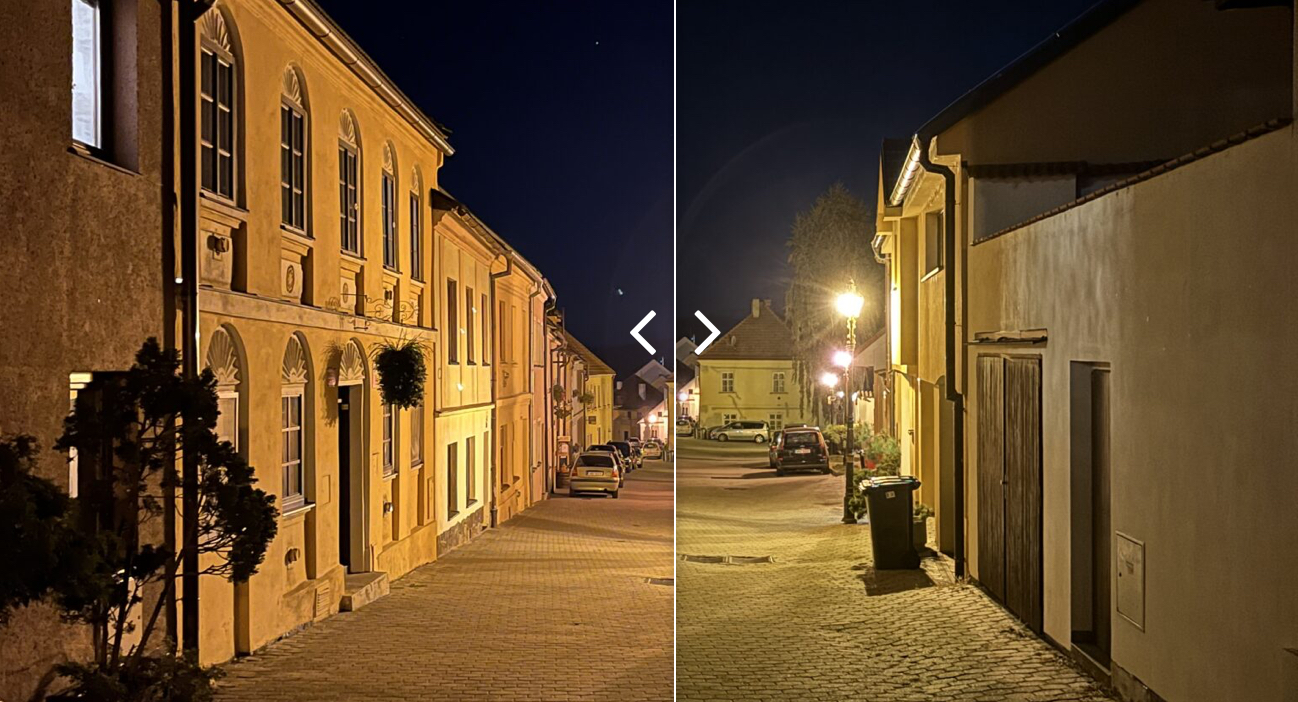
When photographing any object in the sky, it is necessary that you move far enough away from the light produced by cities or villages - this creates so-called light traffic. It lights up the sky, making the object less visible. So either move as far away from the city as possible, ideally to a meadow, or turn around so that the city has its back to you. In this way, you will achieve that the sky will not be illuminated by light traffic and you will be able to focus better. Of course, also take the weather into account - if it's cloudy, it's not worth going somewhere. Stay at home even in the event of a storm, when you are also playing with the fact that lightning can strike you.
A tripod and headphones are a must
When photographing any object in the sky, it is necessary that your device is as still as possible, i.e. that it does not shake in any way. Even though all newer iPhones have the OIS function, i.e. optical image stabilization, which can absorb certain shocks, it is nothing extra. Additionally, the device shakes even if you press the camera shutter button. In this case, there is one trick with which you can take photos without having to touch the device itself - all you need are headphones with a controller, ideally EarPods. If you connect them to your device and open the Camera app, you can take a photo by pressing the volume buttons on the headphones. If you own Apple Watch, so you can use the Camera Controller application, which can also be used to press the shutter button remotely.
Gallery
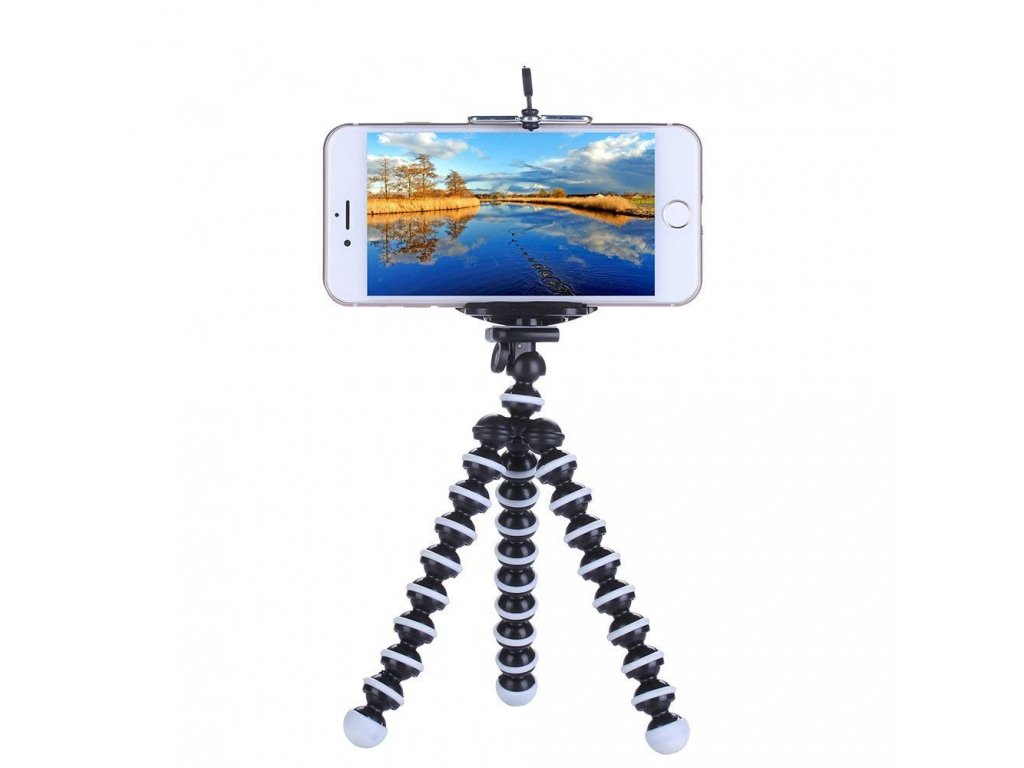
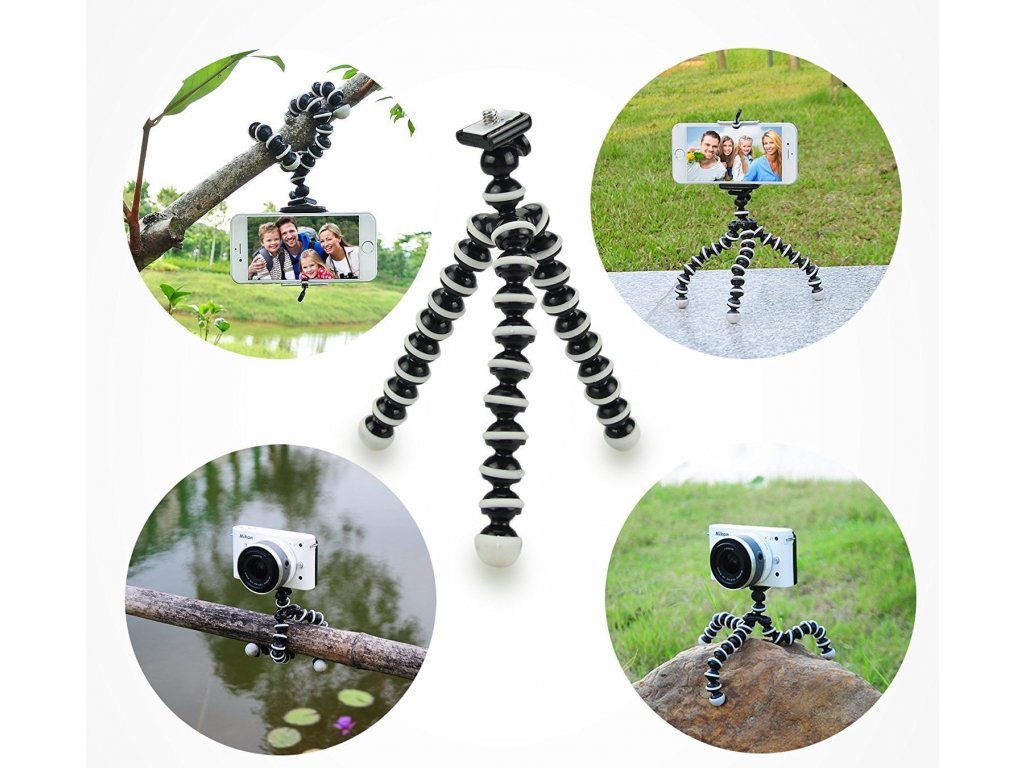
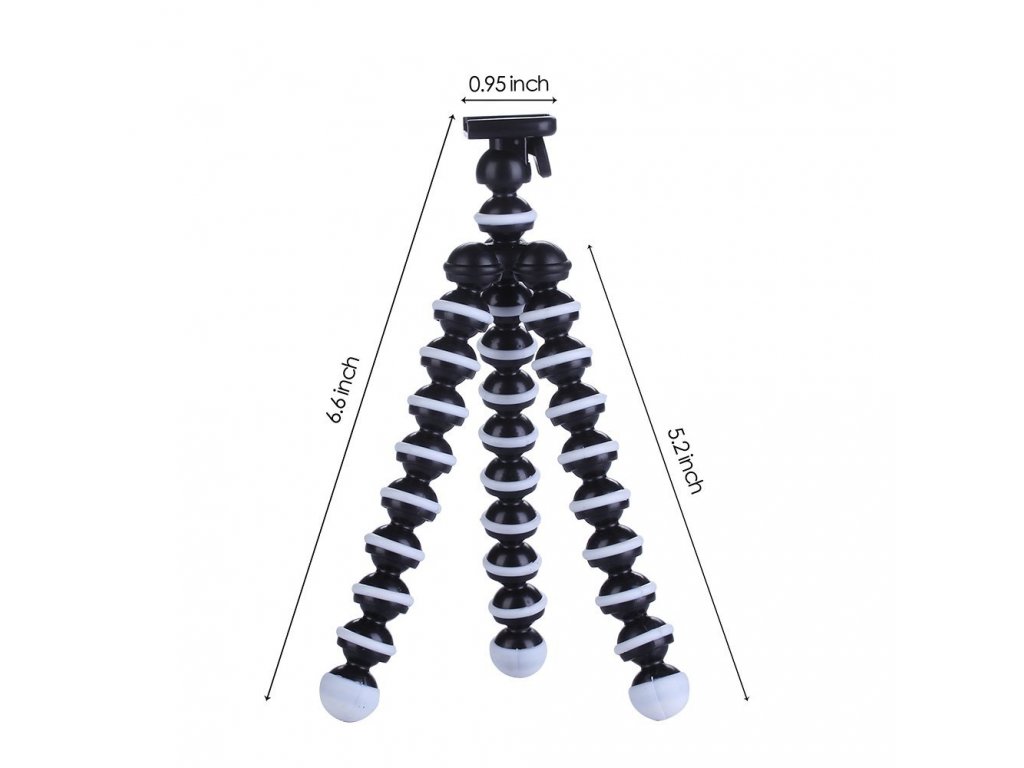
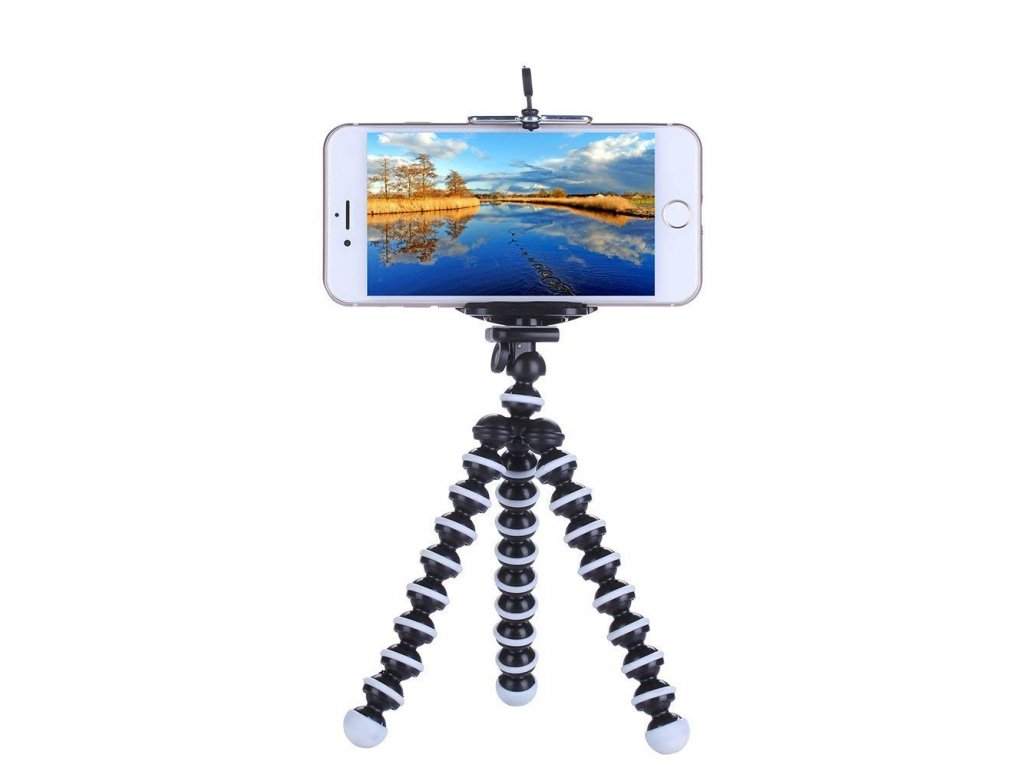
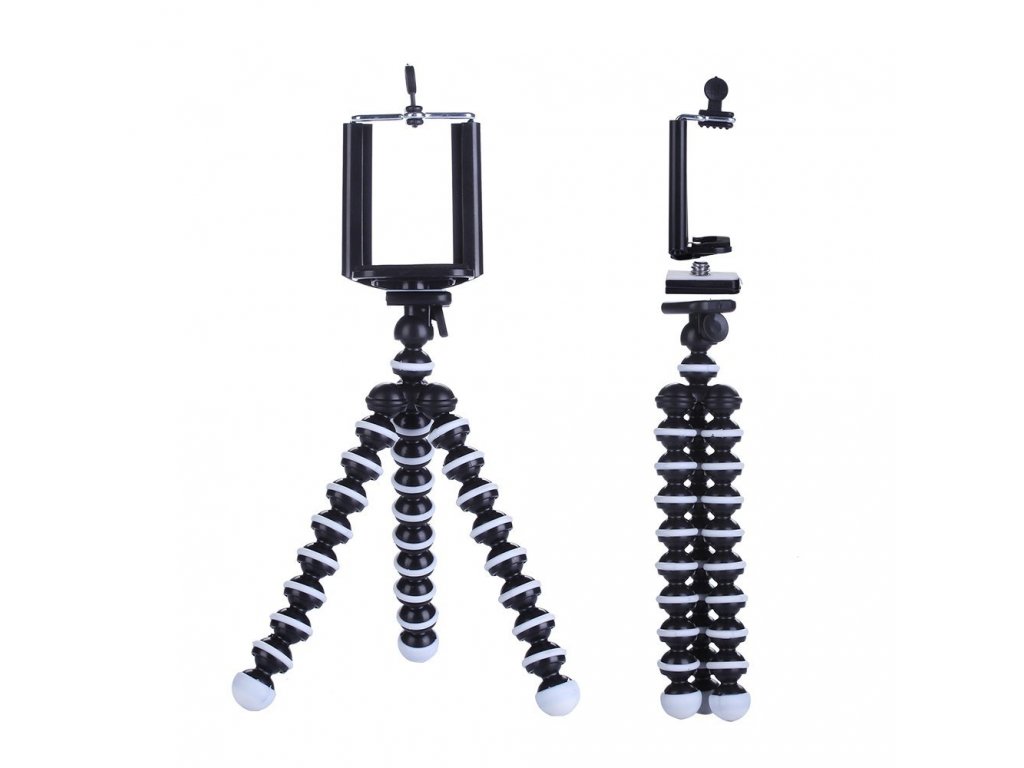
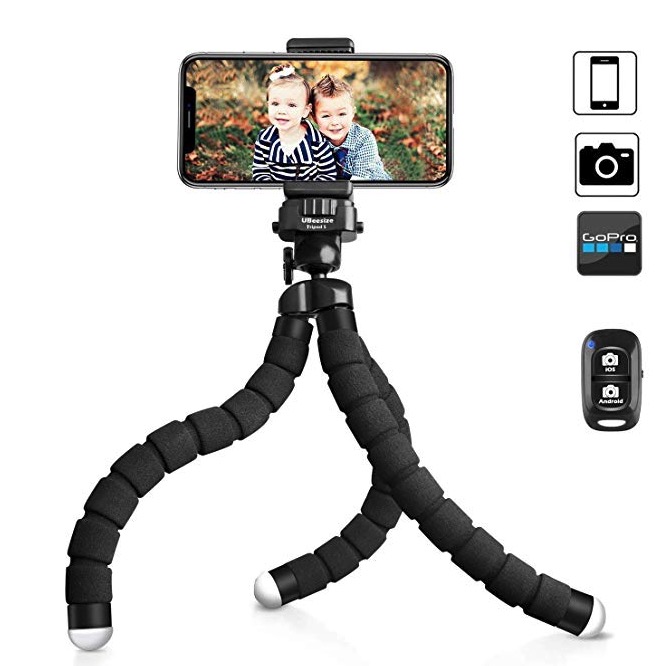
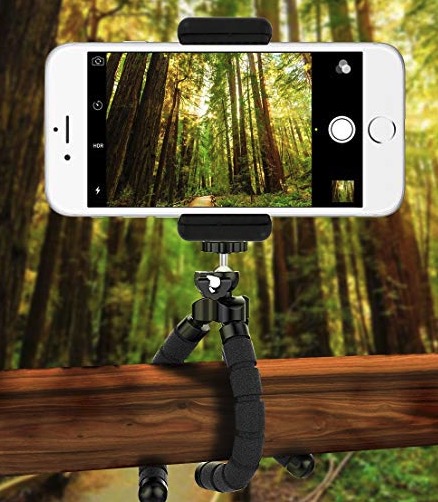
At the same time, it is more or less mandatory that you own a tripod or a so-called tripod. Using a tripod, you can ensure that your device does not even move and stays in place, even when taking pictures. If you were to shoot handheld, the resulting photo could be affected by hand shaking, possibly weather conditions, and other aspects that make it difficult to hold the phone still during the year. So if you combine a tripod and headphones with a controller, you practically win.
Correct camera settings
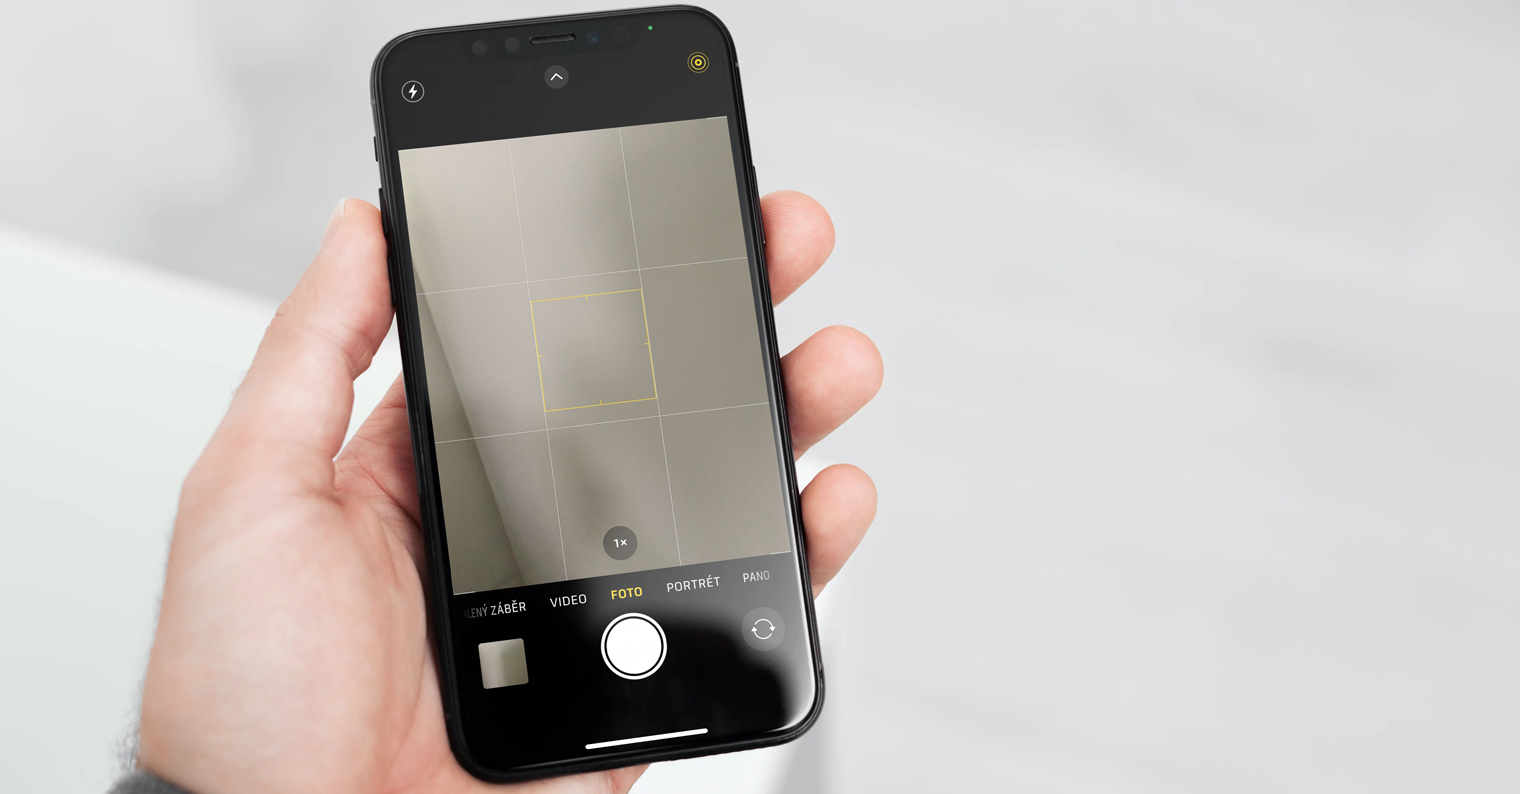
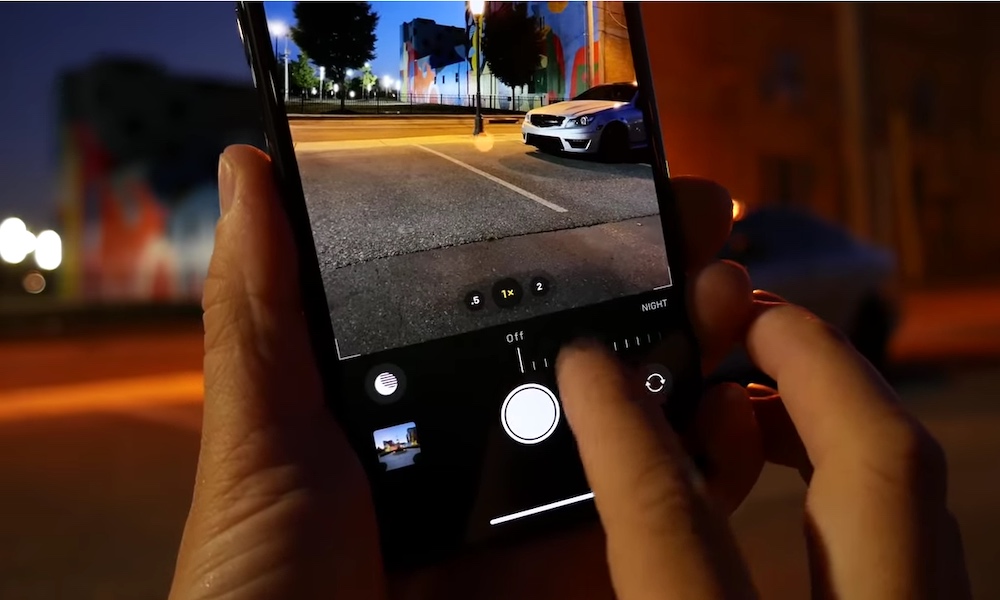
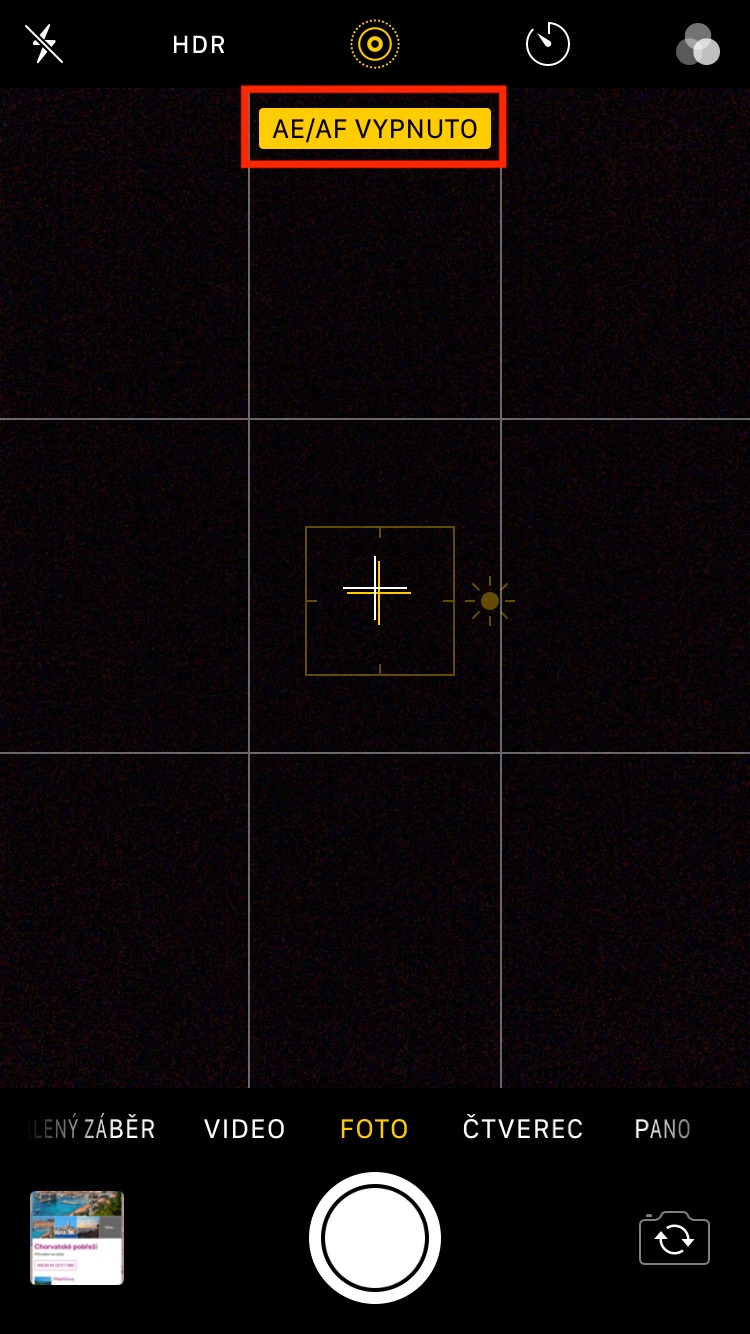
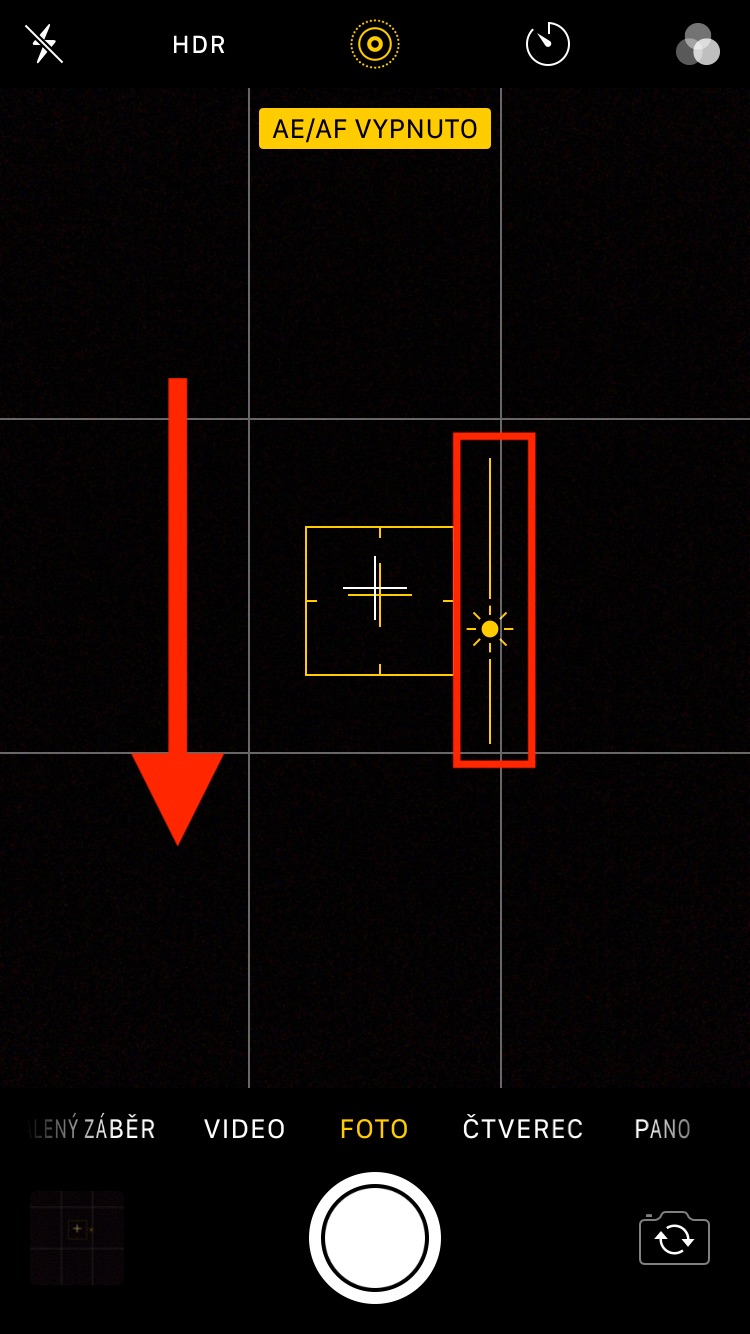
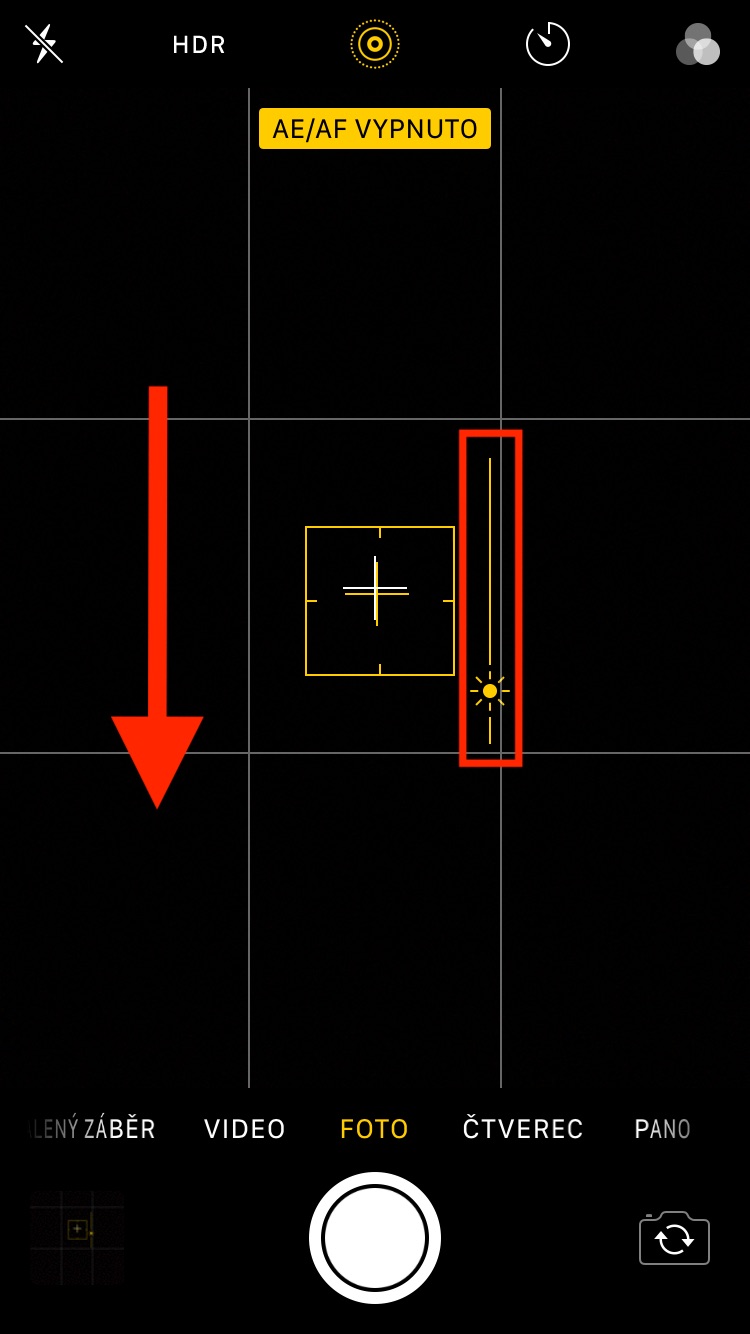
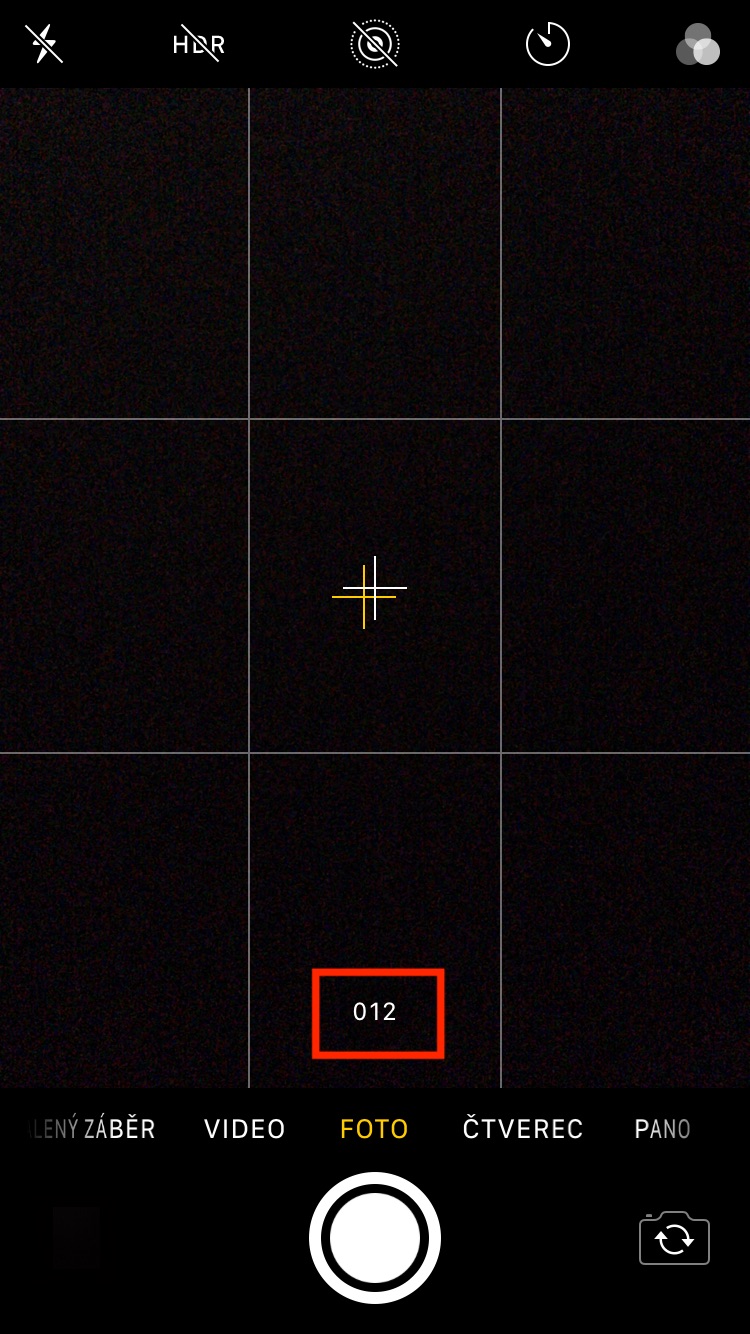
V App There are various apps available in the Store that can replace the native Camera app. However, I personally have never had the need to replace the native Camera app with another app. As for the camera settings, you need to turned off AE/AF. You do this in the same way as if you wanted to focus on an object - in this case, however, a finger on the display is required hold for a few seconds until it appears at the top AE/AF OFF. After that it is necessary that you reduced the exposure of the Camera. You can achieve this by swipe up and down which will darken the screen. Lower the exposure just enough to get rid of any light noise, but of course it's important not to darken the image too much to see anything in the photo.
Gallery
A few final tips
Finally, it is important to note that even if you follow all these tips, the resulting photo may not be completely ideal. You still need to take into account that it is iPhone a smartphone and not a DSLR. The latest iPhones have very high-quality lenses, but they still nestIt is designed for you to take pictures with them in the dark. When taking pictures, zoom in VenuAlso, don't forget to disable night mode, which is unwanted in this case. Once you follow all the steps above, with a little luck you should be able to get some nice pictures.
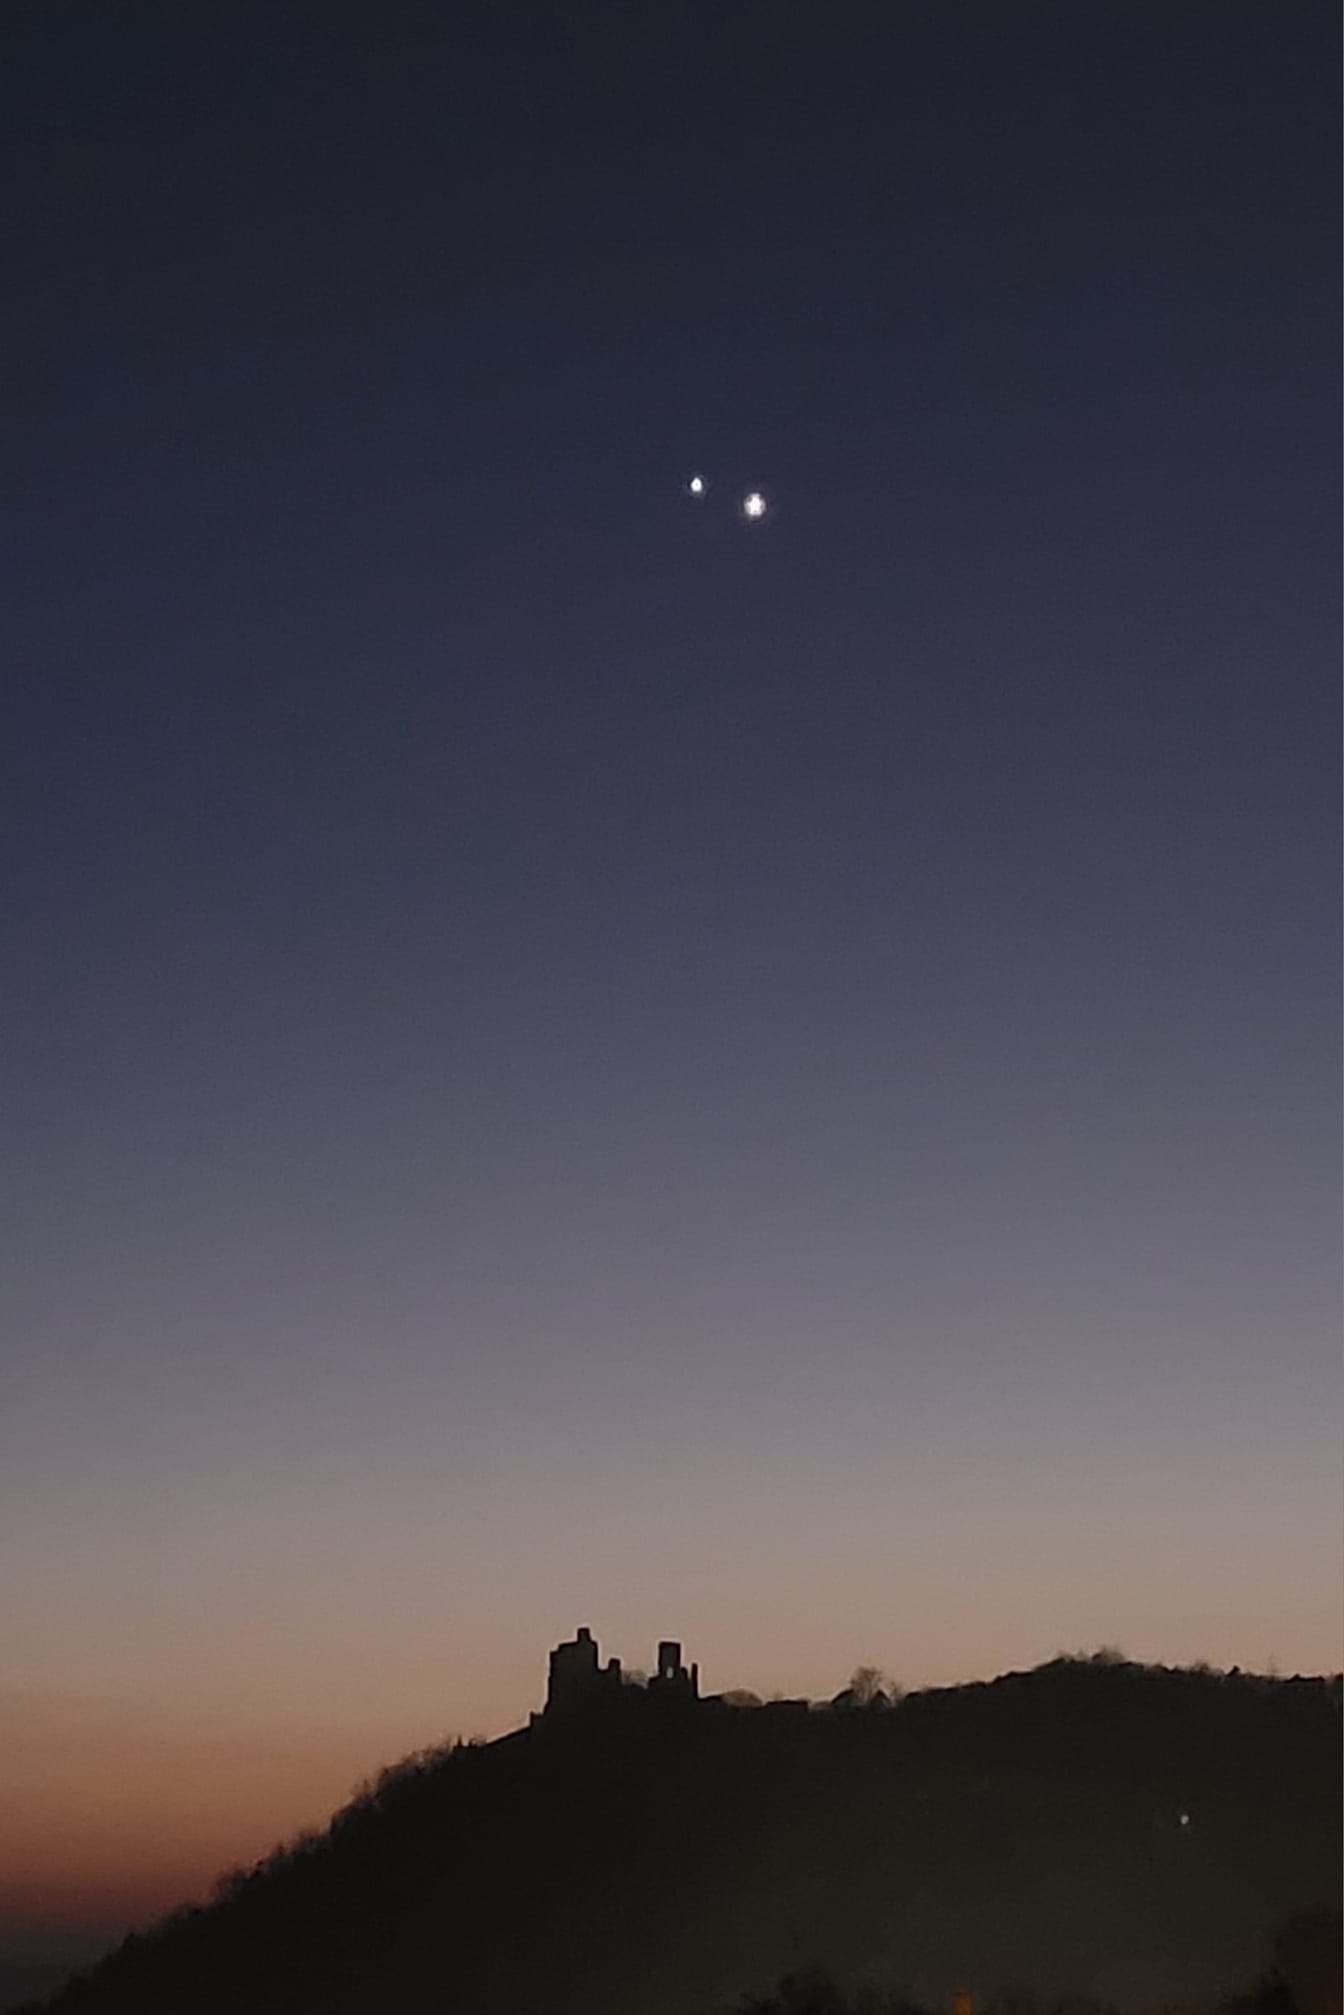
Not very good quality pictures from yesterday