
If you want to install macOS 10.14 Mojave on your Mac or MacBookIf you want to start from scratch – i.e. with a clean hard drive as if you had just bought a Mac, then this guide will definitely come in handy. We will show you step by step how to perform a clean installation of macOS 10.14 Mojave on your Mac. If you are wondering what a clean installation actually means, it is an installation in which you will lose all your data and settings, but on the other hand you will start with a brand new operating system as if you had just bought a new Mac. Since you will not be overwriting one system with another, this installation should not cause any errors in macOS that could otherwise occur.
I've decided to split this guide into two parts - the first works when you're still running macOS 10.13 High Sierra. The second part deals with the case where you have already updated to macOS 10.14 Mojave and want to perform a clean install.
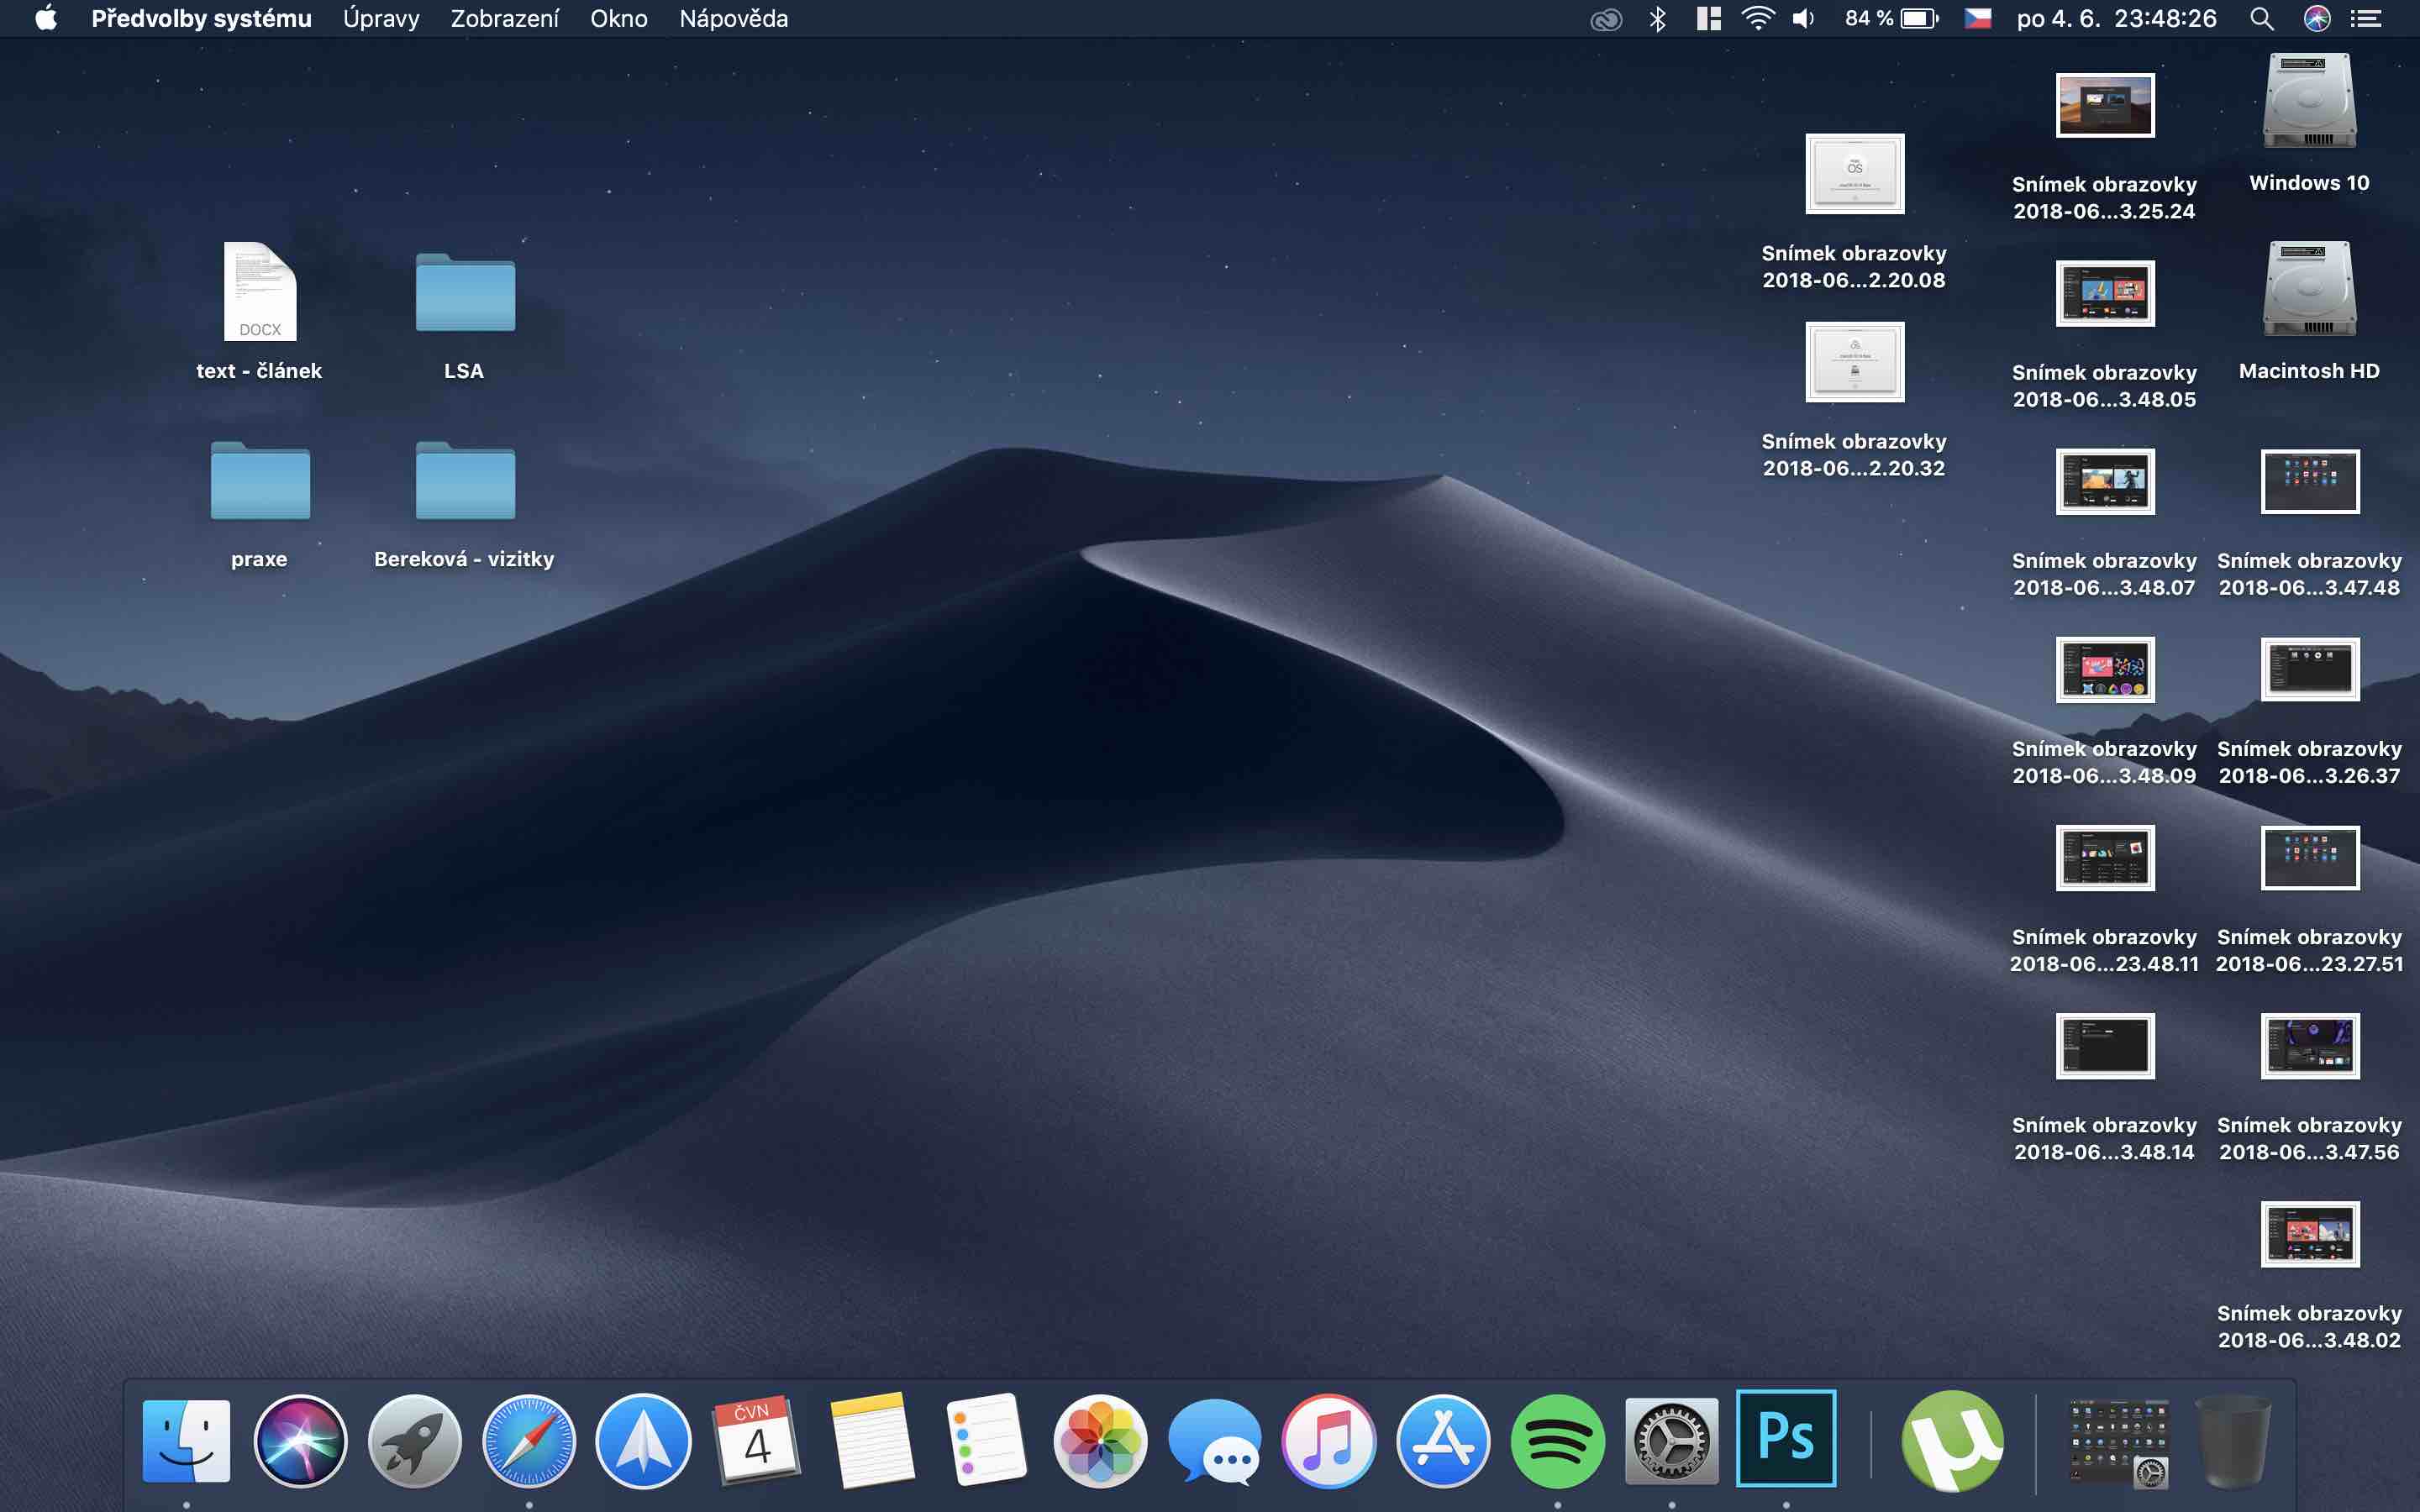
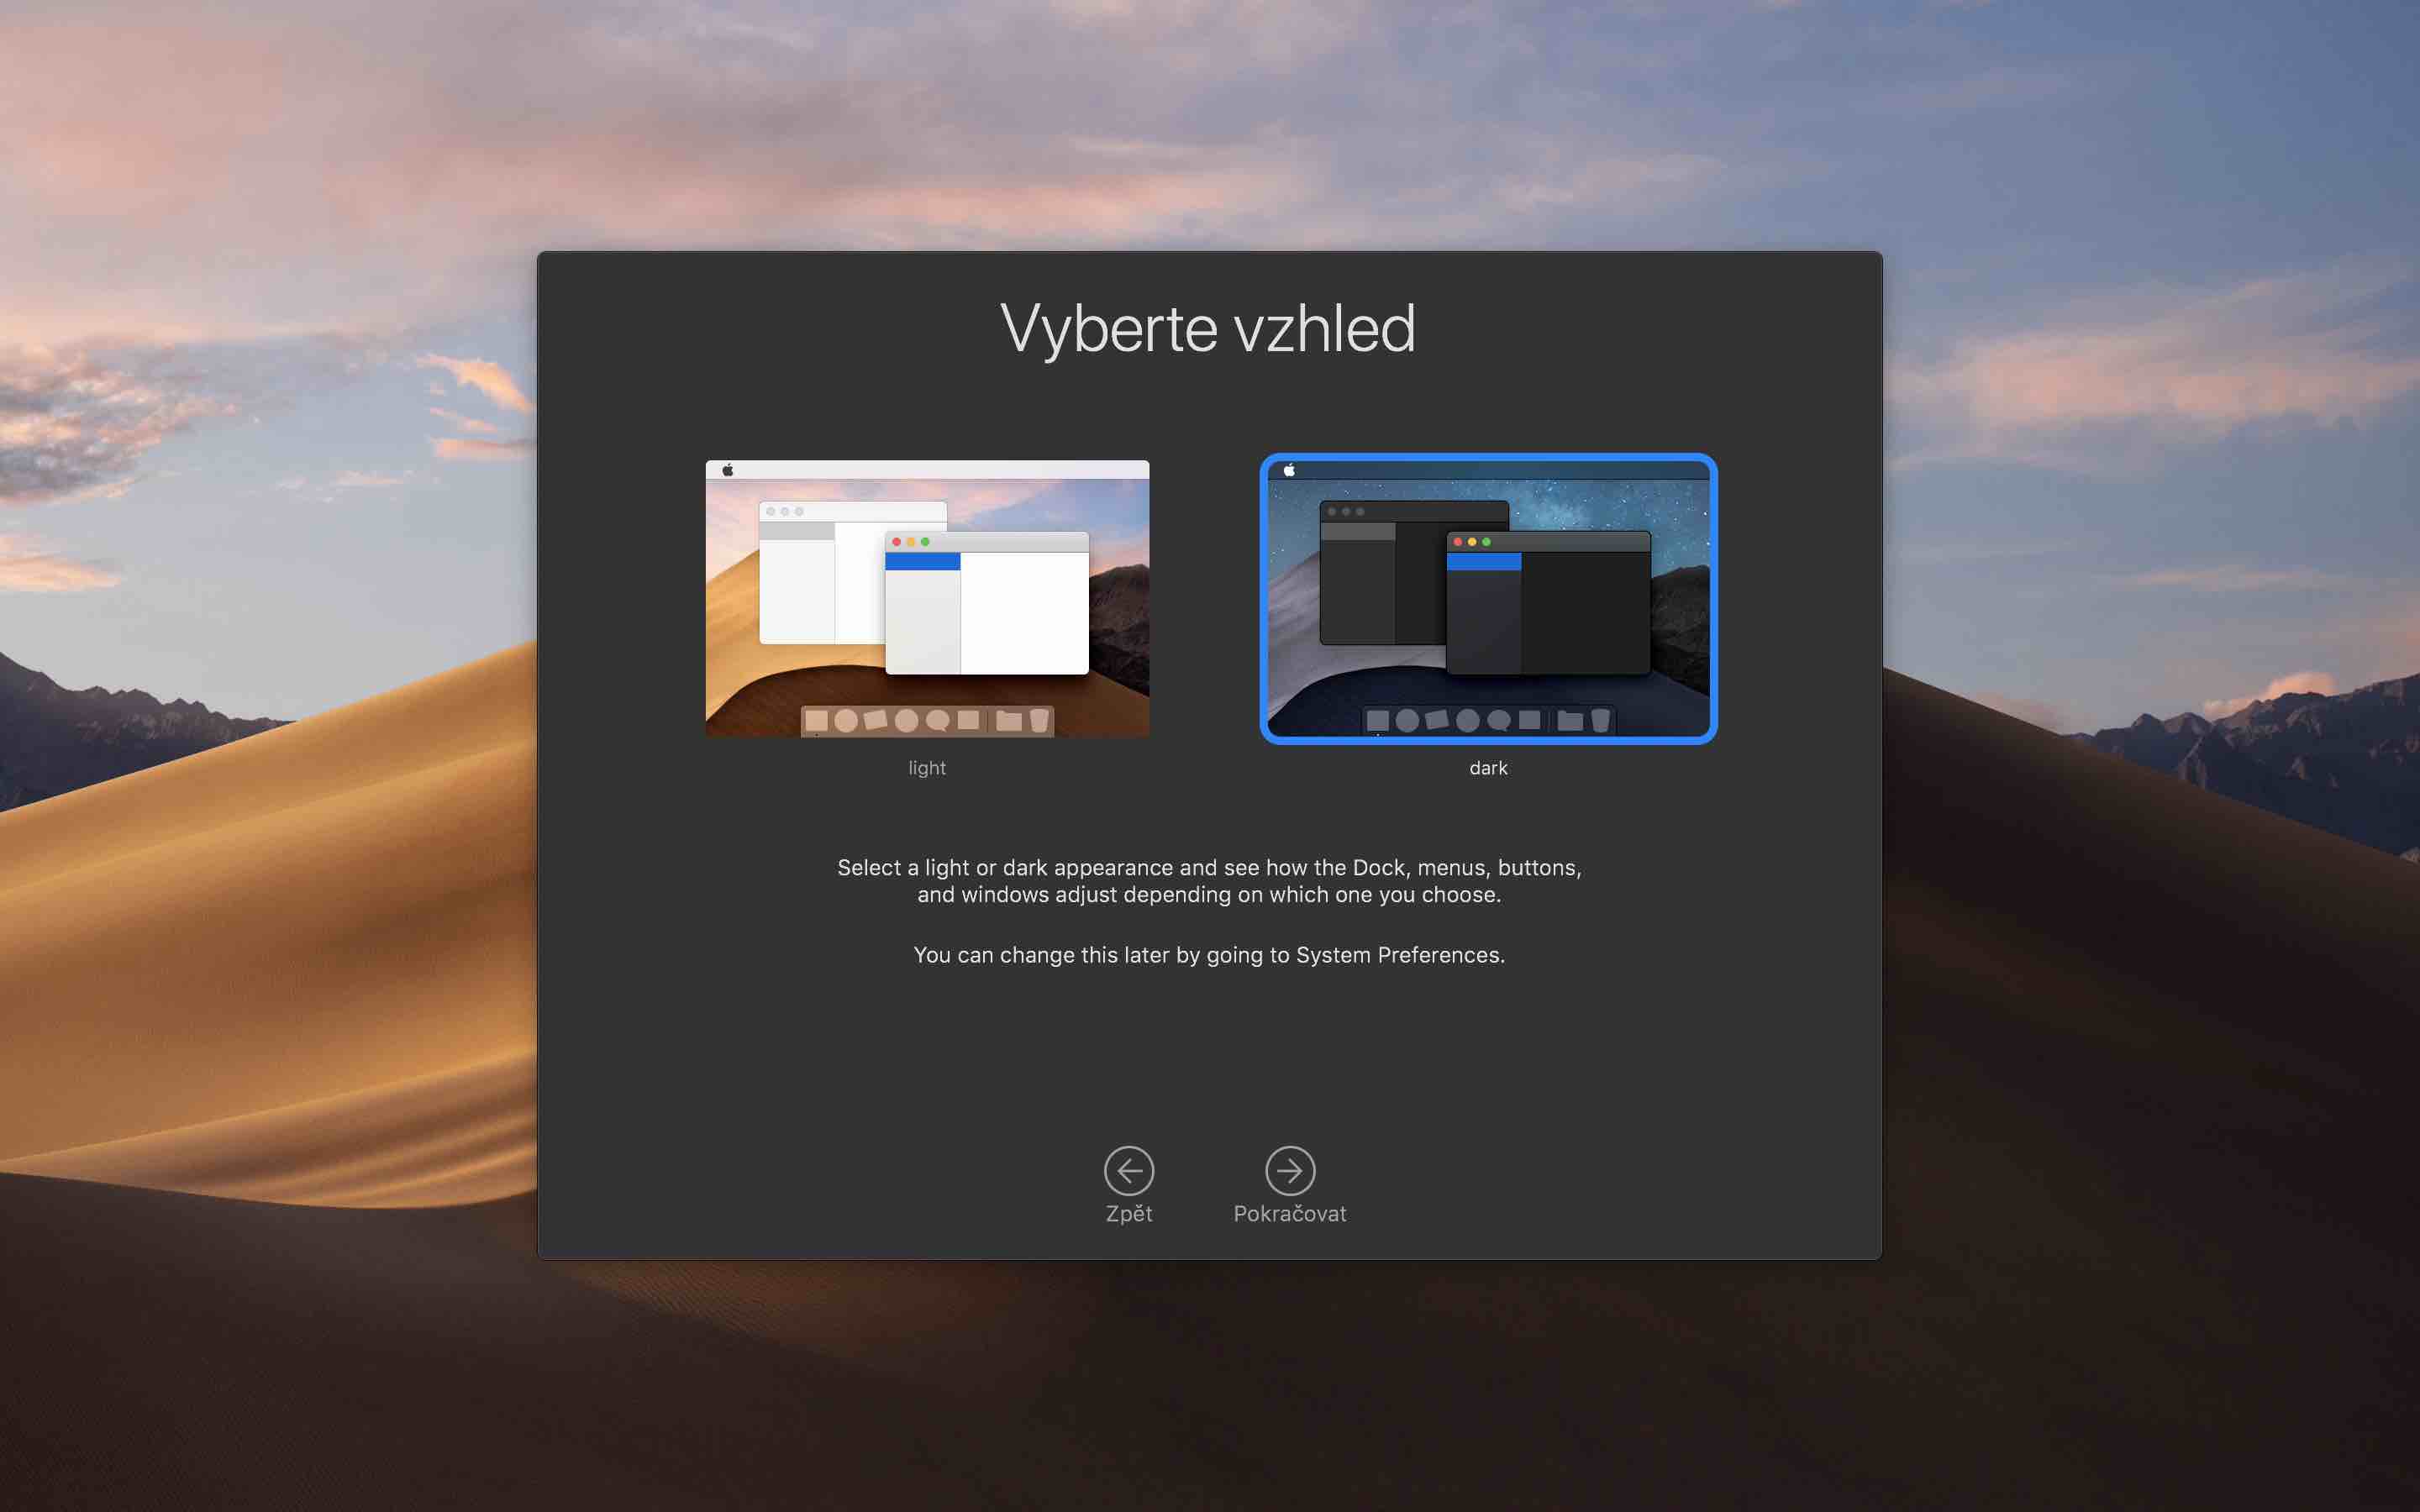
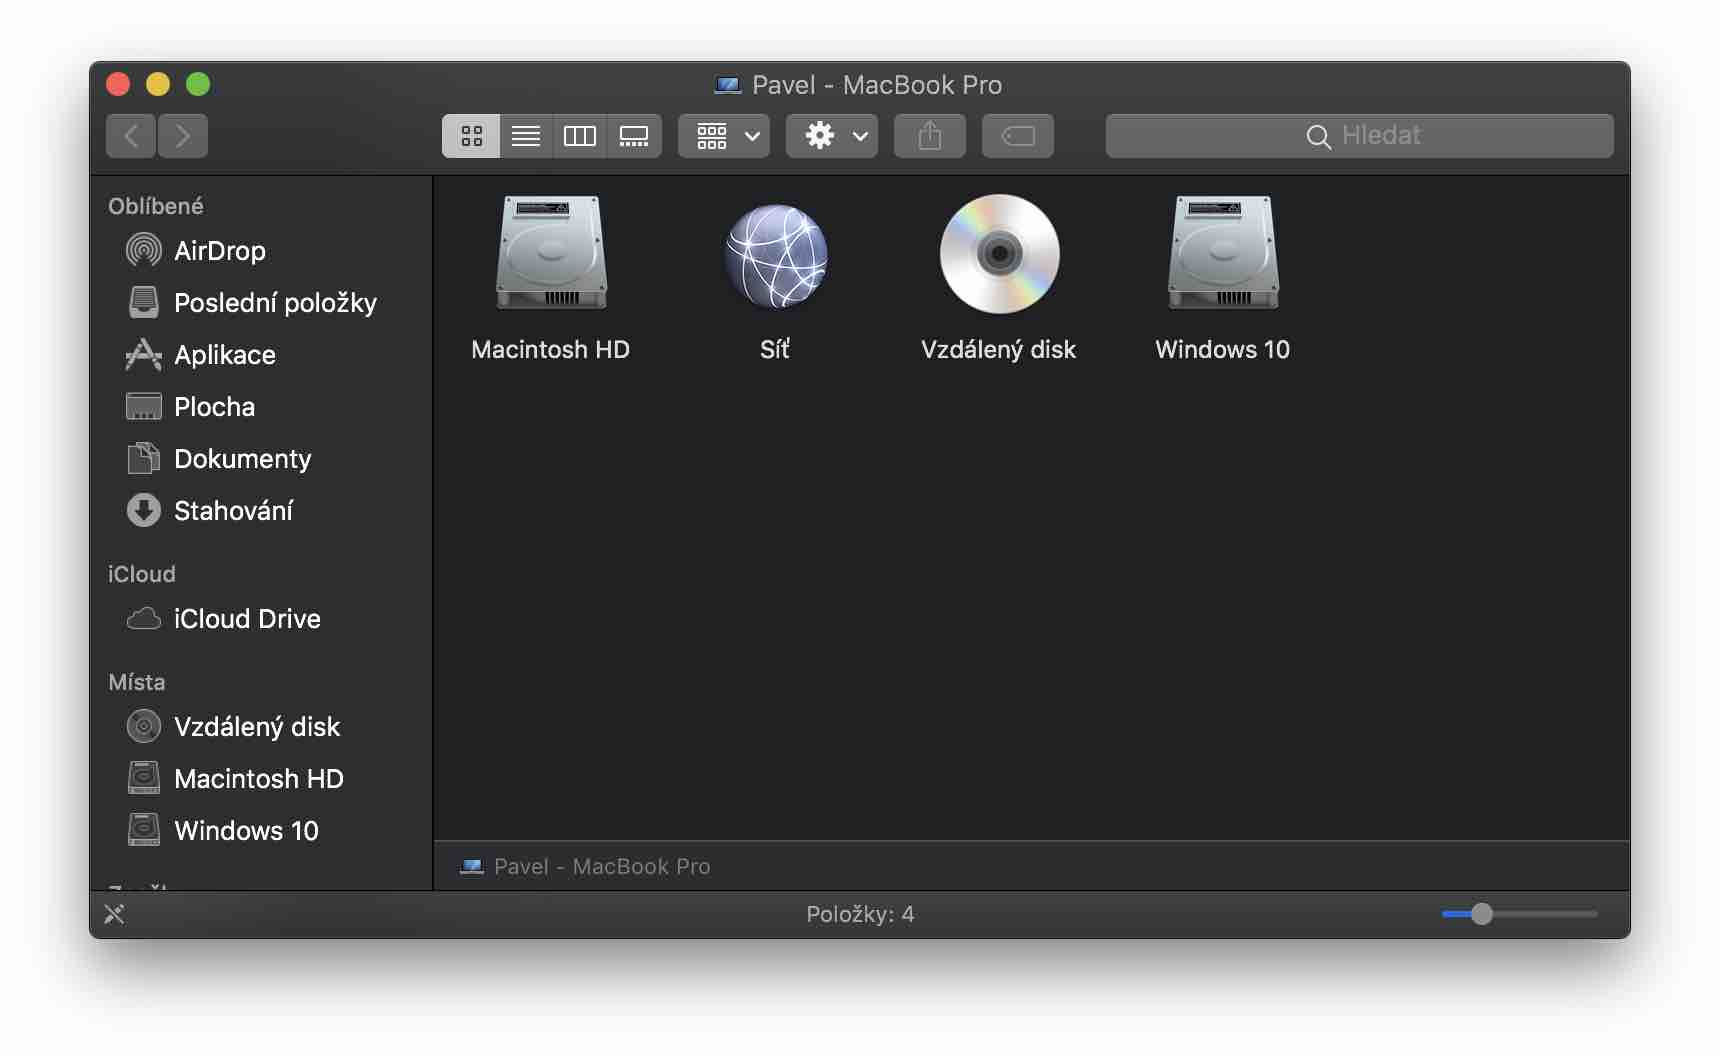
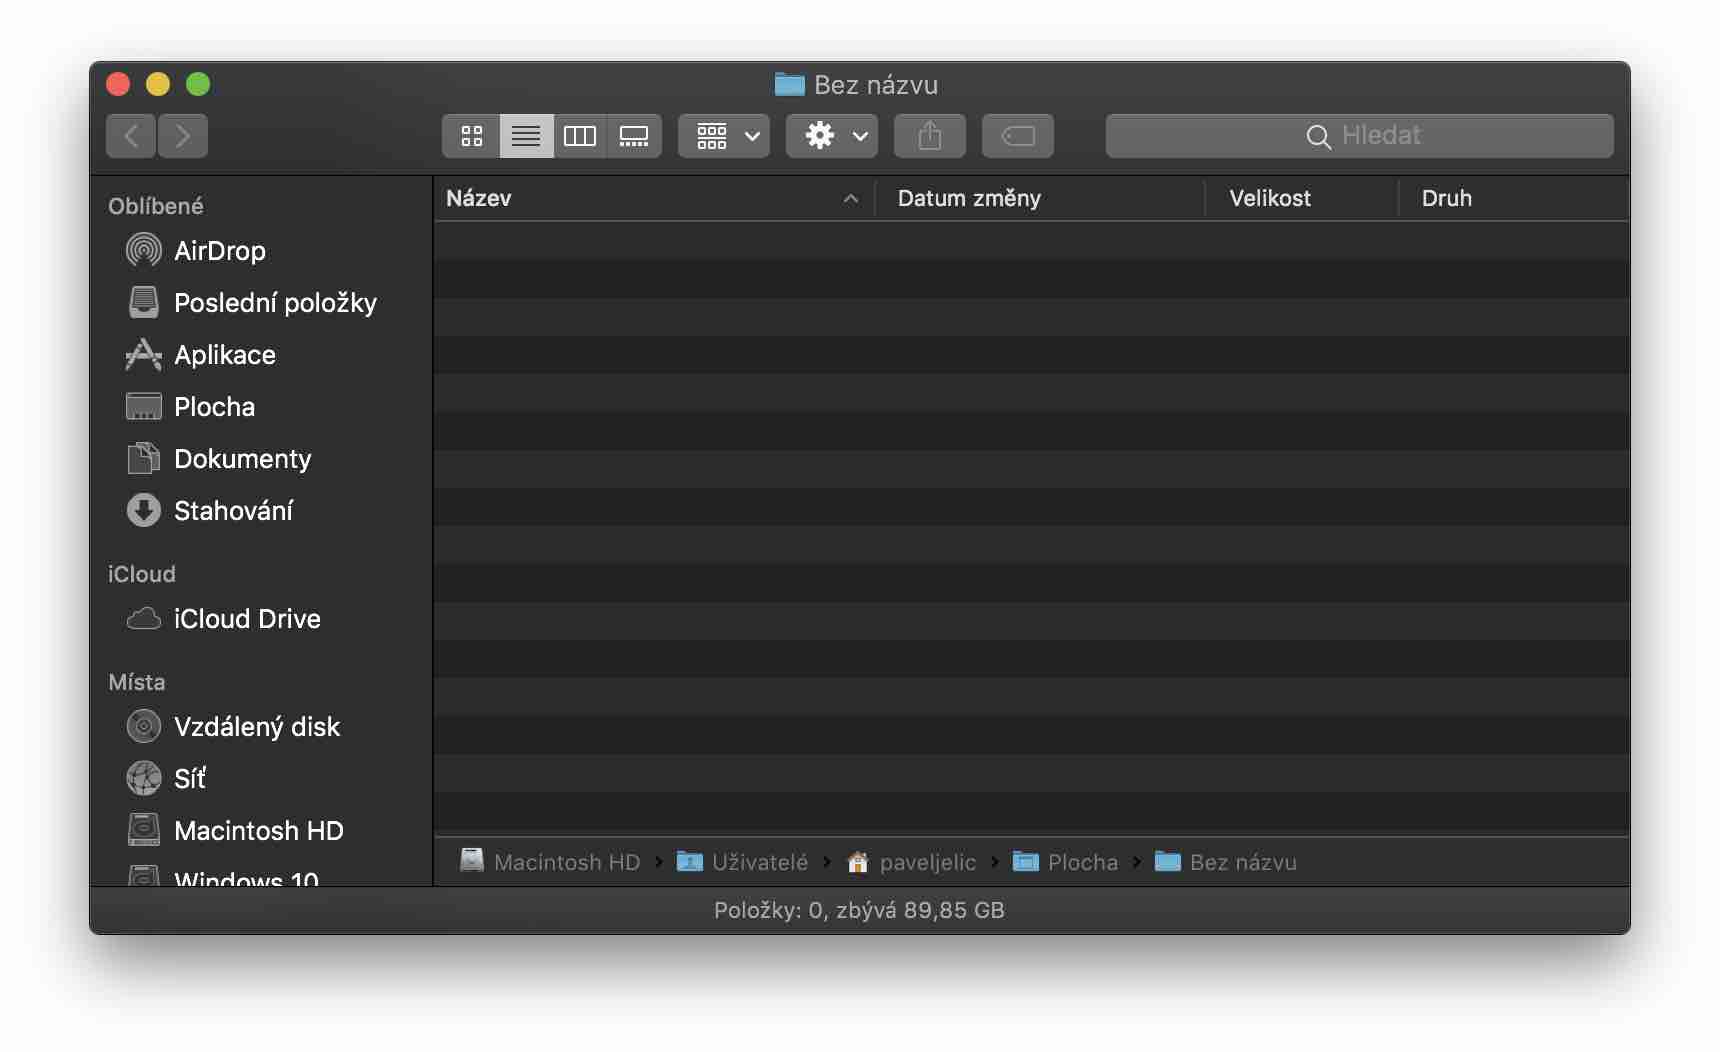
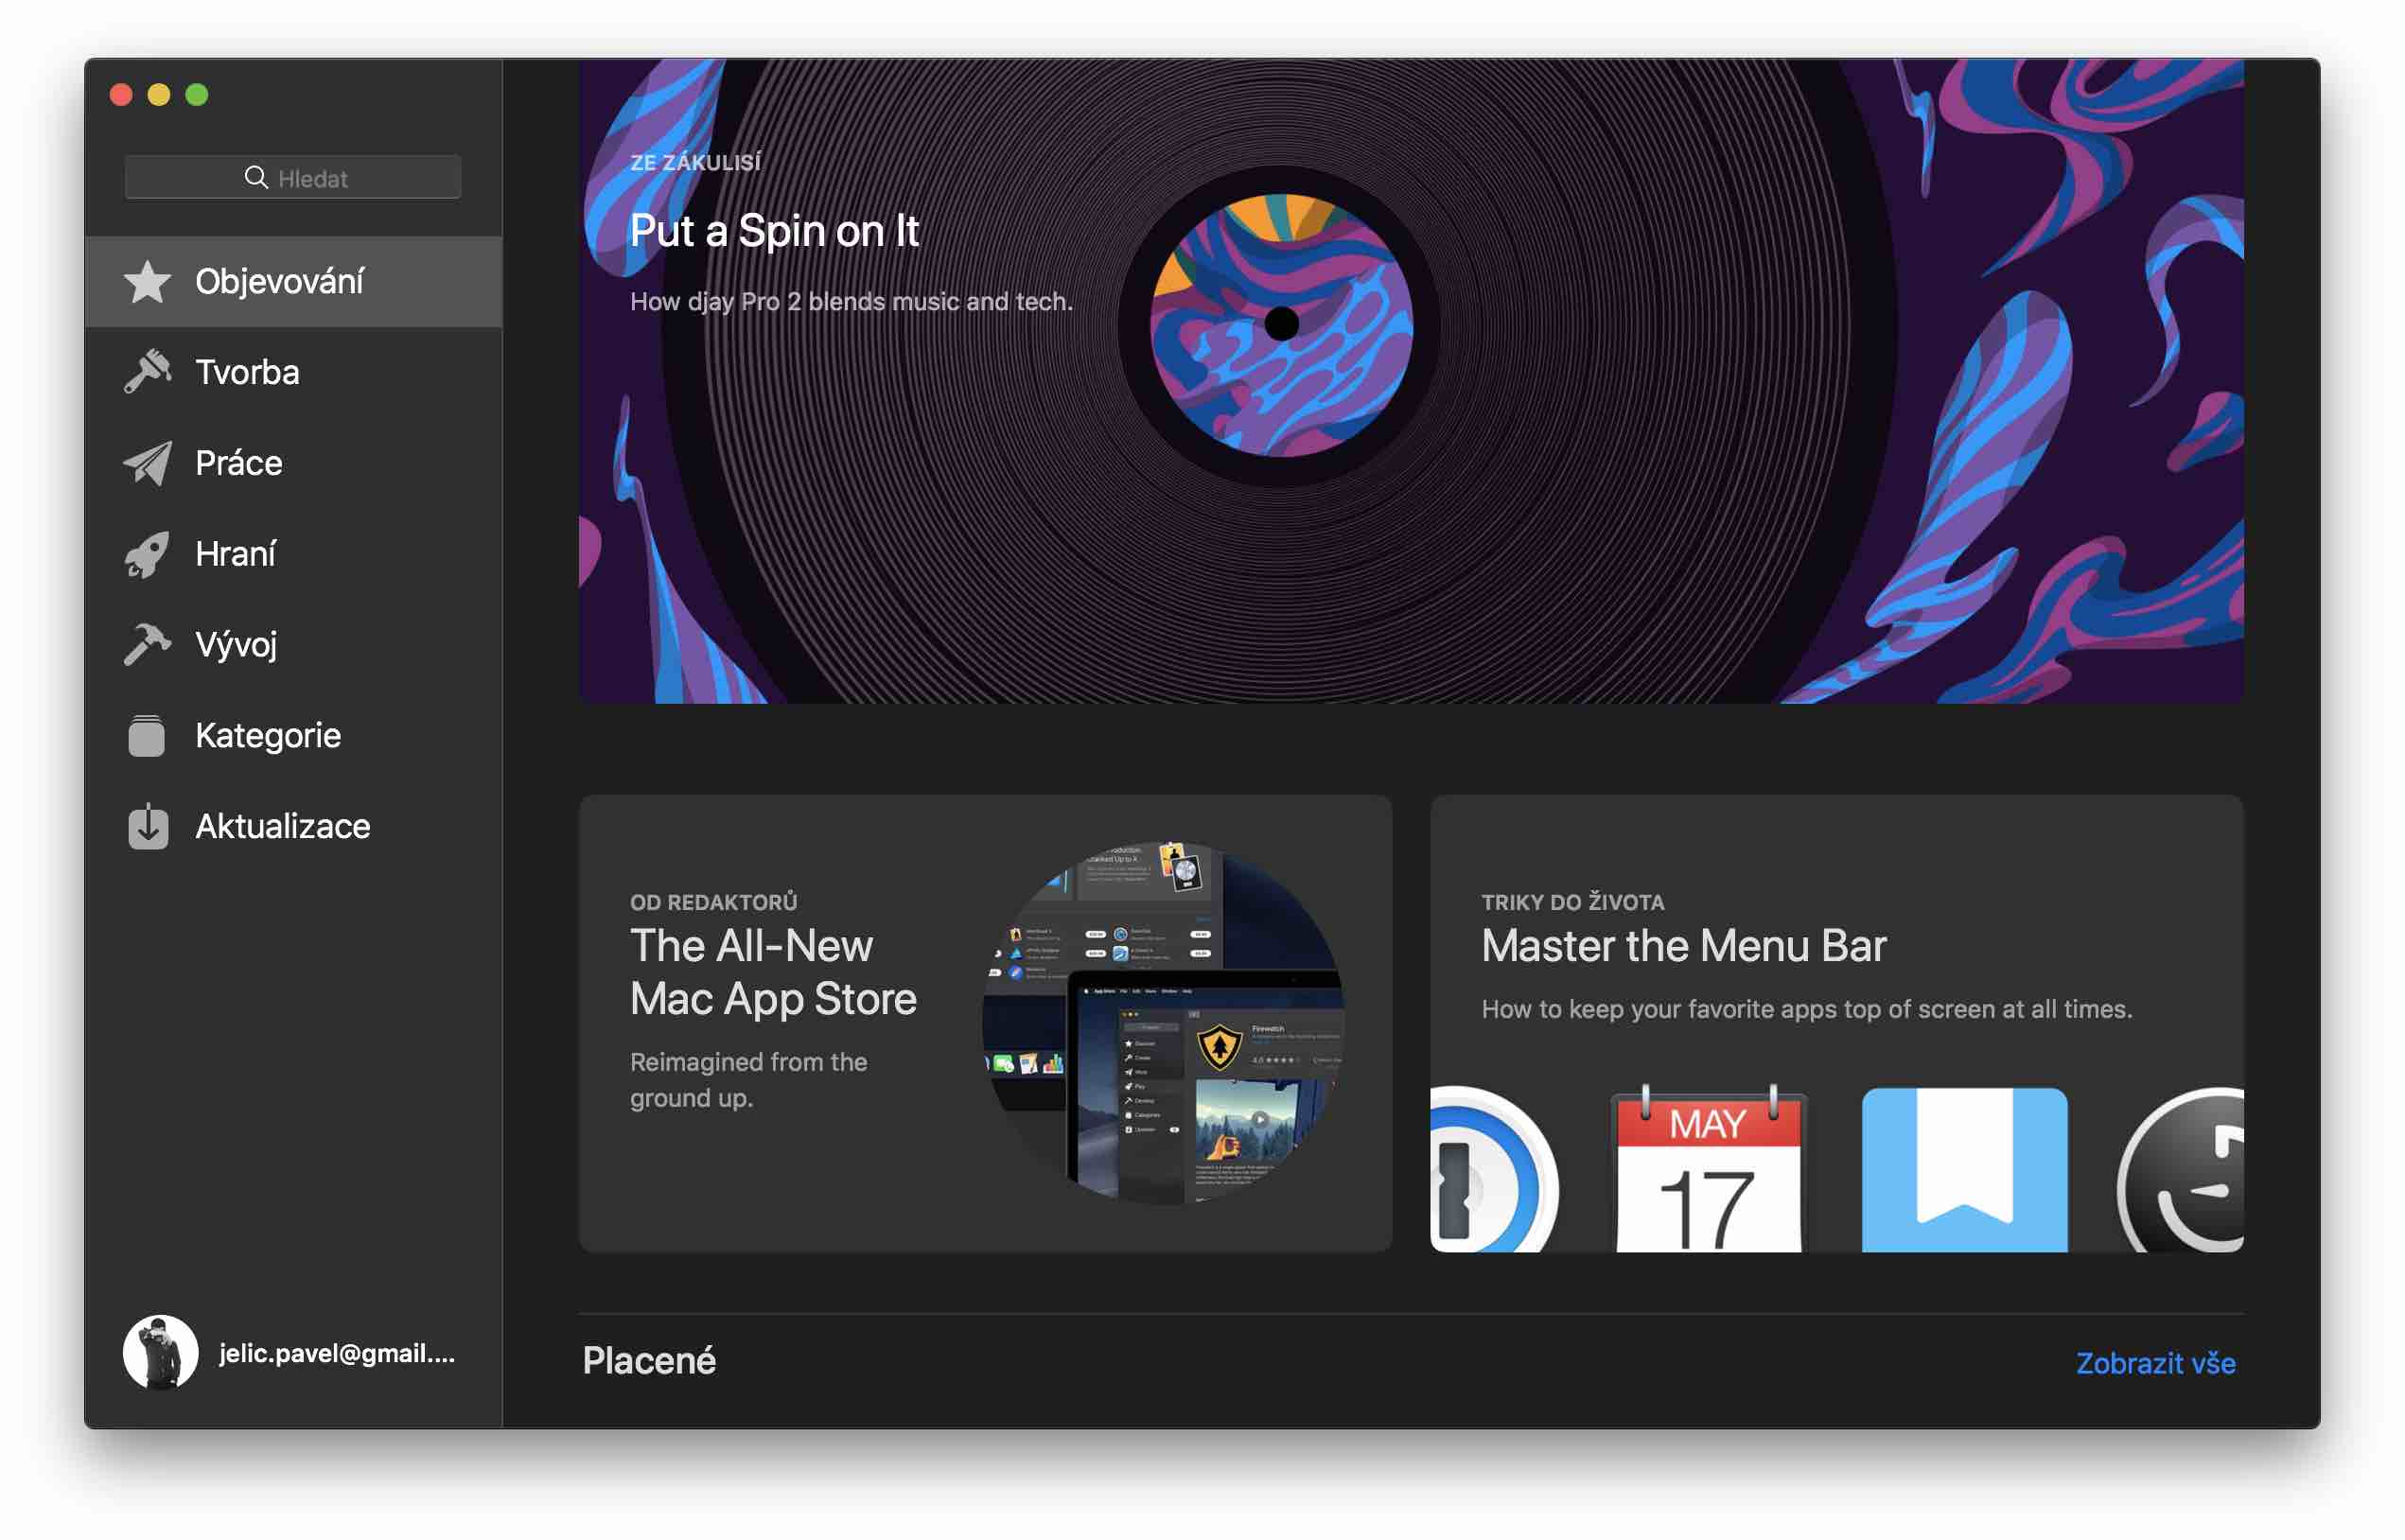
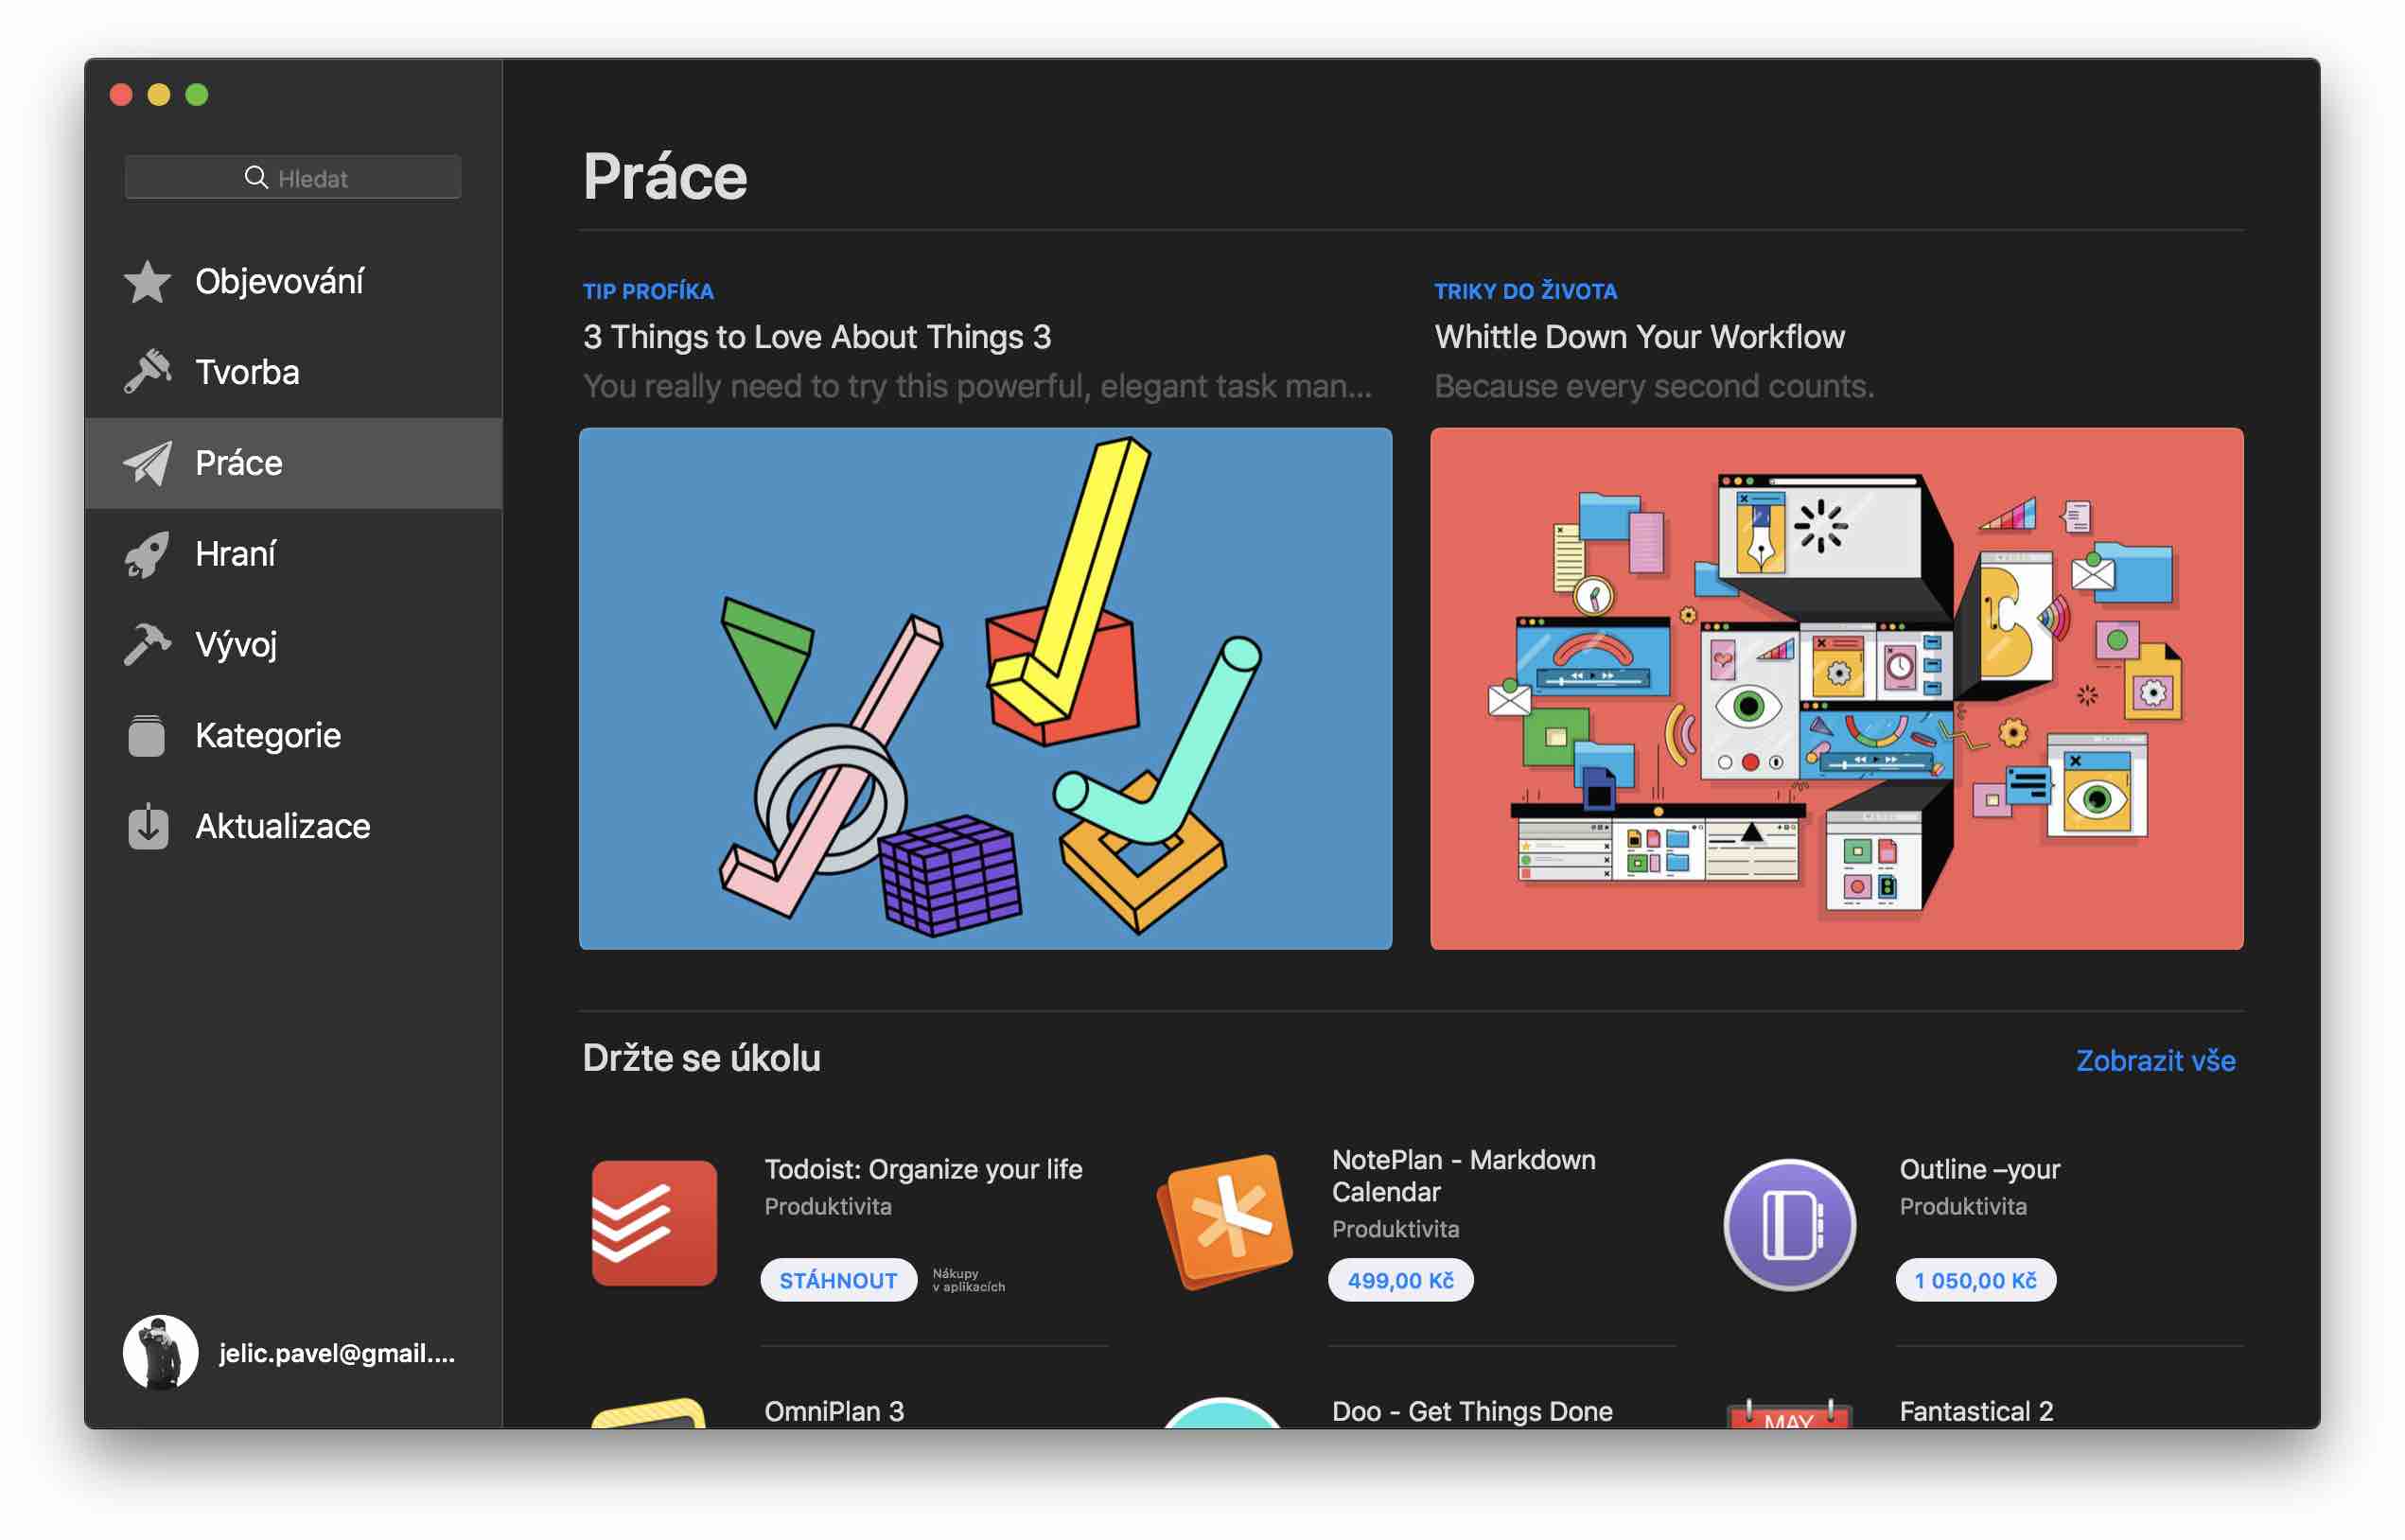
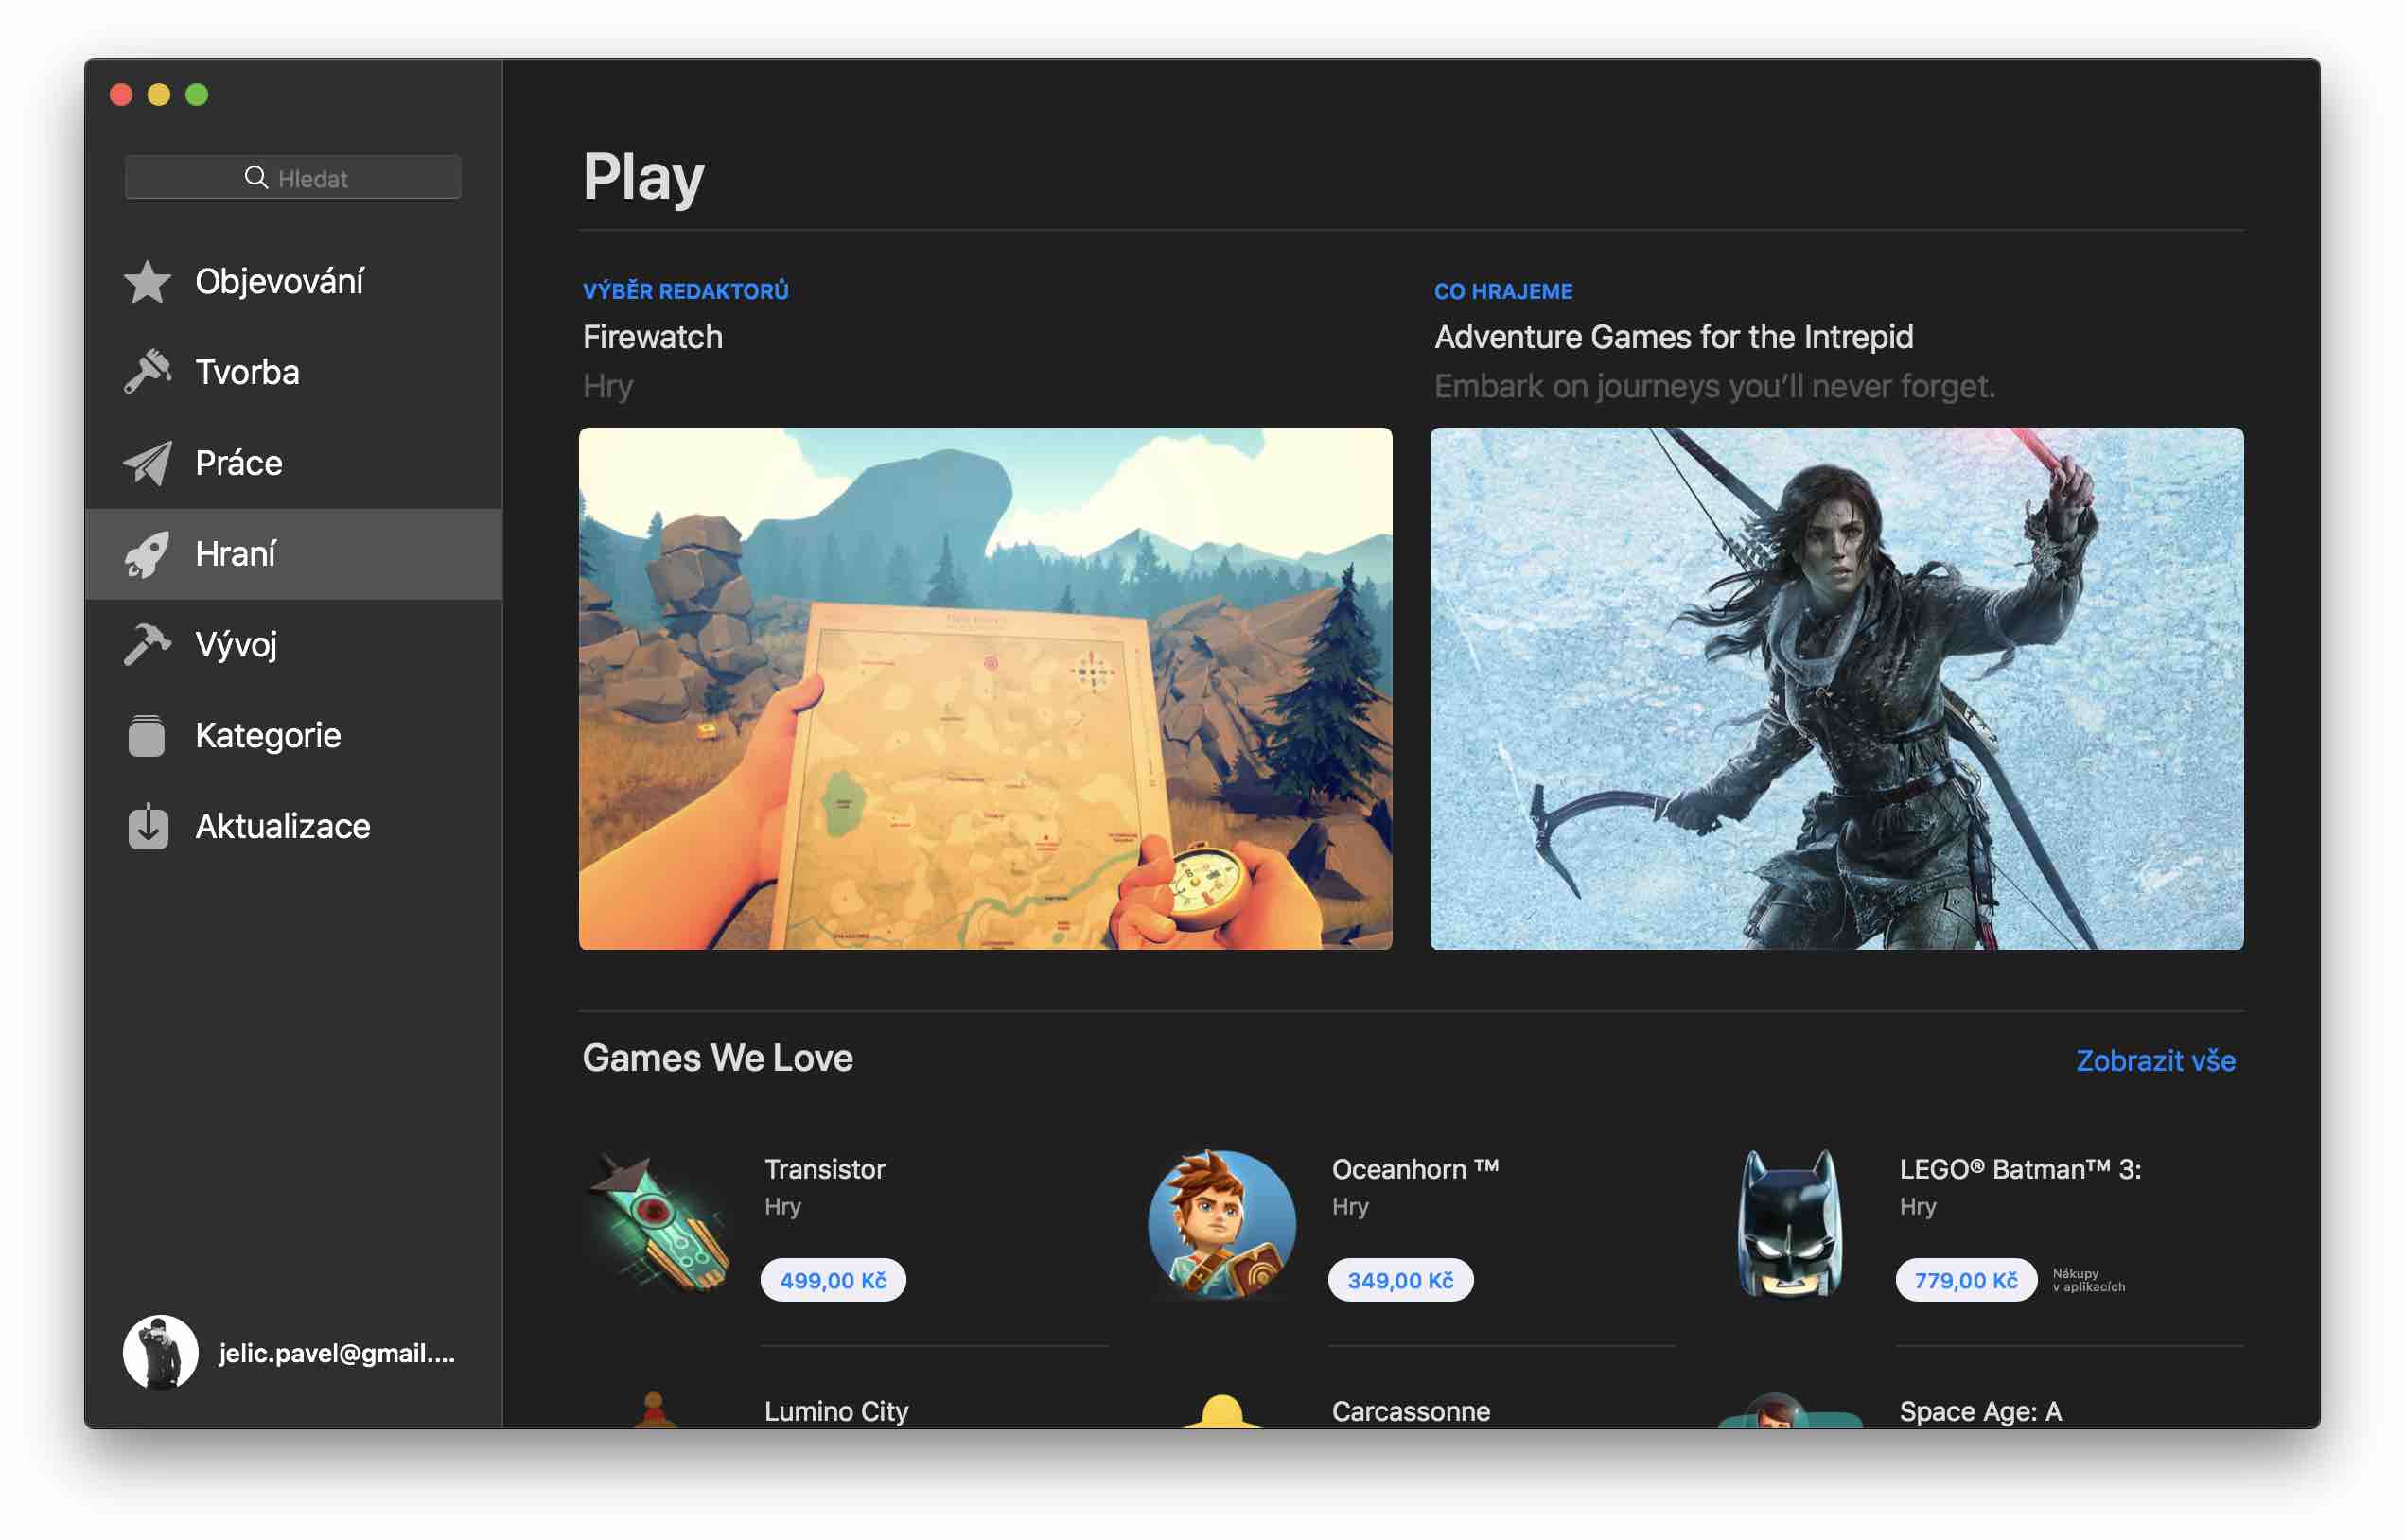
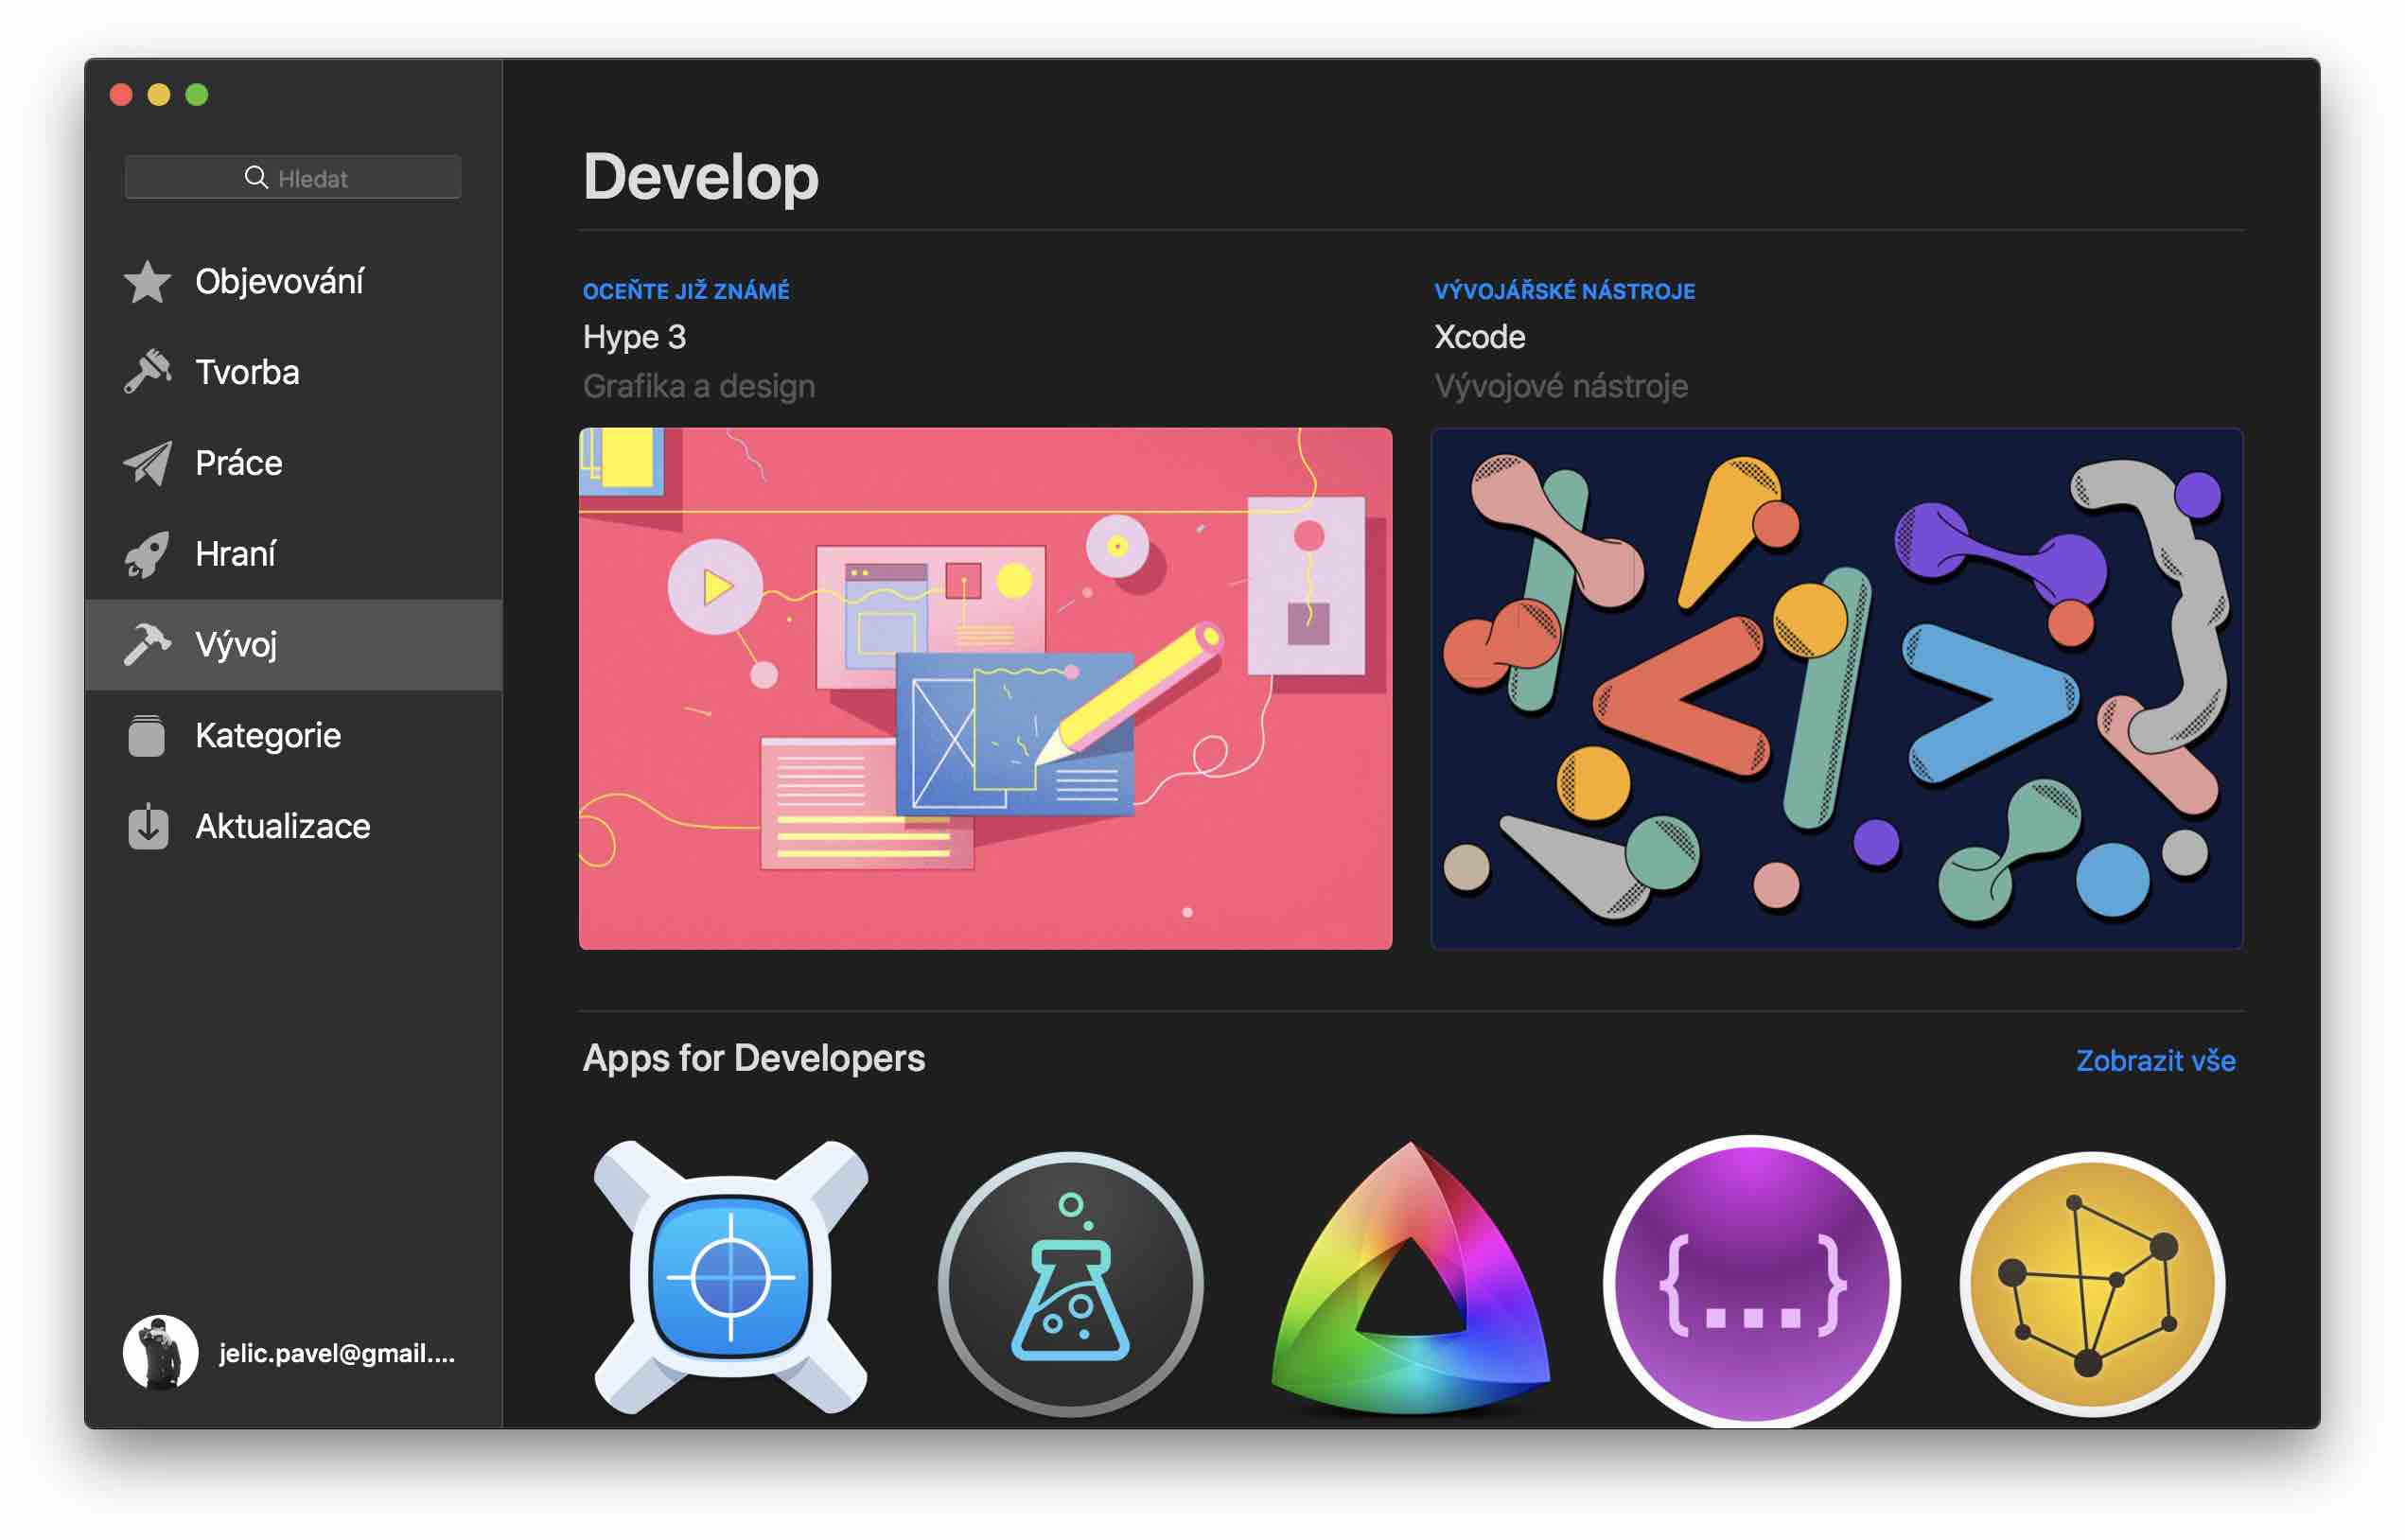
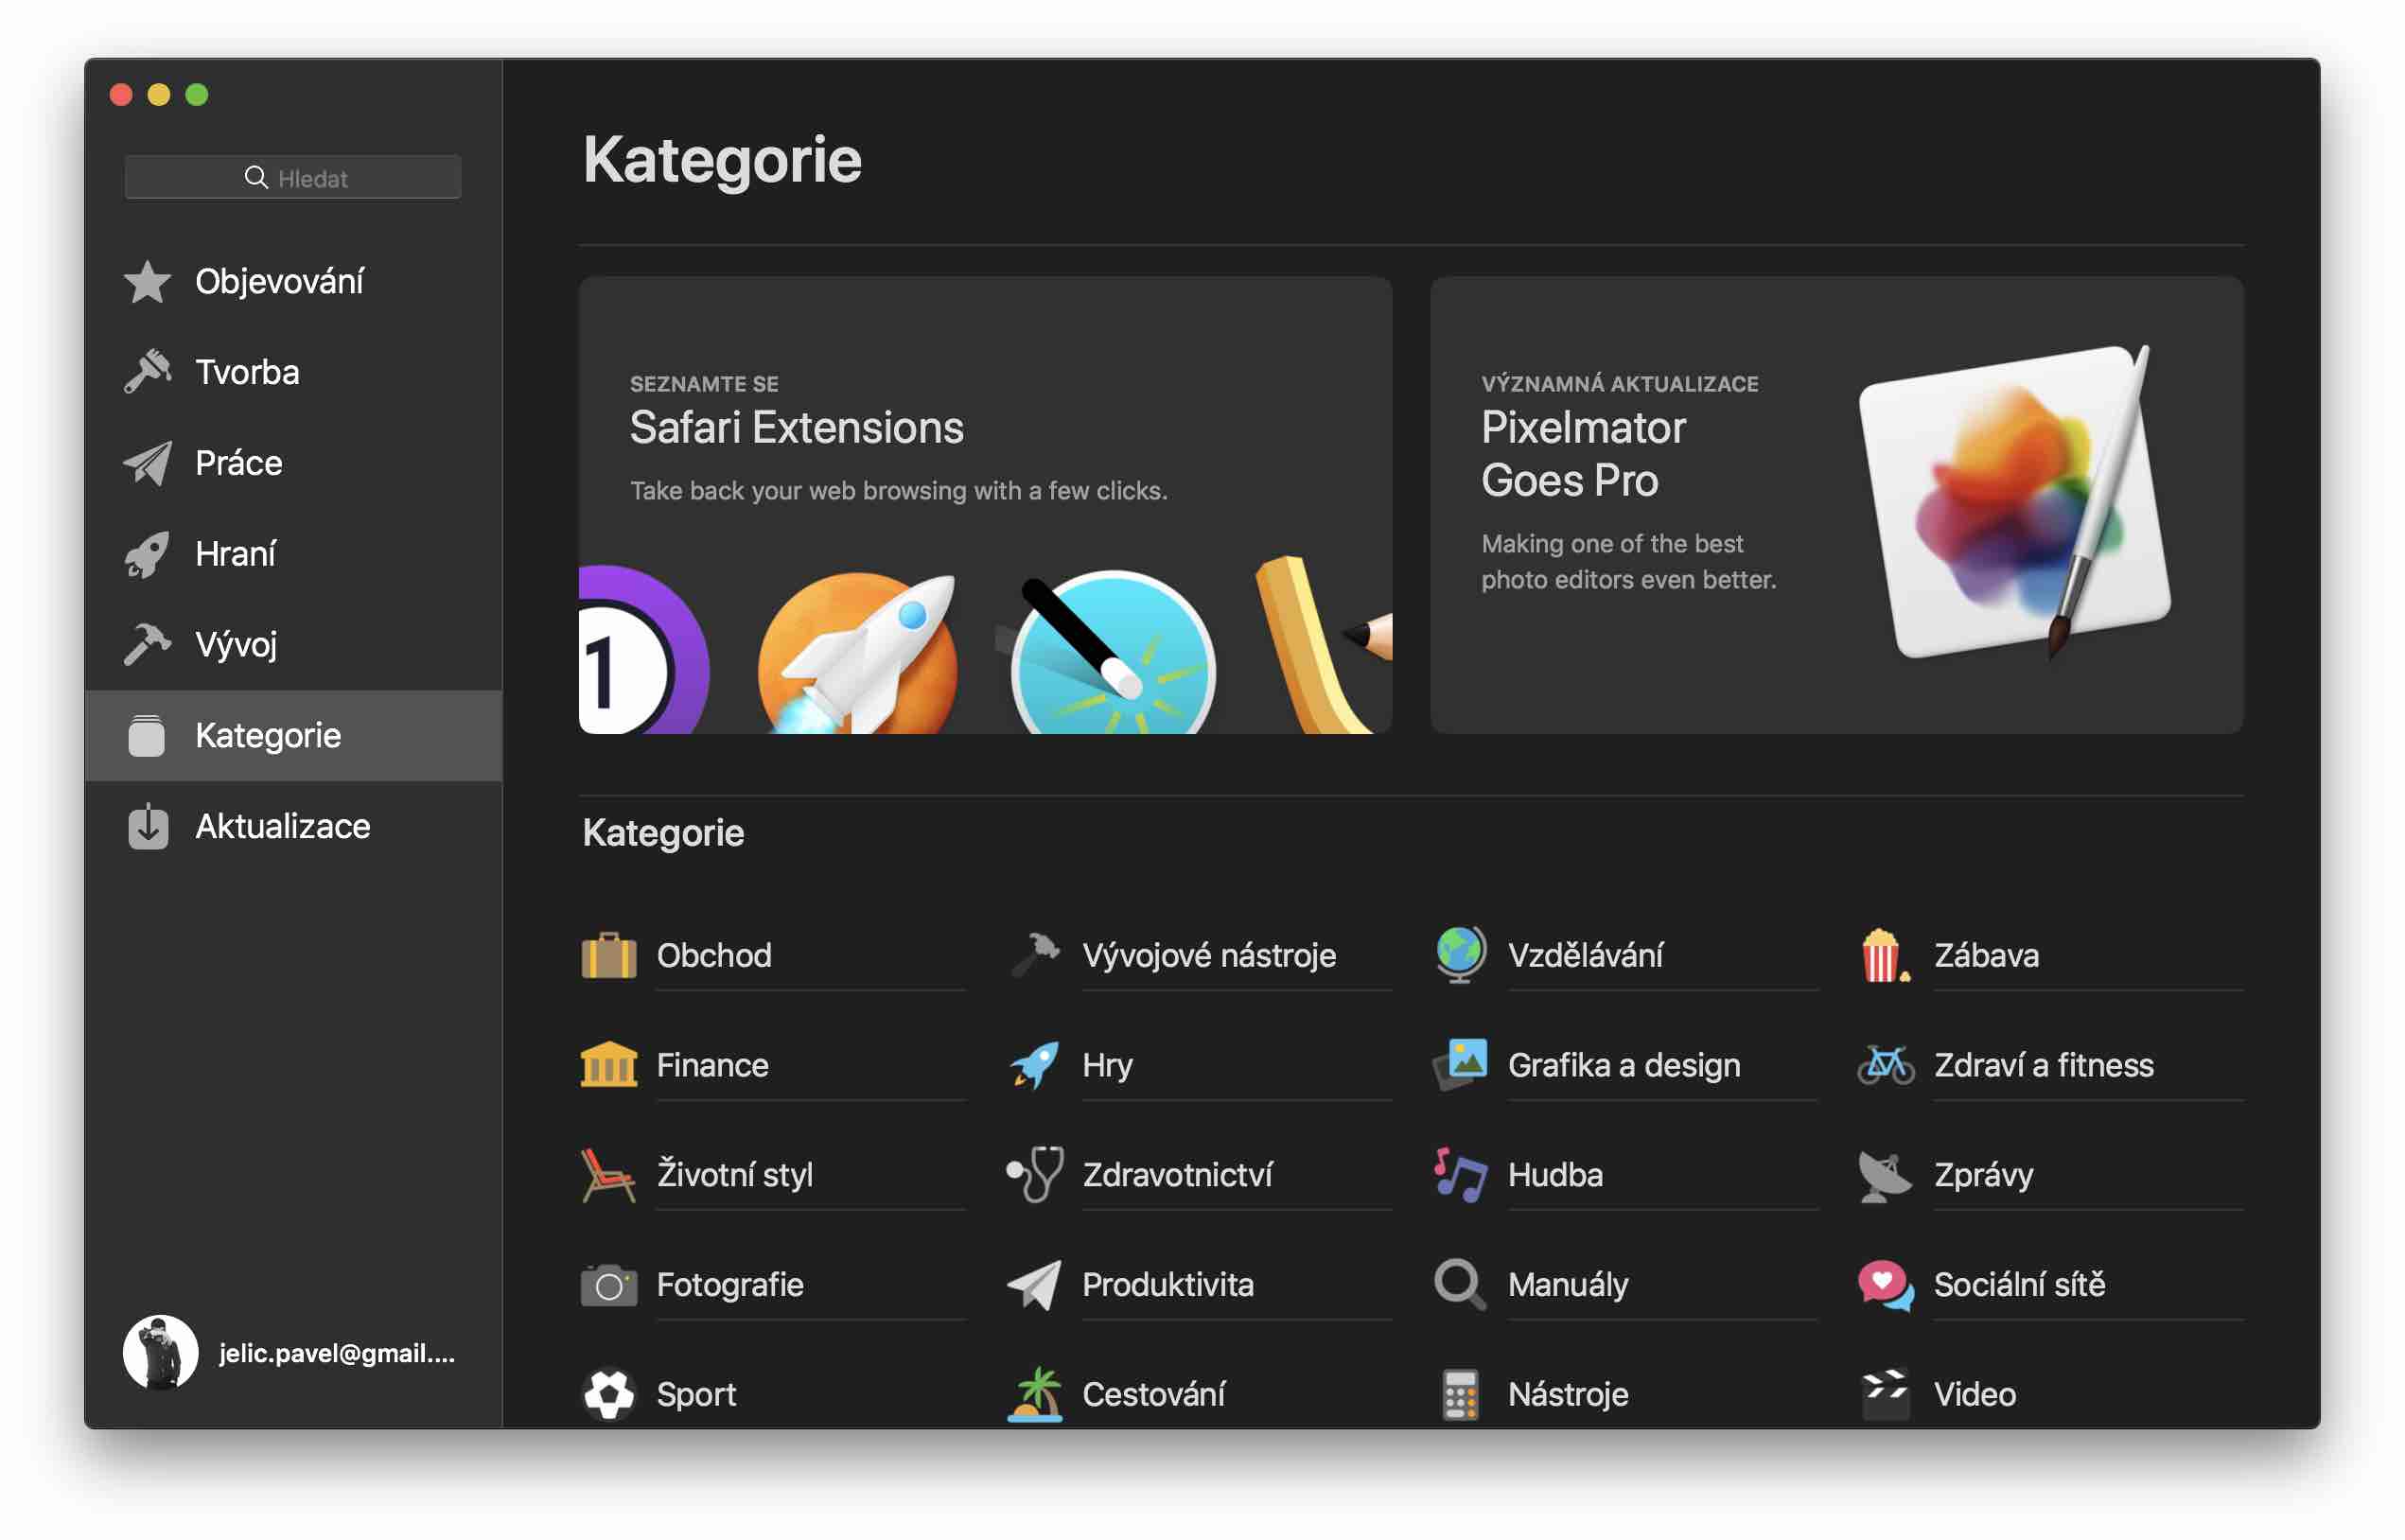
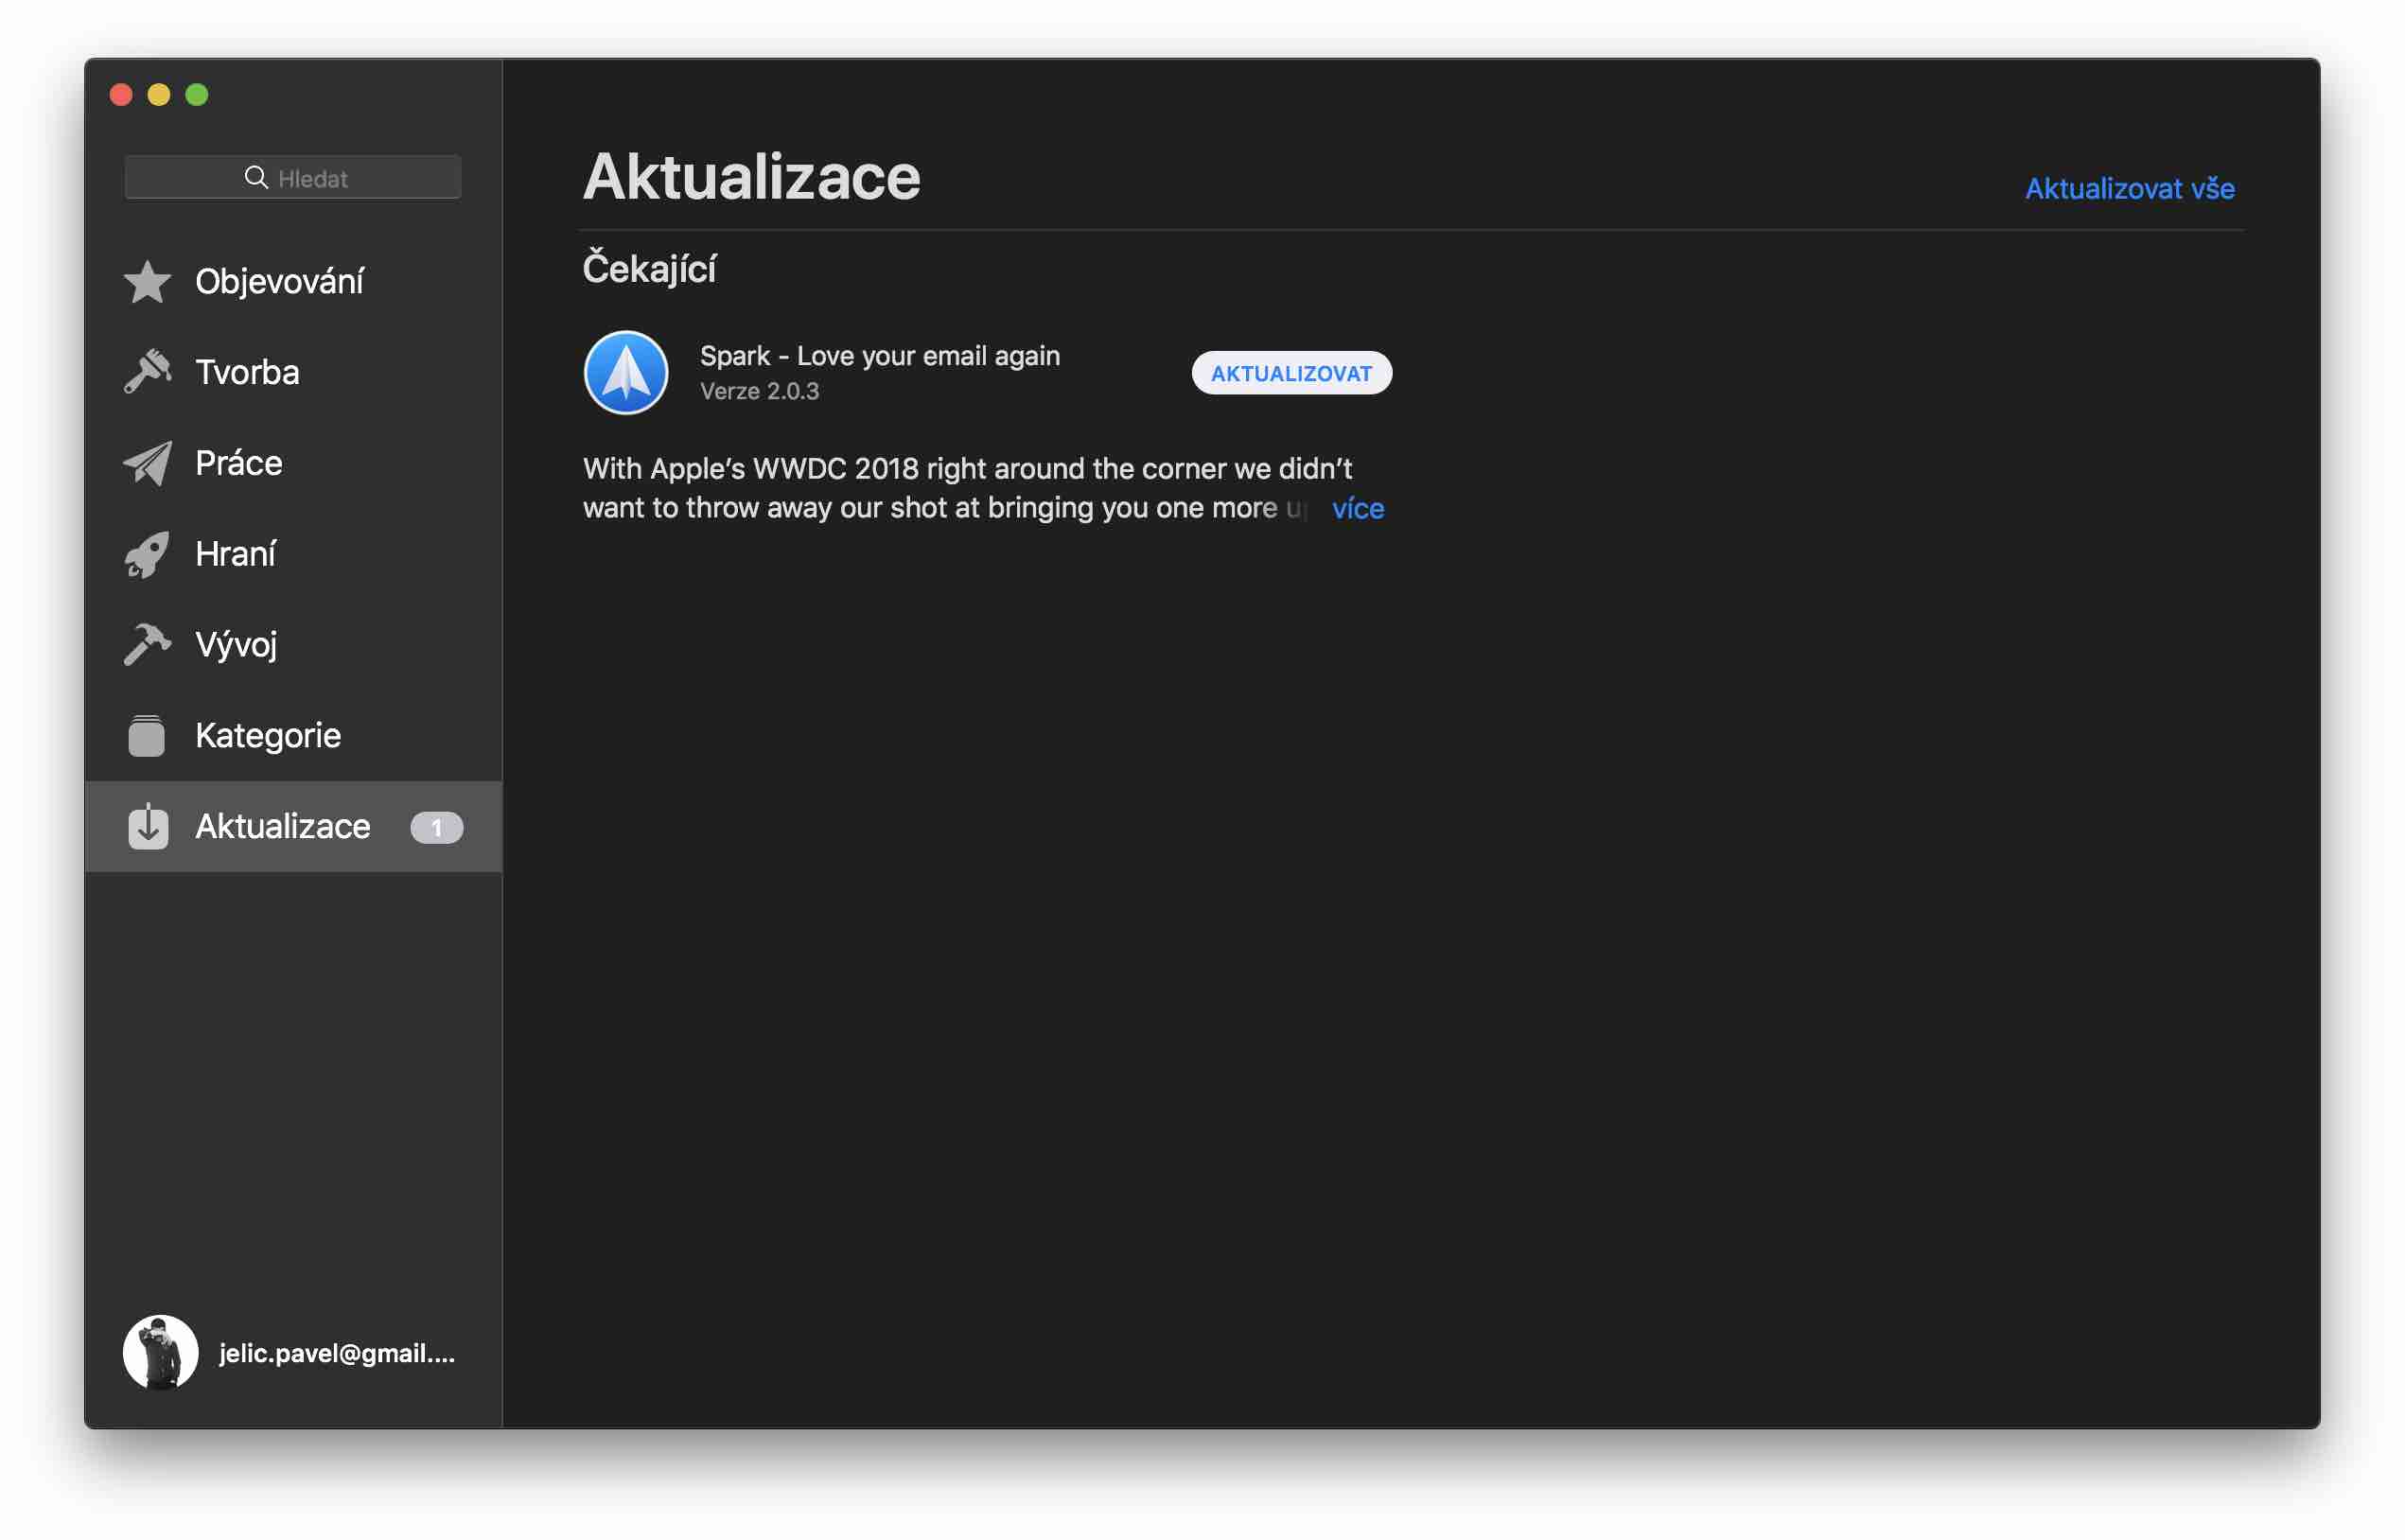
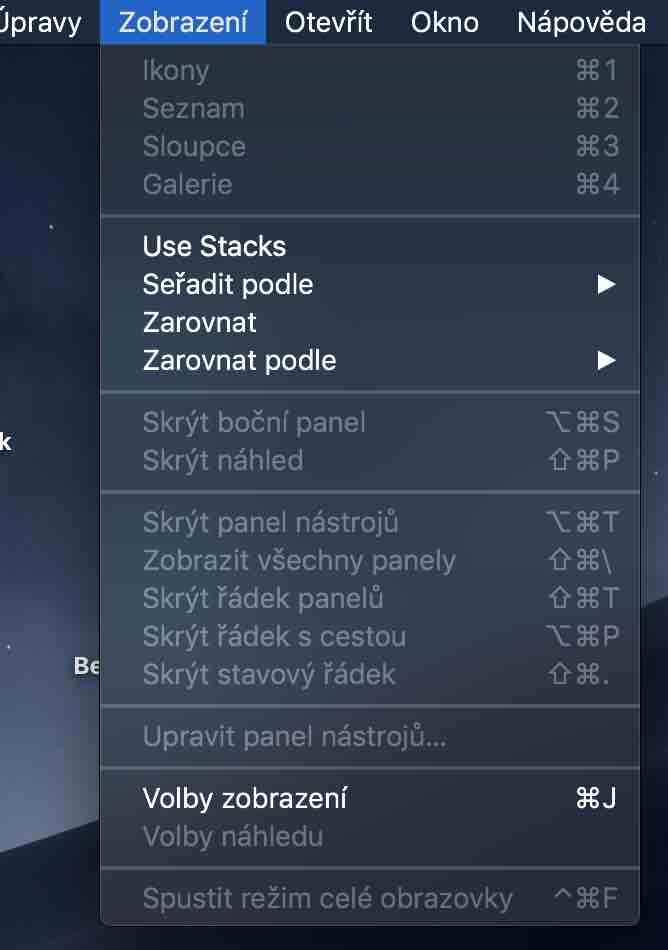
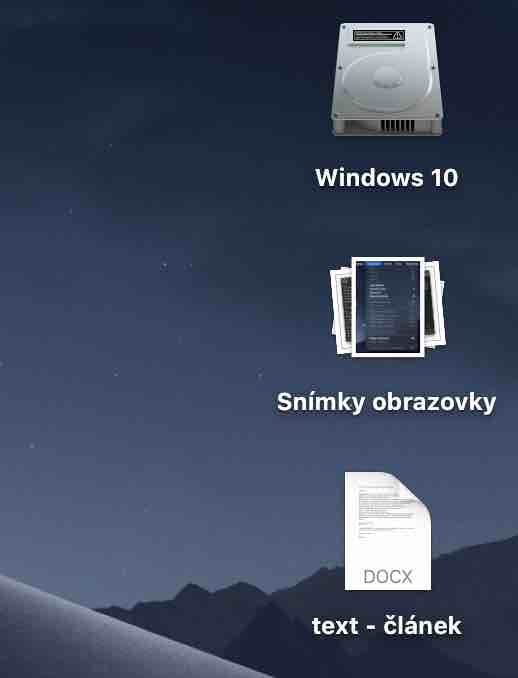
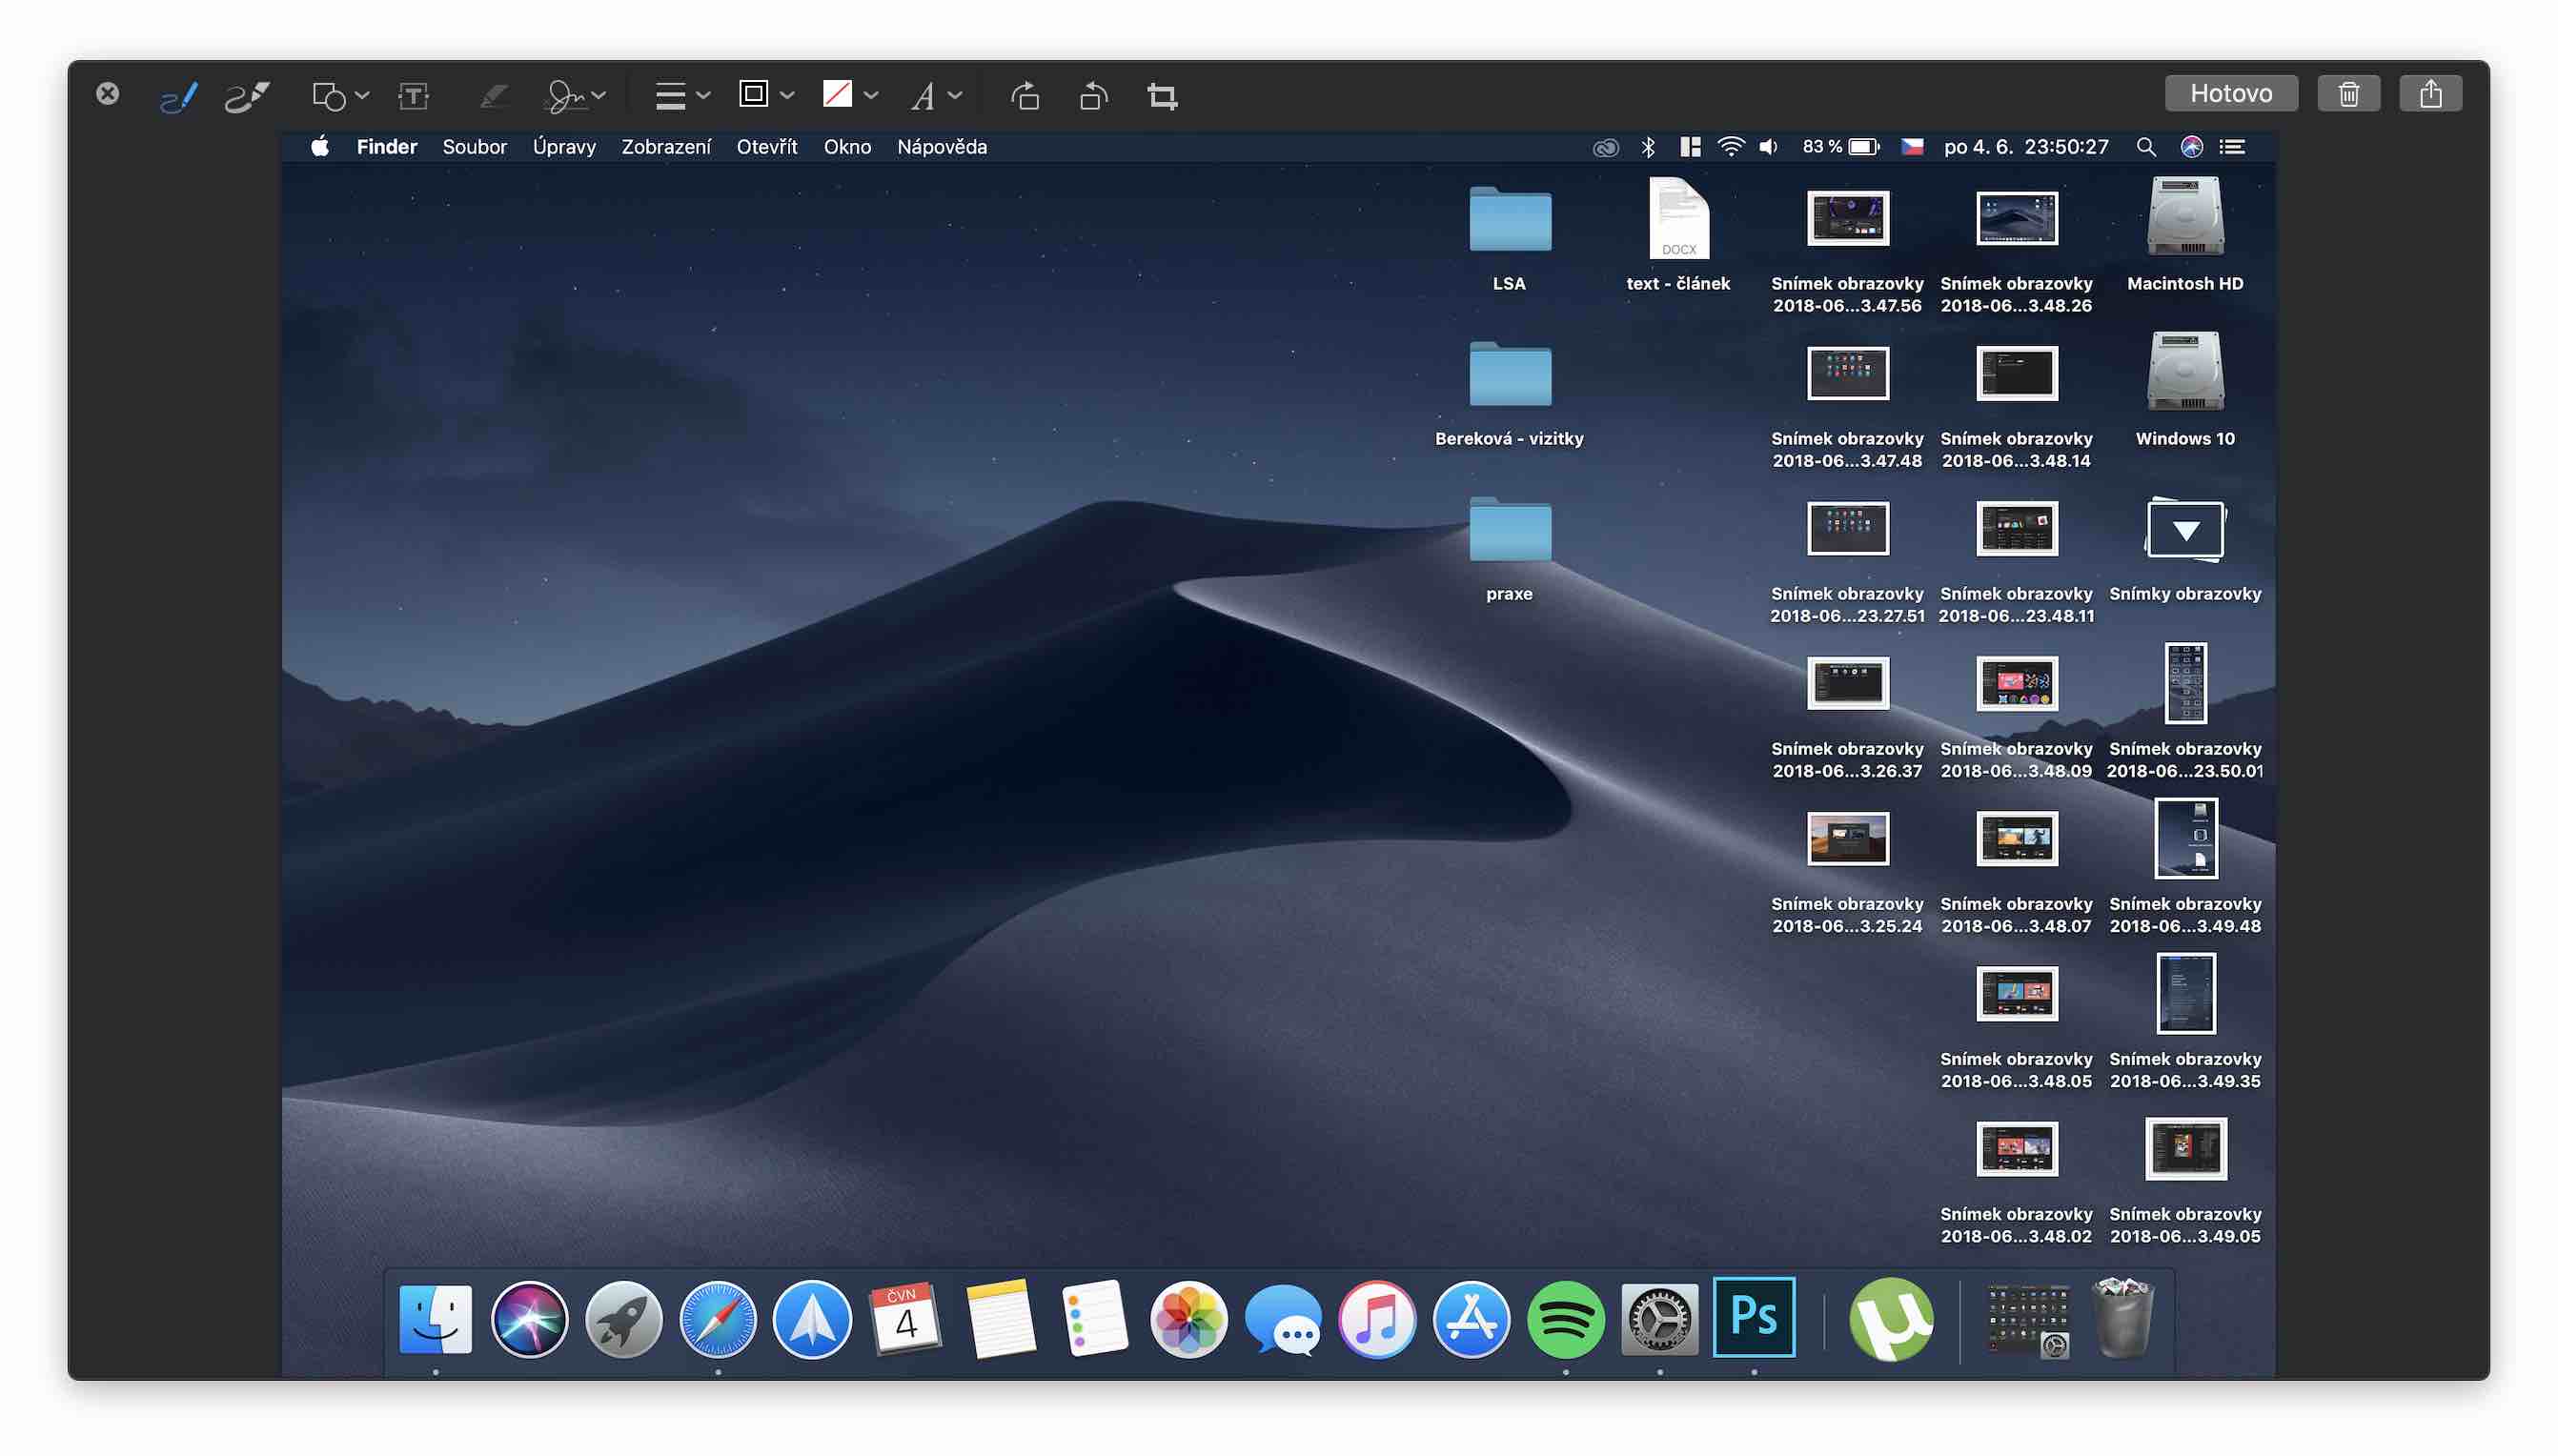
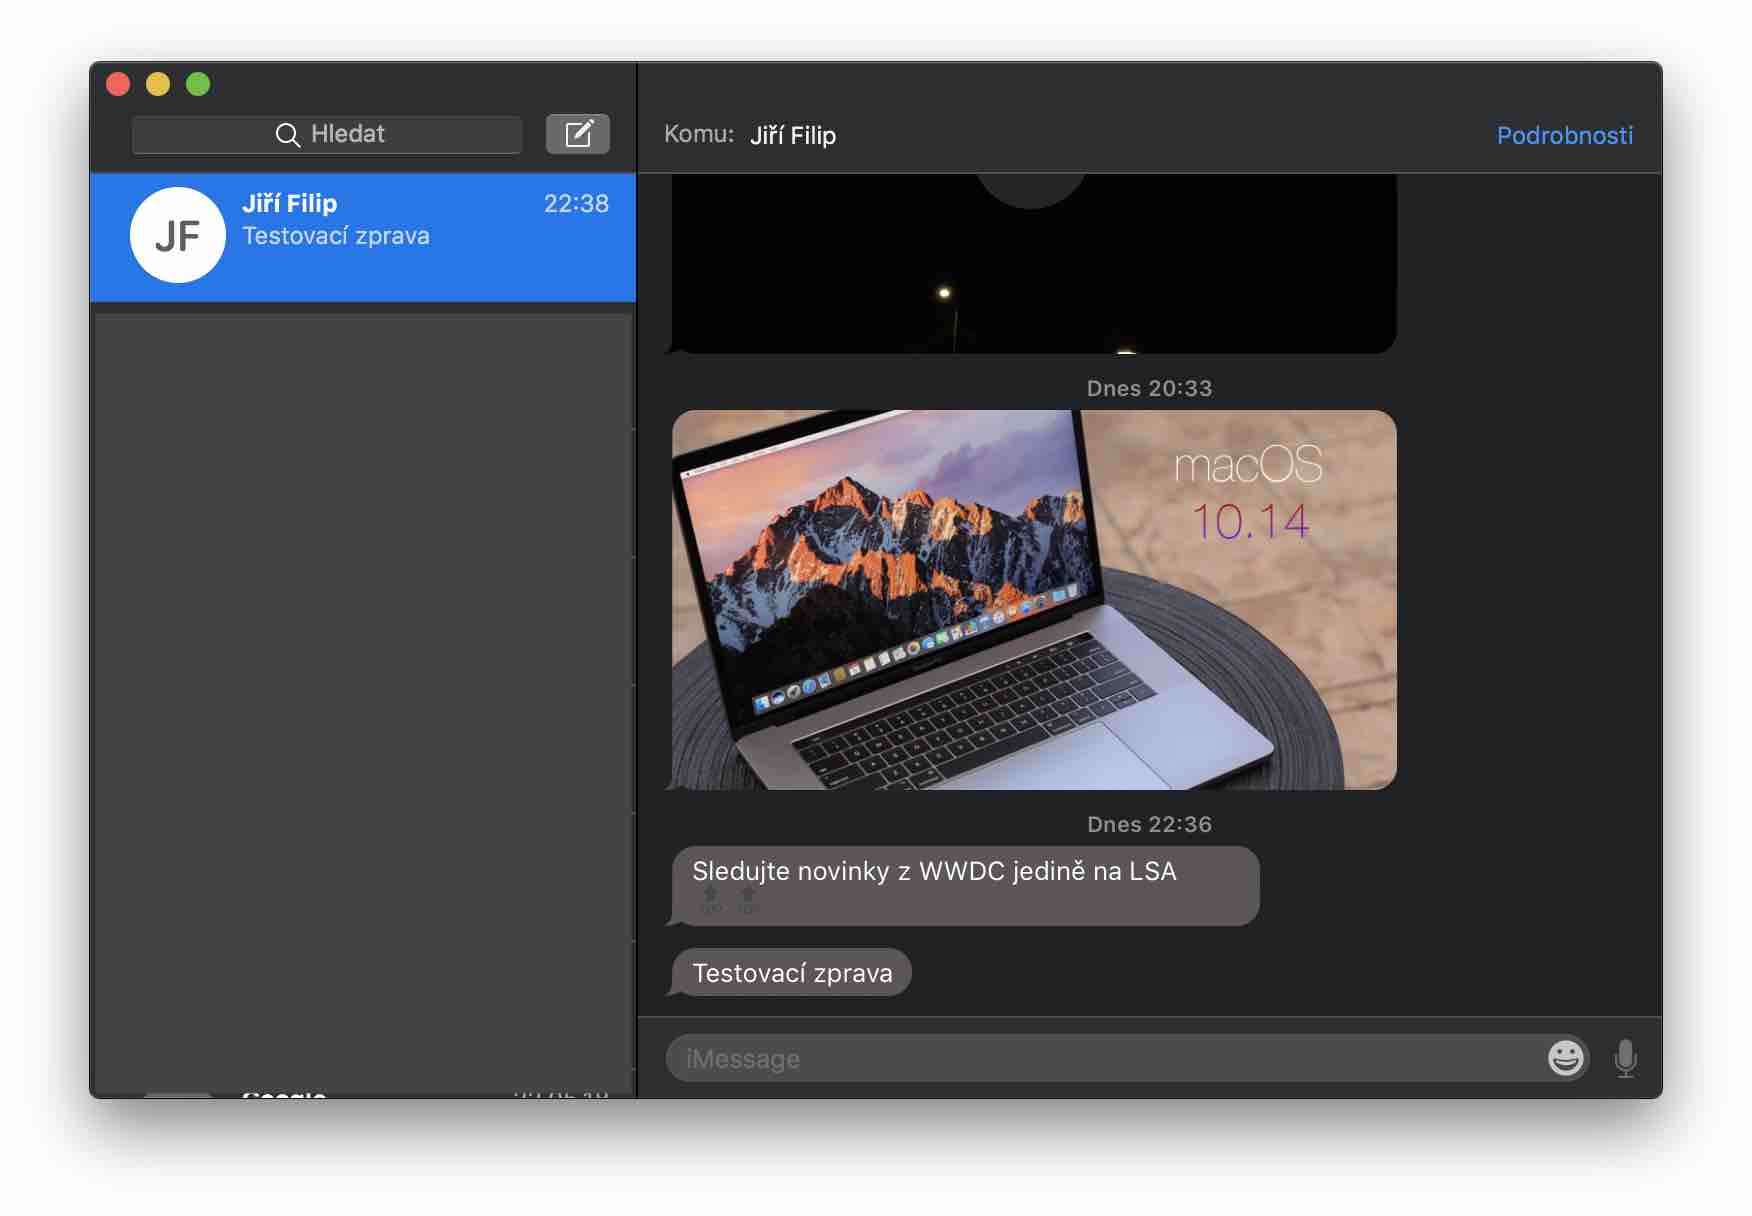
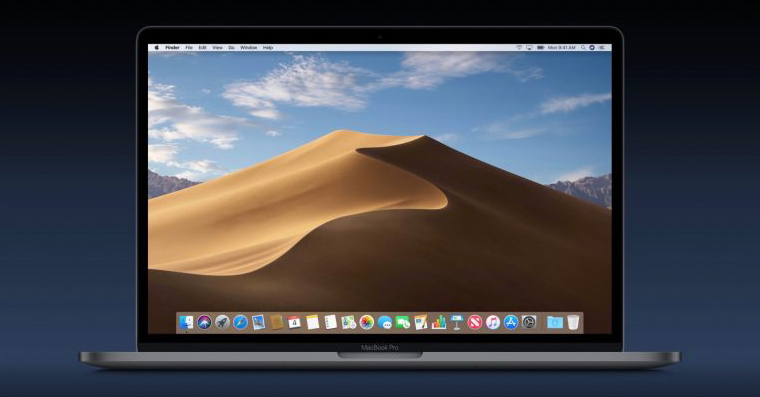
This is what macOS 10.14 Mojave looks like:
Gallery
Backup
Backup is the same for both cases – first of all, you need to back up your data that you don't want to lose. You can do this, for example, using a USB flash drive or an external hard drive. If you pay for some cloudelectronic storage (iCloud, Google Play, Dropbox, etc.), you can of course store your data there. It's up to you.
How to clean install macOS 10.14 Mojave from macOS 10.13 High Sierra
If you haven't updated to macOS 10.14 Mojave yet, follow these steps. In App Let the Store download the update to macOS Mojave. Once the update is downloaded, open it – but as soon as the installation wizard appears, exit it immediately. To exit, click on the option in the top menu Install macOS 10.14 and you choose the last option – Exit Install macOS.
You might be interested in
Now it is necessary for you to open Finder and moved to the bookmark in the left menu Application. Then find the icon with the name here Install macOS 10.14, right-click on it and choose an option View package contents. Then redirect to Contents -> Resources and find the file named createinstallmedia (don't run it). Now let's open up Terminal (either through Spotlight or using Launchpadu in the Other folder). Type the command below into the terminal and do not press enter for now:
sudo
Then we grab the createinstallmedia file and drag it into Terminal . The command in the terminal will be rewritten to look something like this:
sudo /Applications/Install macOS 10.14.app/Contents/Resources/createinstallmedia
Then add the following text to the command:
-- volume
Then we switch to the active window Finderu and click on Open -> Open folder. Enter in the text field /Volumes and confirm with the key enter. Now you will see all connected drives - both external and internal. Now we will connect to the Mac flash drive, which has miniMinimum capacity 16 GB. As soon as you connect the flash drive, it will appear in the window. Then the flash drive icon we will move to the Terminal (similar to the file above) - the command will look something like this:
sudo /Applications/Install macOS 10.14.app/Contents/Resources/createinstallmedia --volume /Volumes/nameFlashDisk
Now we can confirm the command by enter. The terminal will ask for us password, which we enter and confirm again by enter (the password is written "blindly" in the terminal, so you won't see the asterisks). Then we write the letter "y” and confirm it with enter – using this step we will give the Terminal permission to erase the flash drive and to begin copying data to the flash drive. If you get a message during installation about Xcode, then click the button Not now. When the process is complete, you will see a message in Terminal that everything is done.
Erasing the disk
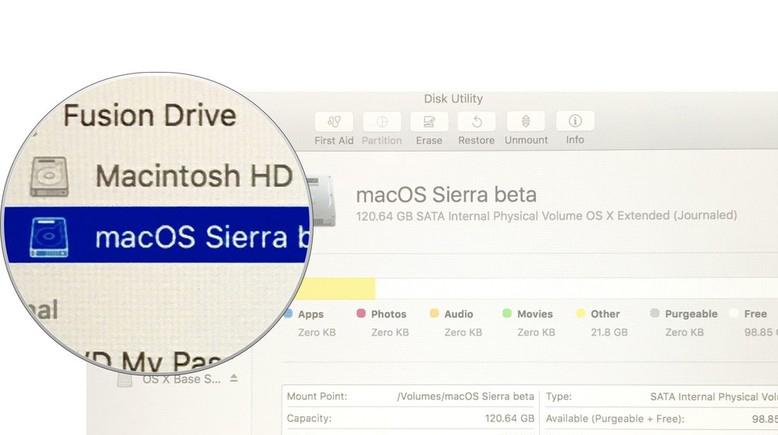
Restart your Mac (icon Apple logo in the upper left corner -> Restart). Once the screen turns off, press and hold the buttons Command + R until it appears on the Mac screen macOS Utilities – then you can release the keys. Now we click on the option Disk Utility and confirm the choice with the button Continue in right down corner. In the left menu of disk utility si click on our disk, on which it is stored operating system. Then click on the icon in the top menu Delete. A new window will appear, in which we write the name of the new disk (the default name is Macintosh HD) and choose the format APFS, which is a new format used by macOS since macOS High Sierra. If for some reason you need the older HFS+ format, select the Extended Mac OS (Journal) option from the menu. Then confirm this choice by clicking on Delete.
Gallery
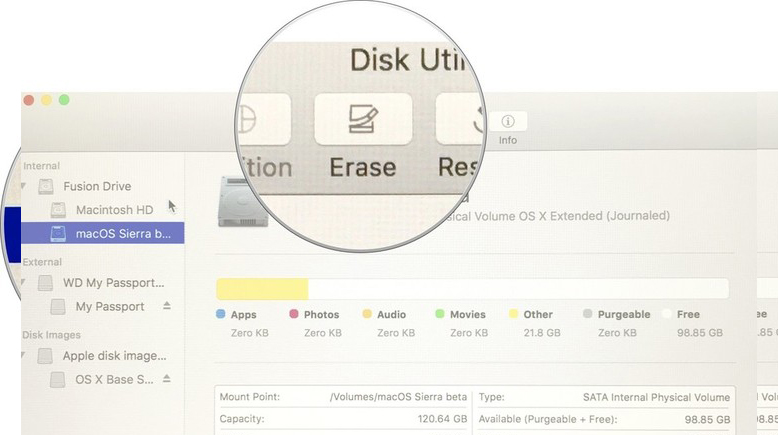
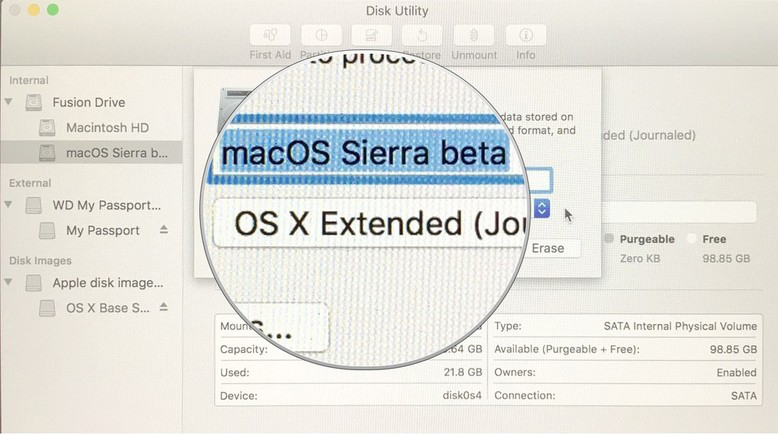
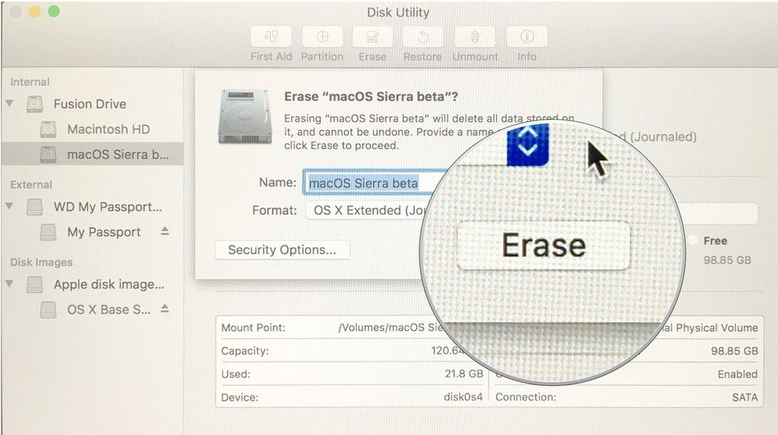
Installing macOS
Now our Mac we turn off. Once the Mac shuts down, then we connect the flash drive and hold the button Option. It still pressed the Option button we turn it on using the button Mac and once options appear, then Option let's go. Then use the arrows to navigate to the option Install macOS 10.14 and confirm with the key enter. Then the macOS installation will load and start. If these instructions are not clear to you, the video below from our colleagues at will most likely help you. 9to5Mac:
How to clean install macOS 10.14 Mojave if you've already updated
In order to perform a clean install of macOS 10.14 Mojave, it is necessary that you connected to the Internet – either using Wi-Fi or using a LAN cable. Finally, make sure you have everything backed up. Once you've done your final check, then restart your Mac (icon Apple logo in the upper left corner -> Restart). Once the screen turns off, press and hold the buttons Command + R until it appears on the Mac screen macOS Utilities – then you can release the keys.
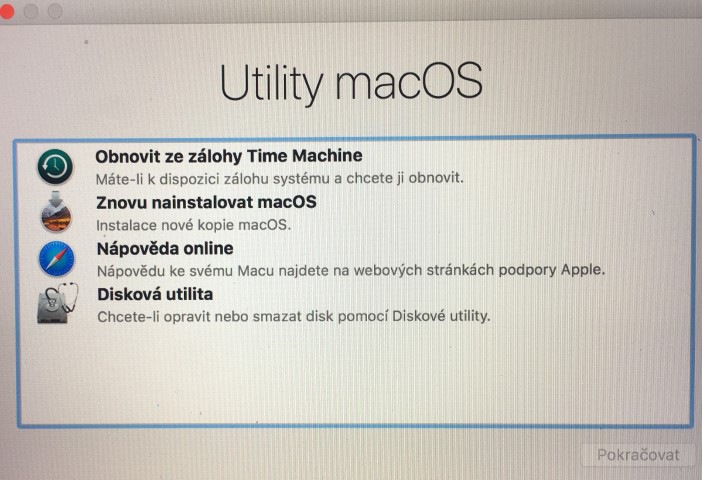
Erasing the disk
Now click on Disk Utility and confirm the choice with the Continue button in the lower right corner. In the left menu of Disk Utility, click on our disk on which the operating system is stored . Then click on the Erase icon in the top menu . A new window will appear in which we will write the name of the new disk (the default name is Macintosh HD) and select the format APFS , which is the new format that macOS uses since macOS High Sierra. If for some reason you need the older HFS+ format, select the Mac OS Extended (Journaled) option from the menu. Then confirm this choice by clicking on Erase.
Installing macOS
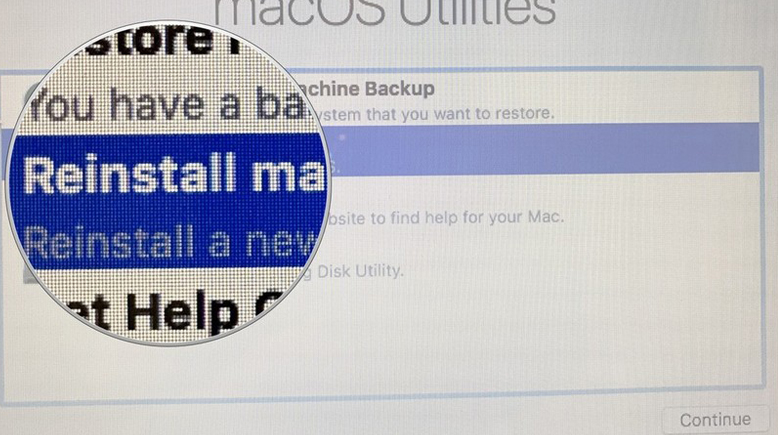
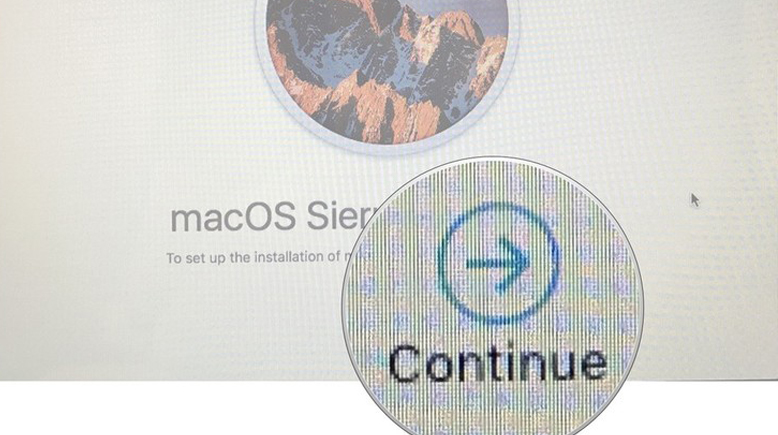
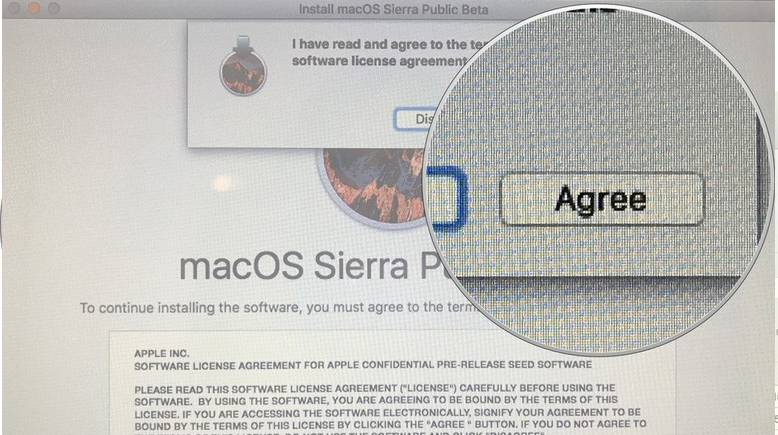
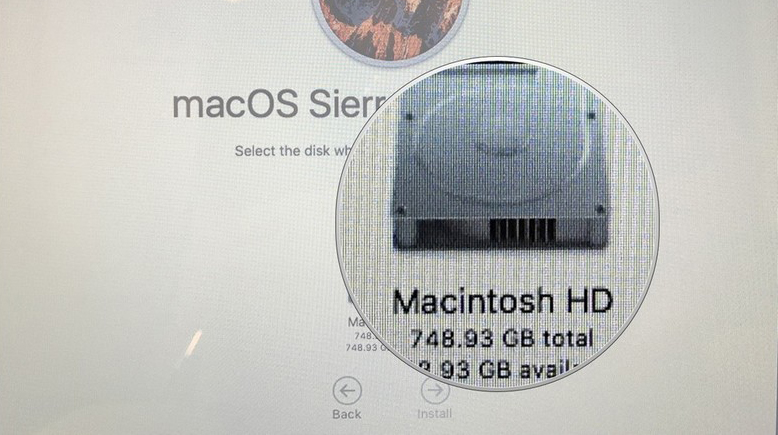
As soon as the deletion of the disk is complete, we can start the actual installation of a new, clean operating system. We will stay in macOS utilities and we will select an option for offers Reinstall macOS and confirm again with the button Continue. On the next screen, click again Continue, we agree to the terms and conditions and choose HDD, on which we want to place the new installation of macOS 10.14 Mojave. Then we click on the button Install. After clicking the install button it downloads the operating system and installs itself. Once the process is complete, your Mac will restart and boot into a fresh, clean system—it'll feel like you just bought a new one Apple device.
Gallery
záver
You might be wondering why you might want to do a clean install of macOS – and there are a few reasons that I have experienced firsthand. If you are upgrading to Mojave from High Sierra, you are much more likely to encounter bugs during the update. In iOS This procedure is not so necessary, but I really recommend it for macOS, because you avoid unnecessary future problems with the operating system. A clean installation can also be useful if your Mac seems slow or you feel that it is infected - erasing the HDD deletes everything, including viruses, so you will work with a "clean slate". And last but not least, a clean installation is desirable mainly because there has been a change in the macOS file system.
If you thought you could follow the example iOS 12 "pull" back the old backup from Time Machine, then definitely don't do this, as you could bring all the system errors back to your Mac.





or type diskmakerX into Google and create an install USB disk
A USB disk of 8GB is enough.
And why I still don't see Mojave available for download on Air 2015?
Some have it earlier, some later. It appeared to me right after 19 p.m.
And installing on unsupported Macs???
https://forums.macrumors.com/threads/macos-10-14-mojave-on-unsupported-macs-thread.2121473/
have you tried Or the result? :)
macbook white unibody 2009 full functionality, imac i3 2010 full functionality, see the link people write what and what kind of problem can occur or see the user "dosdude1" on YouTube, he did it all and below the video is the answer to the questions
Just for info, maybe next time write to put a space after each command :-)
Well, the only problem is that I can't log in apphundred :(
Nonsense, everything works on Mac.
So I would probably skip the useless part with Command + R. I would select boot with the option key, select the bootable USB drive with the installer, run Disk Utility... It seems pointless to restart twice.
After turning on the mac, press Alt+command+R - installation of the latest OS
Yes, it is still possible, only yesterday it took a very long time via internet recovery alias Alt+command+R
Otherwise installed and sleeping on MBpro early2015 super. Otherwise Time machine it can backup to an external drive only if it is Mac OS Extended (Journaled)/does not know APFS.
I'm going to reinstall the system (to have a clean) MOJAVE (mini 2014) and then clone to a new SSD that I want to upgrade my Mac to avoid working with a flash drive. So I understand that if I choose APFS, I won't be able toTime Machine?
If I do a clean install and then log in to icloud – all my saved passwords will be loaded Safari? And can't some errors be transferred from icoud to the new system?
Hello, after the installation, the following appears to me - an error occurred during the installation. Can you advise? I would like to take the installation step back and go back to the original version. Thanks for the tips
Hello, late 2013 from Mojave to clean install Mojave working.
Hello, I got an error during a clean installation: 2002f, Googling didn't help much. When he helped Apple the line where they helped me with this error, according to technician 2 at the beginning of the error = some problem with the net/wi-fi ( DNS, proxy, etc. ) In another Wi-Fi network, everything about recovery OK, the emergency boot shell was downloaded again, then erasing the disk, format, naming, after restart download .Mac Os – the version supplied with your Mac (I have 10.10 Yosemite -2014) will be downloaded, after installation just upgrade to high Sierra and after installing the Mojave update.
I just wanted to share my experience with a clean install, albeit with some complications, but macmini rejuvenated…
Good day, thank you very much to the author of this article for writing it to the letter on how to perform a clean installation. Thanks to this, every liker like me can handle it. Thank you very much, and people who write here, how simple it is and how to shorten it, so please do your work and write such clear and, above all, functional instructions. Many thanks to the author's article
So I completely wrote off MB. Pro :-(.
Would the procedure work for latte2011?